It is common that you will find some great wordart and they are only in black. Of course, you can use them like that, or you can adjust the brightness to make them white or grey. But what if you want them in a different color altogether? What if you want them green or blue, or yellow? There are some simple ways to do that, but many people will go the long, tedious route. What will it be for you?
Colorizing
The first way one might think of to change the color of a wordart is to use the Colorize command. This is available under Adjust > Hue and Saturation > Colorize. This might be ok if you want to add a shade of color, but there are a few obstacles.
White and black are NOT colorizable. Whatever method you try, you cannot colorize black or white. If you insist in using the Colorize command, you would have to change the white or black into a level of grey first. You can do that with the Brightness and Contrast.
Let's give it a try using this wordart from Marisa Lerin (you can find this wordart and others HERE):
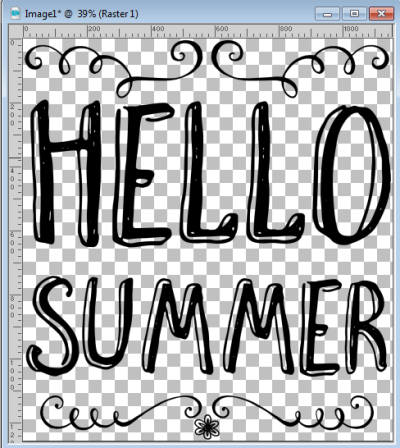
To change it to blue, I NEED to change it to a grey first, by using the Brightness and Contrast:
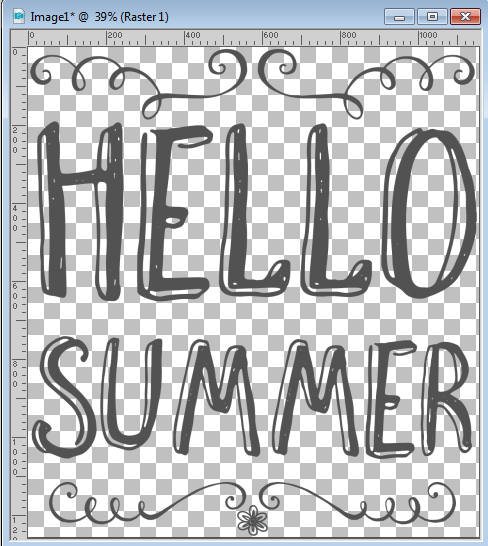
And then the Colorize command where I will choose a Hue of 152, which would be blue. I also had to adjust the Saturation to get a "bold" blue:
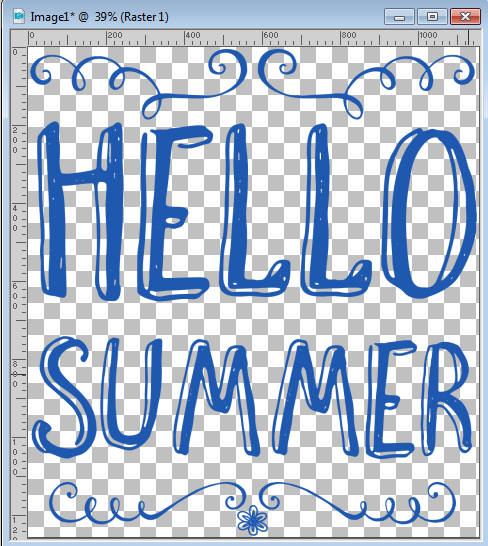
This will look good, but only for some colors. Let's see what we get if we use the Hue settings of 44 for yellow:
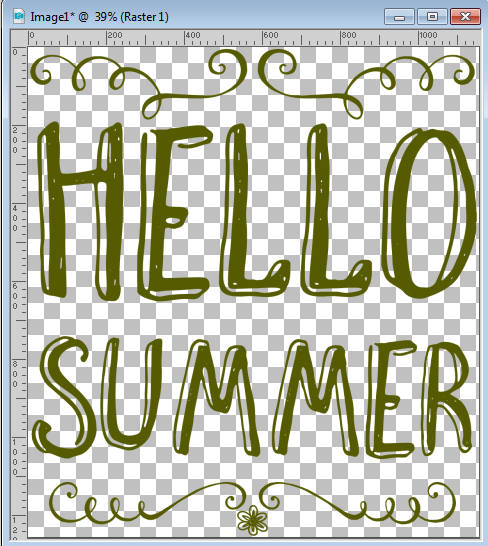
Not very impressive, is it? Some colors are really hard to obtain using the Colorize command, and if you want to get one of them, you have to use a totally different approach. Forget the Colorize command completely.
Filling a selection
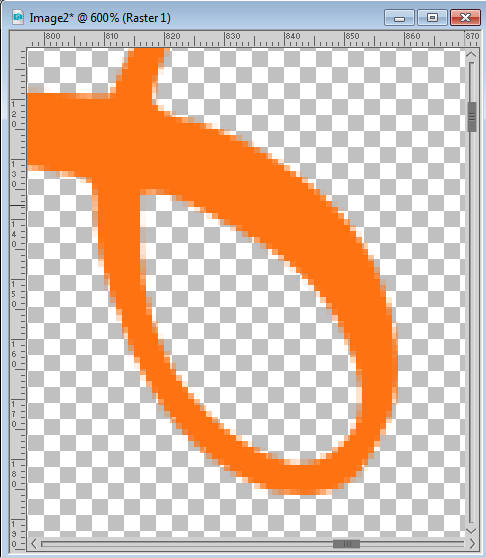
If you wanted to paint or flood fill a section, you would need to use the Magic Wand or otherwise make a selection where you want the new color to go. Right? Yes. However, all the Selection tools will determine if a pixel has something or not, so it will be selected or not. This will lead to very pixelated and jaggied edges. Let's have a closer look at a part of our wordart, when using the Selection:
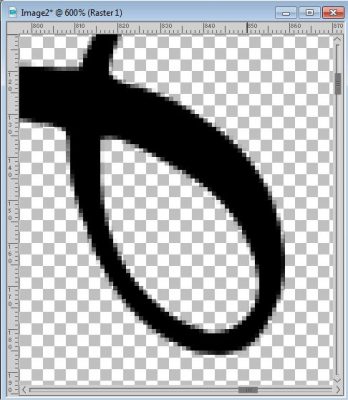
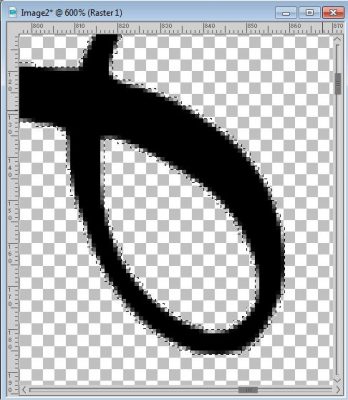
Notice how the selection will include every pixel, whether they were completely opaque, or partially transparent. If you fill that selection with a bright orange (which would be harder to get with the Colorize command), you would get this:
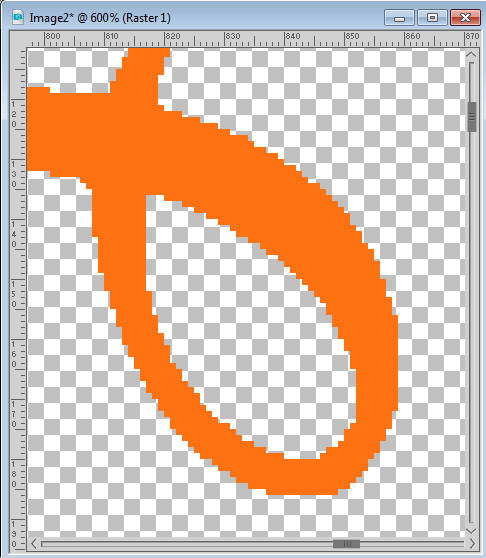
Once the selection is deselected, you end up with a pretty horrible edge for your element. If you have only straight lines, horizontal and vertical, that might work, but in this case, it is NOT working at all, don't you agree? So you'll have to use another method.
Lock the transparency
In Paintshop Pro, there is a way to "lock the transparency" of any layer, and paint over it, or flood fill it, and preserve the transparency level of each individual pixel. This means that the opaque pixels, will be filled opaque. If a pixel has only 60% opacity, it will be filled at 60% opacity and so on.
You can find that command in the Layer Palette, here:
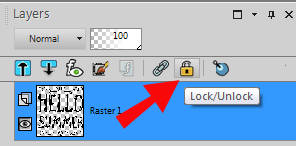
Once the transparency is locked, you will see an icon on the side of that particular layer (because it will be applied on a layer basis):
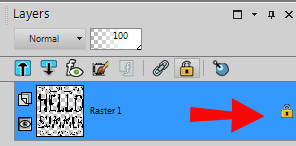
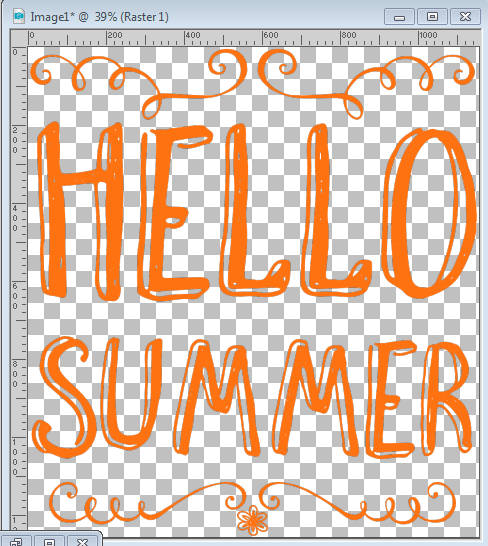
Now, with the transparency locked, I used the Fill tool with the same orange color, and I get this:
Don't you think it looks better?
Depending on which version of Paintshop Pro you are using, there are some differences in how you can use the Locked transparency to fill in with another color. The way you will now fill these pixels will depend on the tool you want to use.
If you want to use the Flood fill tool, set the Match mode to None or Color or RGB Value or All Opaque. Although in the case of a one color wordart, which one of those you pick will make little difference, if you ever want to use the Locked transparency with other elements that might have more than one color, it would be a best choice to select the None setting.
In addition, the Locked transparency will only allow the flood filling of ADJACENT sections, meaning that in our wordart, if I click on that one element on top to change its color, only that element will be painted orange.
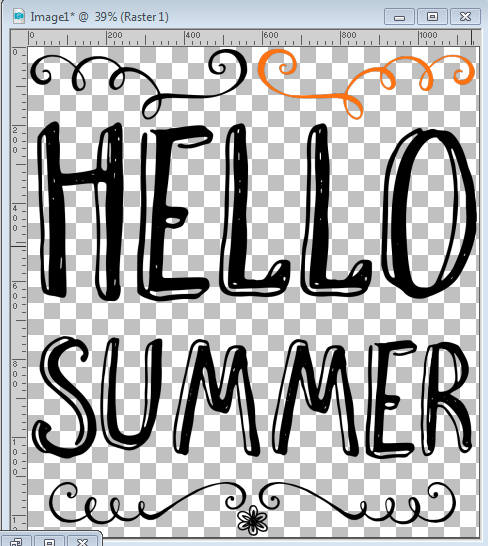
I would then have to select each section, one by one. Depending on how many non-adjacent elements you have, it could be simple or tedious. But there is a way around this: select all the elements to be filled at once.
You can use the Magic wand, with the Match mode set to None, and the Contiguous box UNCHECKED and select any of the black area. That will give you a similar selection as we had before, when painting was going to be so pixellated but since you now have the transparency locked, using the same Flood fill tool will do much better:
You can paint too
Although the Flood fill tool is great to change the color of the whole wordart, you can be more precise and choose to use the Brush tool and paint only some sections, or some words. The steps are identical in which you need to Lock the transparency and then you have the option to paint those pixels, whatever their transparency level is.
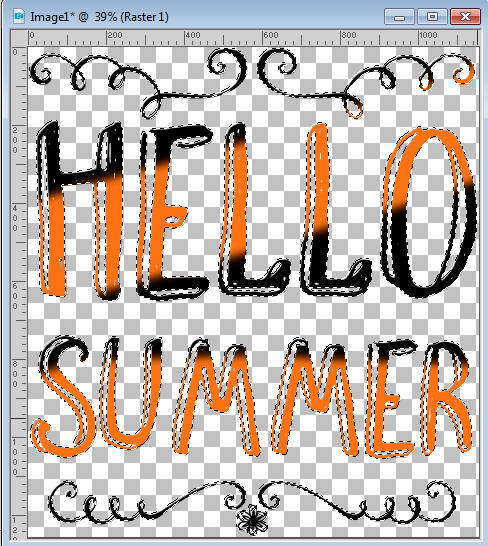
And since there is no risk to paint outside the line, you can be as creative as you want and paint different words or elements in different colors.
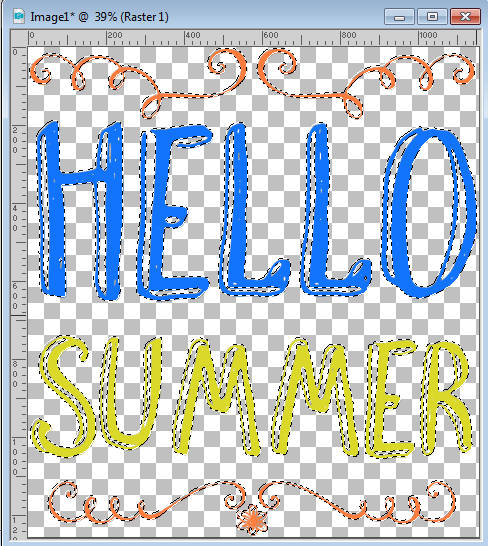
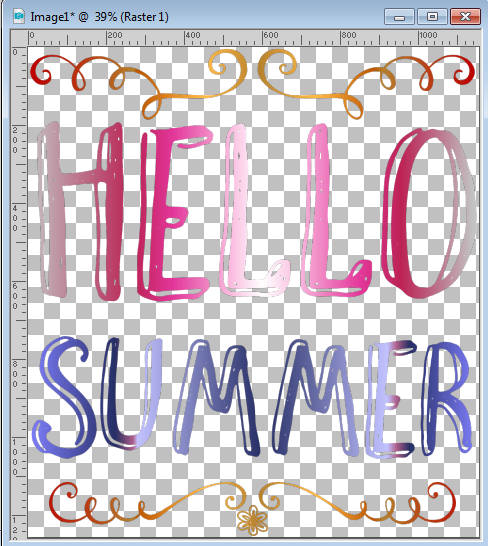
This Locked transparency feature also allows you to use gradients or even patterns if you want. Just use them as foreground when you paint.
Paint the paint
Although this whole tutorial uses wordart, you can use the exact same steps if you want to change the color of paint spatters, crayon drawings, and such. It will be most useful if you are using a monochrome element or at least if you want to make it one that won't have the obvious layering of different colors.
Here is one crayon scribble from Marisa:
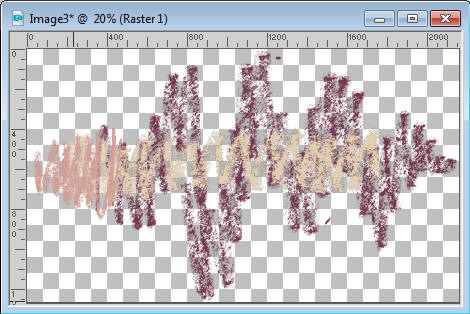
Using the Locked transparency, I am able to change the color of the WHOLE image to this:
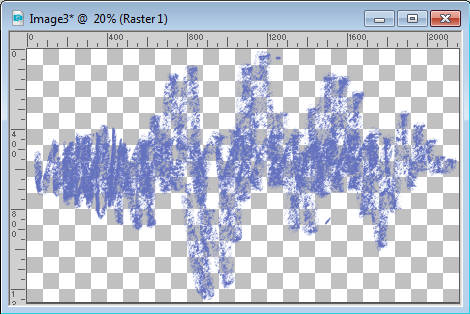
As you can see, I am losing the two tone effect of the original element, but if I am happy with a monochrome scribble, I got it.
Unlock the transparency
One little but very important detail if you are using the Locked transparency feature is to UNLOCK it after you finished. If you don't, you will end up with odd behavior of your other tools, later on. Things will not get selected as they should or painted as they should.
Now, enjoy all the wordart, paint spatter, crayon scribbles that you might find in various supplies, and change their color to suit YOUR project. Another way to expand your supplies, instead of having to search for more, and spend more! Show us your colored elements, in a comment below.



7 thoughts on “How to paint wordart elements”
These are great ideas to embellish wordarts!
Thank for this, Carole! I saw you using the ‘lock transparency’ in one of your recent tutorials, but didn’t understand the reason. This explains it well. Partial pixel transparency will remain ‘partial’ with the transparency locked!
Thanks so much, Cassel. Now I finally know what to do with a locked layer. I can’t believe how much work this is going to save me!
Thank you again for your thoughtfulness. I will try to incorporate this into something to do with my motorcycle association “GoldWing Road Riders Association”.
Howard Cart
And you remember to show us in the forum!
Love these mini-tutorials. I tend to forget about Lock Transparency too…such a useful tip.
Thanks for this Cassel, I keep forgetting about the Lock Transparency command and should really use it much more often.