With version X7, Corel added the Text and Shape Cutter tool. Although one can easily cut a photo to fit a particular shape or text, this tool makes the process simpler. Let's see how you can use this tool in your project.
Where is the cutter?
You will find the Cutter in the toolbar for any of the following vector tools: Ellipse, Rectangle, Symmetric Shape, Preset Shape, and the Text tool. The only vector tool that does not have access to the Cutter is the Pen tool. As soon as you activate those tools, you will see the Cutter option appear in the toolbar.

If you don't have a shape on your project yet, those options are greyed out.
Let's get started
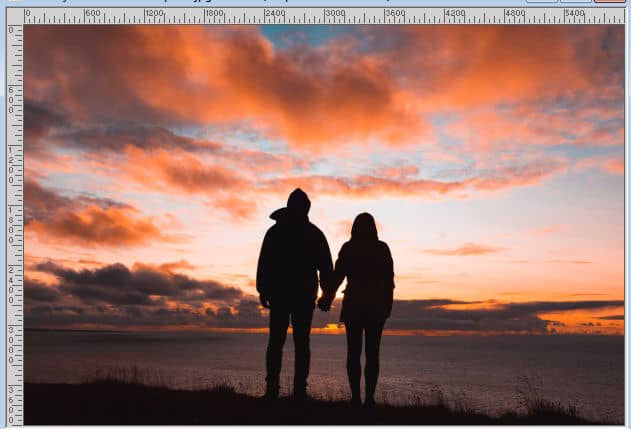
I will start with a image that I want to cut into a fun shape.
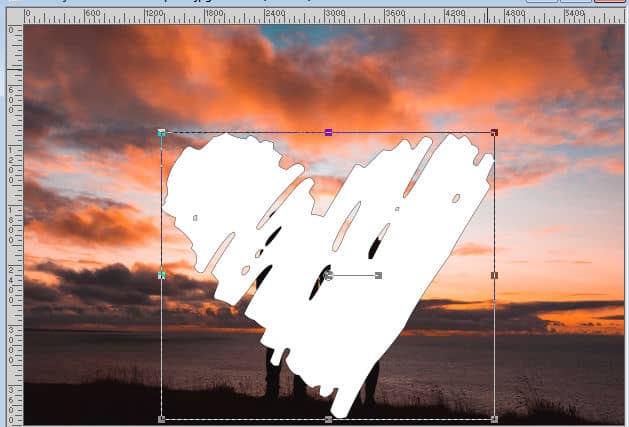
Since the Shape Cutter only works with vector shape, I drew a fun heart shape from my preset shapes. The colors of the fill and stroke don't matter at all. I drew it about the size I want it.
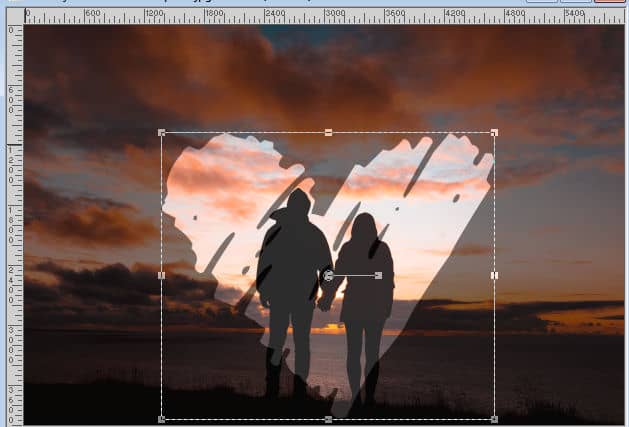
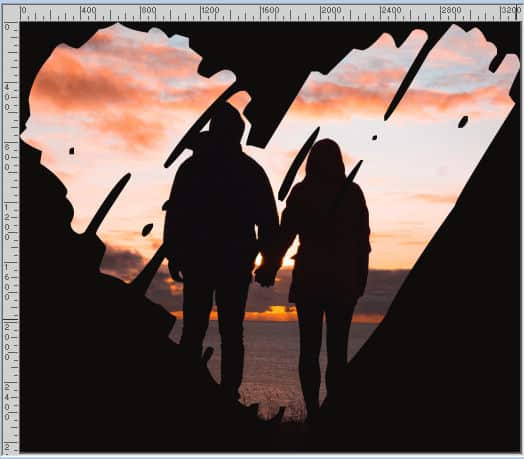
Clicking on the eye in the toolbar will activate the "preview" function of this tool.

That will darken the background while it keeps the original colors intact, where the shape is. This will give an idea of what is going to show.
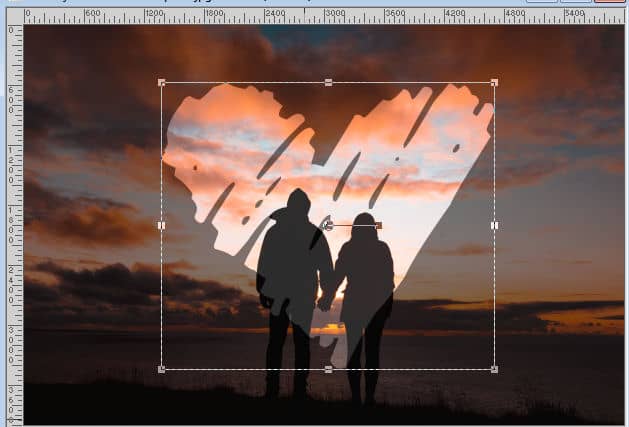
If needed, you can move, resize, or rotate this shape on the image. This can be very useful if you want to make sure a specific section of the photo is included (or excluded) from the cutout.
And you are done
Once you are happy with the placement of the outline based on your photo, click on the Shape Cutter icon.

Click this icon and the program will cut out your photo based on the shape, size, and location of the shape and paste it as a new image.
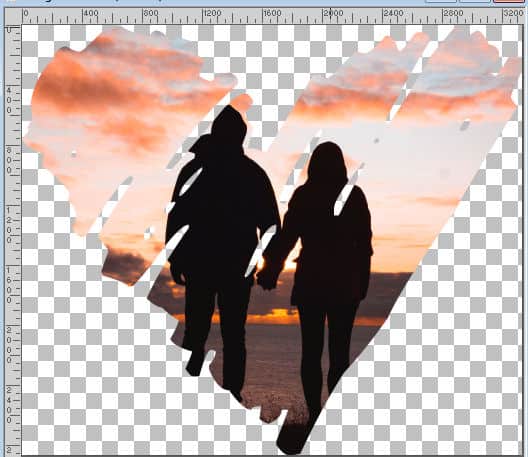
Once you have the cutout image, you can use it however you want. You can copy and paste it on a current project. You can add a background to it. If you are inclined to do so, you can also apply various effects to that cutout. The possibilities are endless.
Other Cutters
You can also use the Text Cutter in the same way. You will have also the Cutter Preview and the Text Cutter. They will appear with the other icons associated with the Text tool.

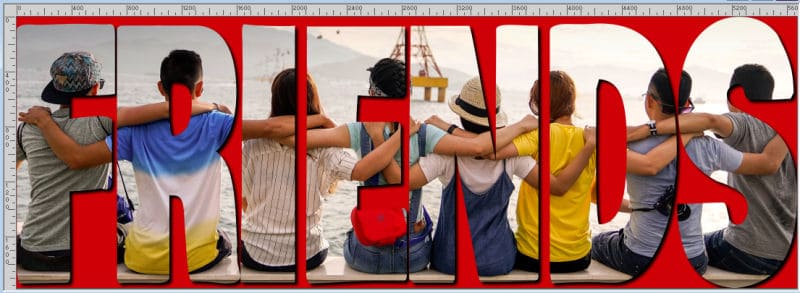
Let's use this photo.
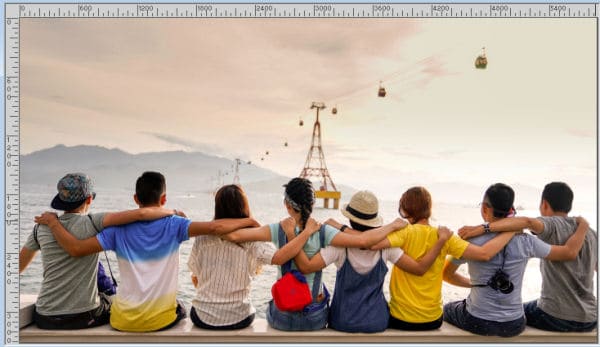
I can add the text that I want, and click on the Cutter Preview. This will help me align and resize the text so I can see most of the people in the photo.
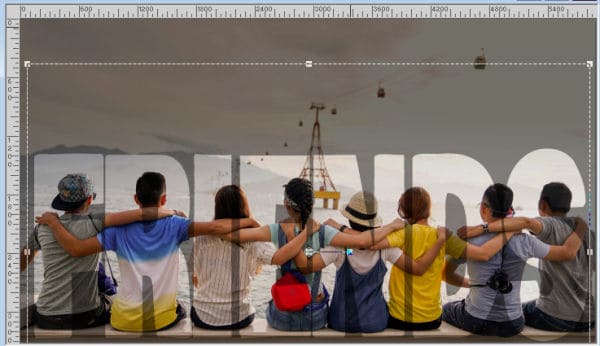
And I can finally cut it.
What if I don't have the cutter tool?
If you are still using an older version of PaintShop Pro and you don't have access to the Text or Shape Cutter, you can still get the same result manually. It is just a few more steps, but it will still yield the same result. Check out this article about cutting a photo into shape.
You have no reason to shy away from cutting photos into impressive cutouts! Go for it!


6 thoughts on “The Text and Shape Cutter Tool”
I have noticed those icons and seem to remember that you, or someone else mentioned it but I have never tried to use it. However I have done some manually but that must have been some time ago, because I forgot about it. So thank you for explaining those icons.
Thank you! I have to say I never noticed these icons before and its such an easy and fun way to use.
I love it!!!! That was fun and it will be so useful for me…..thank you so much for this information!
Thanks for this explanation of the tools. COOL!!
I’ve used the text cutter many times but I’ve never noticed the shape cutter. Thanks. Now if I only remember it!
What a cool set of tools. I never really paid any attention to those icons, and had no idea what they were for.