
Have you ever tried to soften a photo, only to end up with something that looks like you’re seeing it through frosted glass? That’s because most “smooth” or “blur” commands don’t know the difference between textures and edges — they just blur everything. PaintShop Pro’s Edge Preserving Smooth command takes a smarter approach. it smooths what you want to smooth while keeping crisp details where they matter most.
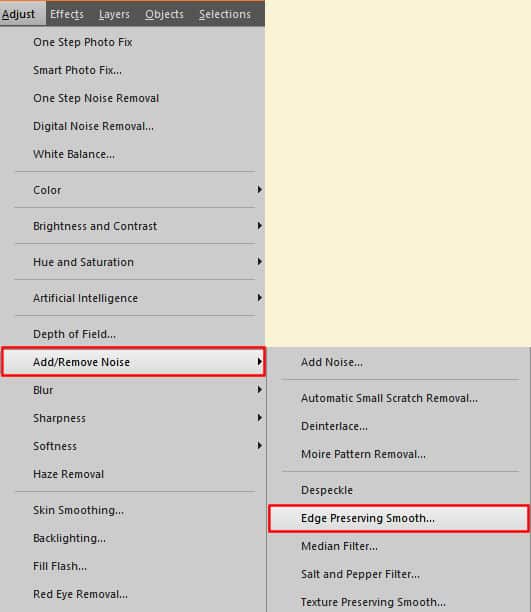
Where is the Edge Preserving Smooth?
You will find the Edge Preserving Smooth under the Adjust menu.
How does the Edge Preserving Smooth work?
Most blur or smoothing tools in PaintShop Pro treat every pixel the same way. They blend neighboring pixels together, which can make an image look softer overall. It also blurs the sharp details that give your photo its definition.
The Edge Preserving Smooth command works differently. It looks for areas in your image where there’s a noticeable change in color or brightness — those are the edges. Then it applies the smoothing only inside the flat or gently changing areas, such as skin, skies, or walls, while keeping those sharp edges untouched.
You can think of it this way: it’s like telling PaintShop Pro, “Please smooth the surface, but don’t cross the lines.”
The result is that textures and noise are reduced, but shapes and outlines stay crisp. If you use it gently, it gives your photo a clean and natural look. If you apply it several times, it can create a more stylized or even painterly appearance, which is also great for artistic effects.
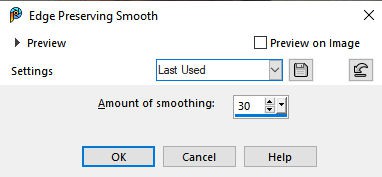
How to use the Edge Preserving Smooth and its setting
This command has only one setting: the "Amount of smoothing". It will range from 0 to 30.
What happens when you adjust the value? Let's look at the preview of a segment of a photo when the settings are set differently.
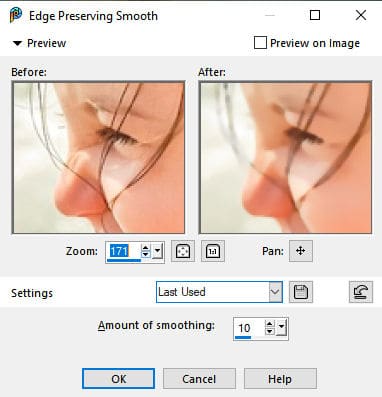
With a setting of 10, you can see how the details on the eyelashes are getting blurred, and the thin hair strands are also blurred.

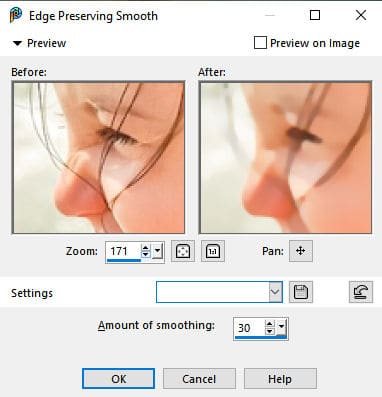
As you reach the maximum, you can see that many of the fine details are gone, yet, you can still distinguish the main edges. This is where the "edge preserving" part of the name comes into play.
Why would you want to blur an image?
Even though we usually want to have some crisp photos, occasionally, we have different goals. Let's look at some situations where we would want to use the Edge Preserving Smooth command.
Cleaning noisy photos
Older photos with lower resolutions might have noise and the Edge Preserving Smooth could remove some of that noise, giving a better result. Here is a photo that displays some obvious noise.

With an amount of smooth set to 10, here is the edited photo:

Smoothing skin while keeping features sharp
If you want to smooth the skin on someone's face, you can also use that command. For example, with a value of only 10, see the difference in the skin before and after.
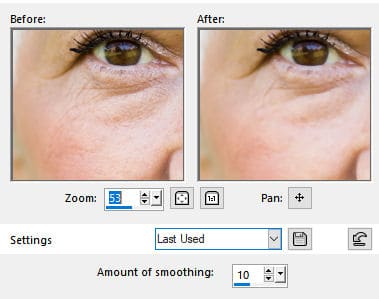
On the other hand, you can also see how the eyes are no longer as sharp as they were initially. In many instances, you might want to make a selection where you want to smooth the image, add a little feathering to avoid sharp transitions, and then apply the Edge Preserving Smooth in that are only. You can therefore focus on specific areas that need more attention.
Simplifying images before artistic filters
In some instances, you want to use an image but you also need a "simplified" version, with fewer details. This can be the case if you want to convert your image into a comic book one. In that case, you don't need all the fine details.

Or maybe you want to create a watercolor effect. In that case, you don't want too many details as it would not fit the effect. In that case, you can apply the Edge Preserving Smooth several times in a row to soften most of the fine details.
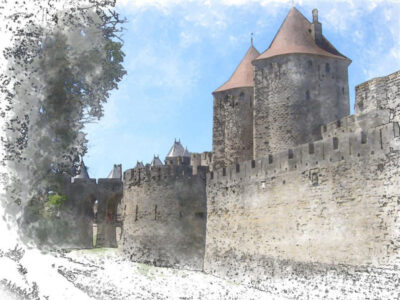
If you want more details on how to create the Watercolor effect on your photo, check this article.
Conclusion
The Edge Preserving Smooth command is a great reminder that “smooth” doesn’t always mean “blurry.” Used lightly, it can reduce noise and soften unwanted textures while keeping your photo crisp. Used more boldly, it can help you turn an ordinary picture into something more artistic.
Whether you’re polishing a portrait or preparing an image for a stylized effect, try experimenting with different amounts (and even multiple passes) until you find the balance that works for your project.
![]() Note for Affinity users: There isn’t a tool named Edge Preserving Smooth, but you can get a similar result using the Bilateral Blur filter (found under Pixel > Filters > Blur). It smooths textures while protecting edges — very much like this PSP command.
Note for Affinity users: There isn’t a tool named Edge Preserving Smooth, but you can get a similar result using the Bilateral Blur filter (found under Pixel > Filters > Blur). It smooths textures while protecting edges — very much like this PSP command.


3 thoughts on “Edge Preserving Smooth in PSP”
In PSP there’s a command called Skin Smoothing on the Adjust menu. How is that different from Edge Preserve Smooth?
I saw an Affinity Revolution tutorial on smoothing skin using the frequency separation filter. The tool separates the high frequencies which is skin texture from the low frequencies which is skin color. In the tutorial they showed how to first remove a scar, wrinkles and acne on the high frequency portion without changing the underlying skin color. Then go into the low frequency separation and address uneven color blotches and over exposed portions of the skin without changing the skin texture. It’s a powerful Affinity tool.
This info on Edge Preserving Smoothing is very useful. What I’ve done in the past when working on noisy images is to apply a soften filter to smooth out the noise and then a sharpen filter to try to bring back some detail. The Edge Preserving Smooth filter works much better.