
Watermarks are use as a way to protect images or identify you as the author of the graphic work. Although it might not prevent stealing your images, it still acts as a deterrent. You can use Affinity to create and add a watermark in different ways. How you will create them will depend on your preference and its general purpose. Let's look at three methods to generate a watermark of your own.
What Kind of Watermark Do You Need?
Here are some common types of watermarks. You can find Text watermarks, often used to add your name, your website, or a copyright symbol. If you want to add a logo to your image, you would use a Graphic watermark. A script text will be perfect for a Signature-style watermark. Finally, a full-image watermark will act like an overlay as it will cover the whole image. This is often used to identify previews of individual elements that would otherwise be easy to extract.
Creating a Text Watermark with Layer Effects
Create the base of your watermark with text, or a graphic of your choice like your business logo. You can leave it flat or add some layer effects. That is optional, but it could add some interesting attributes. Here are two versions, on a black background for better visibility. Of course, you would not include the background when you add the watermark to your photo.

Once you have created your watermark to your liking, simply copy it and paste it on your image. You can choose the placement of the watermark depending on the photo. You can also adjust the size as needed.

If needed, you can also adjust the Blend mode to make that watermark more subtle. For example, the white will turn into the background color if I use the Overlay mode.

If you plan on reusing the same watermark, you can save it as an Asset so it will always be ready for you.
Creating a Brush Watermark (Similar to PSP Picture Tubes)
Another way to create a watermark would be as a brush. For this option, you can even use some colors. Let's have a look.
On a blank canvas, create the design you want to use. In this example, I will be using the Campus logo. Then, export it as a PNG file. Of course, if your logo is already in PNG format, you can go directly to the next step.

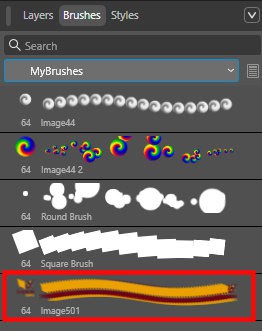
I will turn this logo into an image brush. With the Brushes panel open, and click on the little arrow on the top right. Then, select New Image Brush.

Then, navigate to the PNG file you created for this brush. This will add the image as a brush in the Brushes panel.
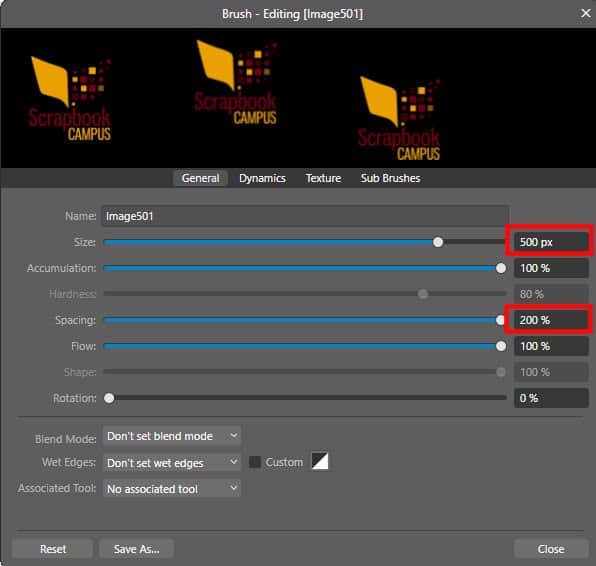
By double-clicking on that new brush, you will get the whole dialogue window with all the brush settings. Here, I adjusted the size value to the size of the logo, and also increased the Spacing to the maximum of 200%. This will avoid an accidental double imprint.
Now, you can simply add an imprint on your project. You can adjust the size using the [ ] brackets.

Creating a Full-Image Watermark Pattern
If you need a watermark to cover the entire image or photo, you can use a different approach. I will create a design that will be seamless. It could have only words or only images but you can also add lines to create a grid. Here is my seamless design.

I will export only the white part as a PNG image.
On the image, I will add a rectangle. The color does not matter at this point as it will be replaced.

Then, I'll activate the Fill tool.

In the tool settings, I'll change the Type to Bitmap.
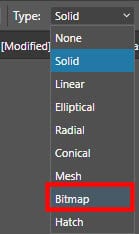
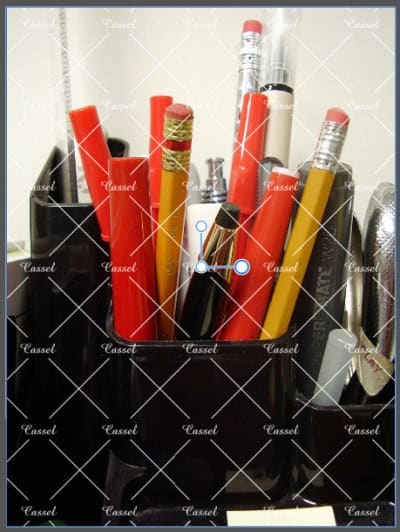
Once I select the Bitmap option, I will be prompted to select the image to use. That is where I can choose that image I exported earlier. It will be added to the image, probably too large, but you will recognize it.

You could resize (and rotate) this tile to however you feel suitable for the dimensions of the image.
Of course, you can also adjust the opacity and the blend mode, as needed. Although it would be nice to have at your fingertip, when using a bitmap tile, you cannot save it as an Asset. But you can keep it handy, in a folder that is easy to access.
Conclusion
Watermarks don’t have to be boring or intrusive. In Affinity, you can design something clean and subtle for photographs, or something more decorative for scrapbook layouts and digital previews. The three approaches in this tutorial can be adapted endlessly just by changing the font, the tile pattern, or the blending mode. Once you’ve designed a watermark that represents you, keep a copy in your Assets or Brushes so you can add it to your projects with just a couple of clicks.
If you also work with PaintShop Pro, here’s how to create a watermark in PSP.


3 thoughts on “Creating a Watermark in Affinity”
Thank you, now I can make a brush out of my png loge
T*H*A*N*K Y*O*U Carole ♥,
for getting this done so quickly. I’m going to create a new logo for my Affinity V3 scraps right now, since I can’t use the old one anymore because I don’t have or can’t find the cat graphic. It used to be a cat frame.
Thank You Carole! This is very useful information. 👍