

Although shadows can be added to any element in Affinity Photo, lifted shadows require more steps. The main reason is that it needs to be on a separate layer from the object. That is the only way to warp the shadows to give the lifted look. There are a few ways to create shadows on a separate layer. Once that is done, you can go on, applying various distortions to the shadow to give a more realistic look.
Create your own shadow layer
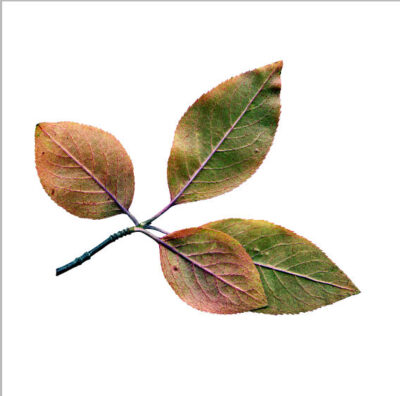
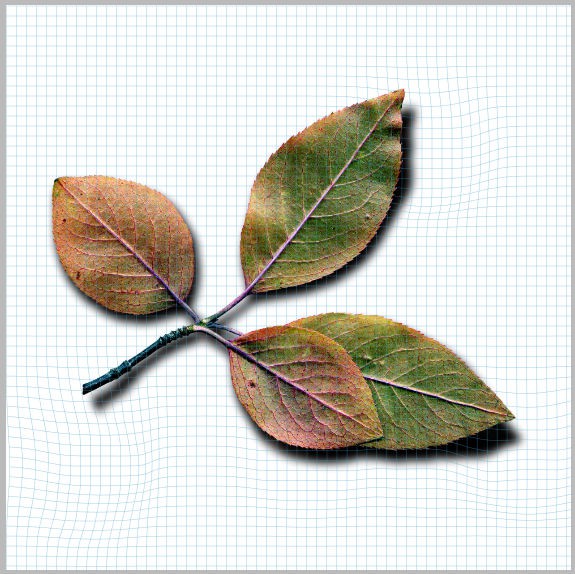
Let's start with this set of leaves on a white layer. Obviously, the leaves are on a separate layer from the white background.
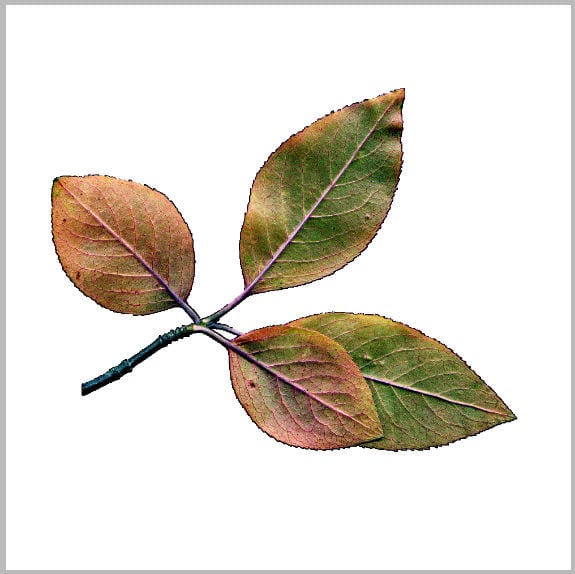
Let's right-click and duplicate this layer. We will turn the bottom layer into its own shadow.
Activate the Flood Fill tool, set to Black, with these settings:
![]()
Then, click on the shape. It will turn into a black silhouette but it will just seep through since my "normal" leaves are on top.
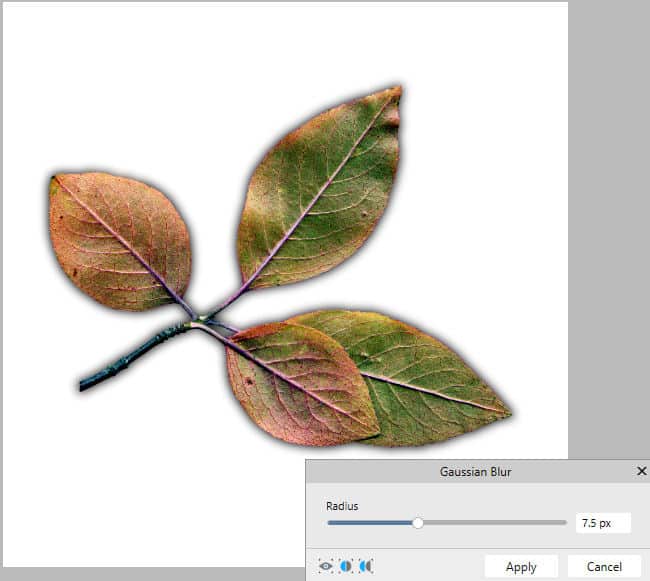
Just like any shadow, we need to add some blur. Remember that the thicker the element, the larger the blur will be. I will go to Filter > Blur > Gaussian Blur and use this setting:
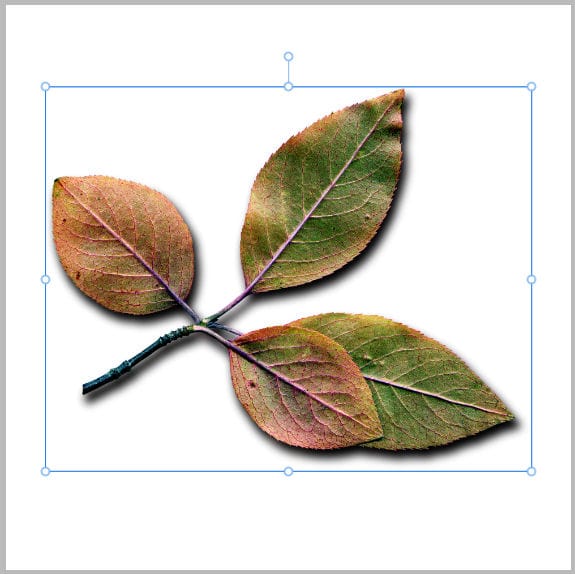
And of course, with the Move tool, you can also offset the shadow toward the bottom right.
Here we would be ready to apply some distortion. But let's look at a different way to add a shadow on a separate layer.
Using the Layer Effect
Normally, the Layer Effect will apply directly on the active layer so the shadow will NOT be separate. Let's get around this limitation by duplicating the layer. The top one will be untouched and we will work on the bottom one. Let's apply a Layer Effect by clicking on the FX icon on the bottom. We need to make 4 adjustments:
1- checking and selecting the Outer Shadow
2- choosing the settings we need as far as Offset, Radius (blur) and Opacity
3- then you need to UNCHECK the Fill knocks out shadow (otherwise, the shadow would be "missing" from where the element is)
4- reduce the Fill Opacity to 0%. This is how opaque the original element will be and you don't want it to show on this layer since it is already on the top layer.

Once you have completed this, you will have a perfect shadow on its own layer (I hid the top layer so you can see the whole shadow).

Time to lift that shadow
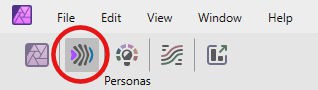
Whatever method you chose, it is now time to apply some distortion to parts of the shadow to give a lifted look to the element. This is where you will select the Liquify Persona. This is a separate "workspace" with various distortion tool. It will be applied to the active layer at the time you click on the Persona.
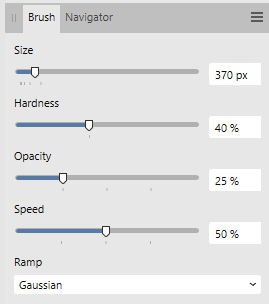
This will bring up a different set of tools and on the left, you will choose the Push tool.
On the right side, adjust the size of the brush to suit the element you need to distort.
From there, you will push (or pull) the shadow where you want the element to look like it is lifted.
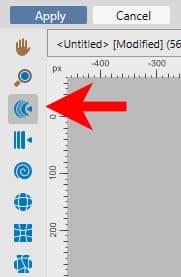
Once you are happy with the distortion, click on the APPLY button, on the top left of the workspace. This will bring you back to your default Photo Persona (or the workspace you were working on beforehand).

If you find that the shadow is too dark, you can always reduce its opacity in the Layers panel.

And voilà, your leaves look like they are lifted off the paper. You can apply this technique to all kinds of elements, whether they are greenery, flowers, ribbons, strings, or paper elements.
Save time
Since creating a new shadow on a separate layer requires you to adjust several settings (which always default to the same values), you can save this layer effect as a Style. That way, the next time you want to create that shadow, you will just have to duplicate your element and apply this Style to the bottom layer. Refer to this article on how to save Styles in Affinity Photo.


1 thought on “Lifted shadows in Affinity Photo”
Thank you, it is great to have this as a pdf which I can print and have next to my computer until I know how to do those shadows by heart. Of course I’m going to make and save a style for it.