
Whether you are using a template or creating a page from scratch, it is common for your photos to be too large. With new camera and phone capabilities, you can often have 5000 pixels or more images. What is the best way to adjust those photos for your projects?
Resizing or cropping?
Some users have certain preferences in using one approach or another but there is really no "one size fits all". It will depend on the size and format of the starting photo and target area. For example, if you have a horizontal photo and a vertical area to fill, if you resize the photo to match the area, there will be lots of distortion. On the other hand, if you have a very large photo and a small area, simply cropping a photo will lose meaningful details.
The best approach is typically a combination of both.
Start with the resizing
The first step will be to resize the starting photo to something close to the target area. It will also make the photo easier to handle since very large photos might have a bounding box larger than your whole project.
If your photo is much larger than needed, you can resize it before you add it to your project, or after. The process is similar, yet slightly different.
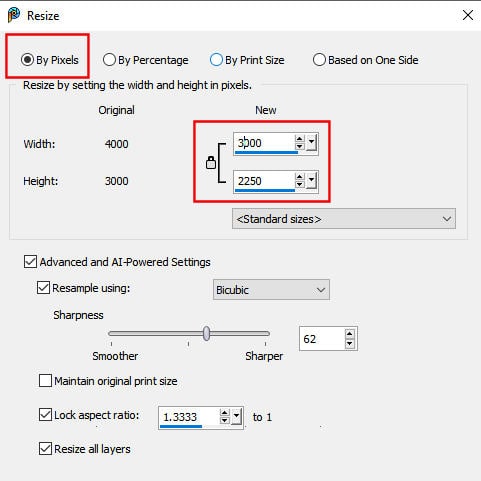
If your photo is on its own, you can use the Resize command and adjust its dimensions to fit within the size of your project.
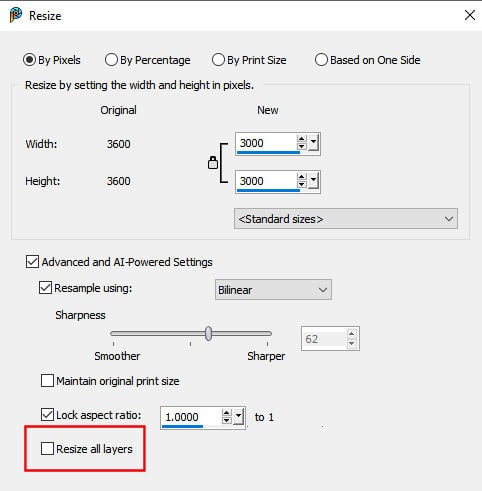
On the other hand, if you have already placed the photo on your project, and it is much too large, you can still use the Resize command, but you have to make sure that the box for "Resize all layers" is unchecked.
Once your photo is on your project and you are ready to fine-tune its size, you will want to activate the Pick tool. This tool will add a bounding box around your photo with nodes that you will use. Make sure that the Mode is set to Scale so you don't distort your photo.
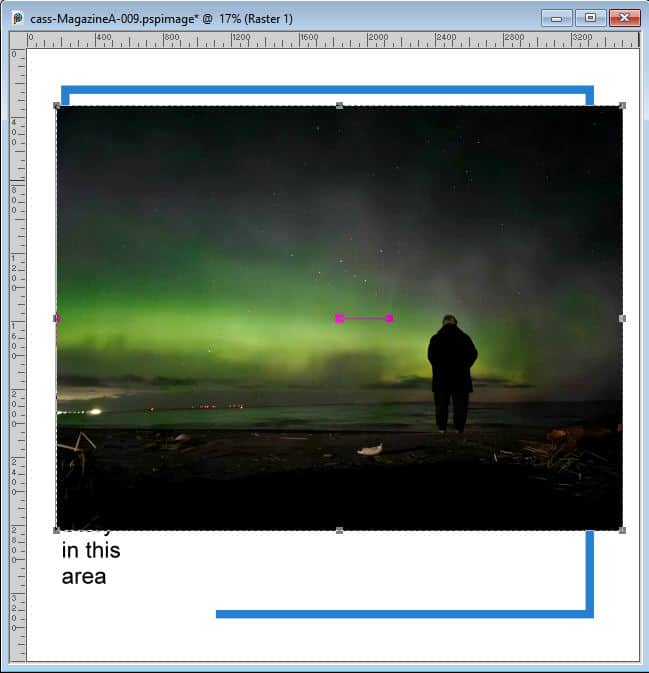
Then, using a corner handle, resize your photo until it still covers the area you want to use. If it is still wider or higher, it is common. Don't try to adjust the size too closely.
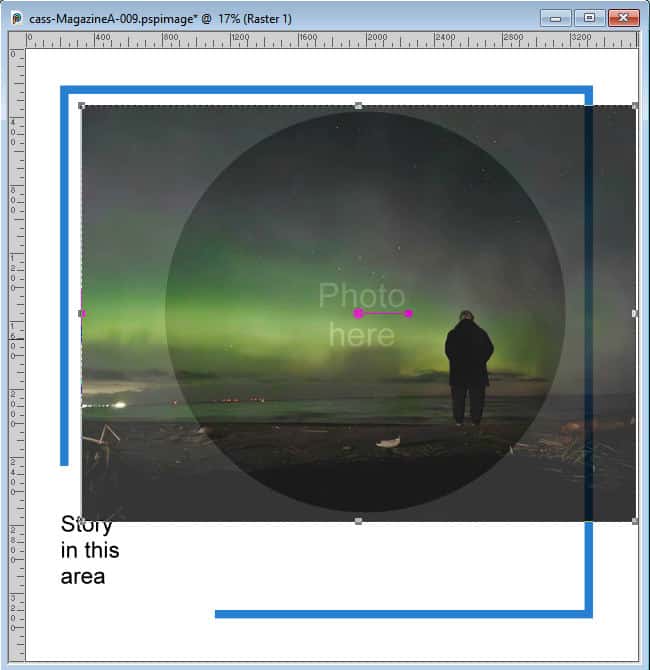
In this example, I lowered the opacity of the photo so I could have a better idea of the size I needed.
Time to crop
Now that your photo is sized to a reasonable dimension based on what you want to use it for, it is time to do the final adjustments. The way you will crop your photo depends on how you determined the target area.
Simple placeholder
If you are using a template, you can follow these steps:
- place the photo on top of the photo area of your template (lowering the opacity might help to see through it)
- activate the template layer
- select the area outside of the placeholder shape with the Magic Wand
- activate the photo layer and hit DELETE
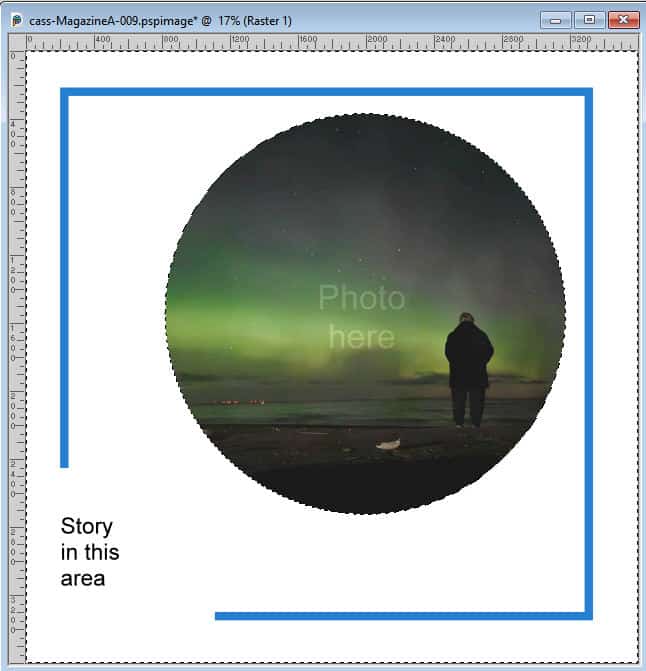
Although this method is considered "destructive" (as it removes parts of the photo), it can also be a quick approach and much easier to start.
Mask group
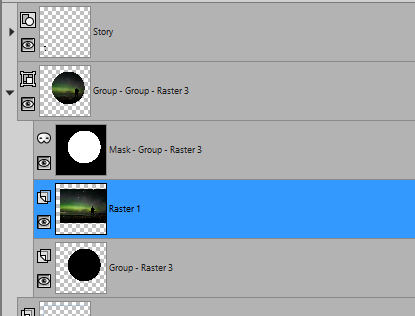
If you want to use a non-destructive approach, you can convert your placeholder into a mask group. This requires more steps, unless you want to use a script, Raster to Mask, that will do it all for you in seconds. If you have a mask group, you can just insert the photo into the mask and you will be looking at the image like through a window. The cropping will be non-destructive as the photo will not really be trimmed, just hidden.
Manual trimming
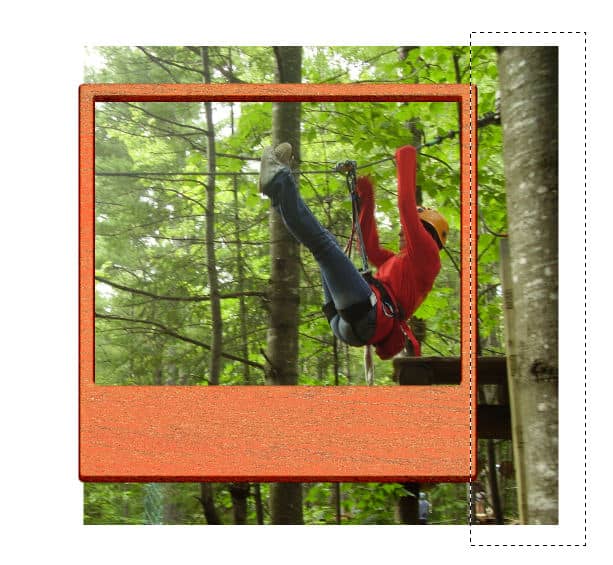
Sometimes, you might want to trim the photo manually as you are working on a project without a template. You might still have a photo that is a bit too large to fit between two elements, or inside a frame. In this context, you can easily make a selection around the "excess", and delete it.
And if you have an irregular shape
In summary
Whenever you have a photo you need to "fit" in a specific area, you will likely need to resize AND crop, in that order. Various tool are available and different processes can be used. Choose what suits your need, and remember to avoid "stretching" or "squeezing" anything. You can't fit a square peg in a round hole, and the same way, you can fit a rectangular photo into a square frame!
If you are using other programs, the individual dialog windows or tools might slightly differ, but the steps would be the same.


