

In Affinity Photo, you can create a pattern that will change dynamically. Let's look at the most basic design you can create: a repeat pattern.
Create the base pattern
I created a blank image, 100x100 pixels, with File > New. I filled it with white and with a simple round brush, I stamped a red circle in the middle. This is the pattern I have.

Fill a large image
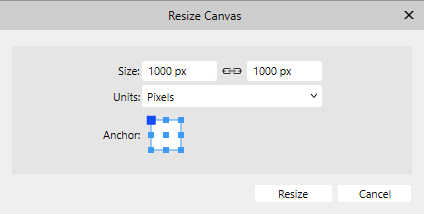
Obviously, this pattern is not very useful on a tiny image, so we can enlarge the canvas to something larger. I will go to Document > Resize canvas. For this example, I will enter 1000 pixels on the first field, and click Enter. Since both values are linked, it will also change the second field to 1000 pixels.
I will end up with this canvas:
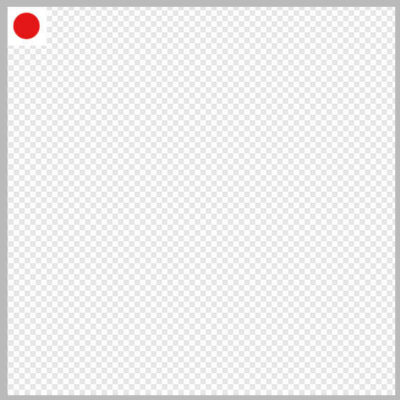
This has not filled the whole canvas yet. For that, we need to add a "Pattern Layer". Since we want the Pattern Layer to use the current pattern, we will go to Layer > New Pattern Layer from Selection (your lonely design is considered selected).
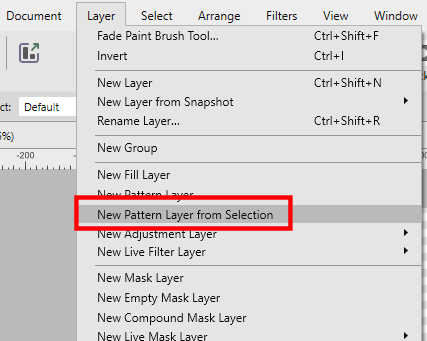
This will yield this image:
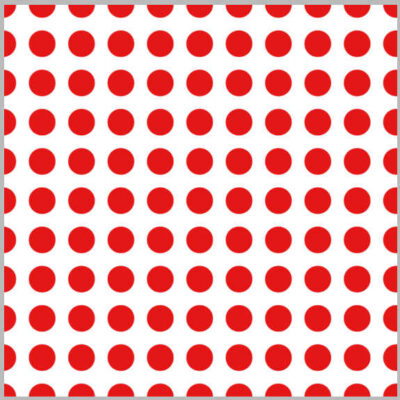
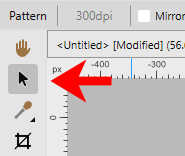
Let's activate the Move tool in the Tools panel.
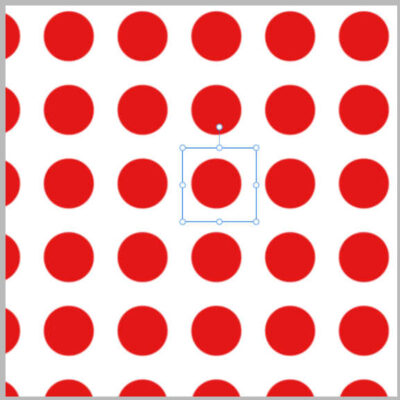
At this point, you will find that the original design has a bounding box.

If you like this arrangement, you are done. However, you can tweak that design further if you want.
Adjust the design
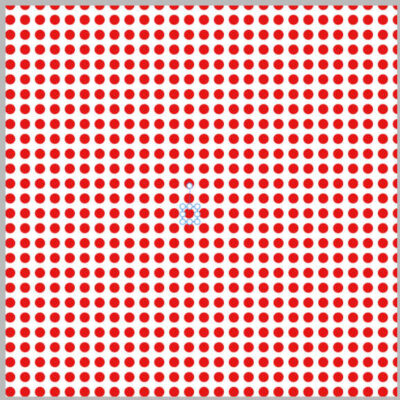
Using the bounding box, you can change the sizing of the design; make it larger, smaller, or even distort it.

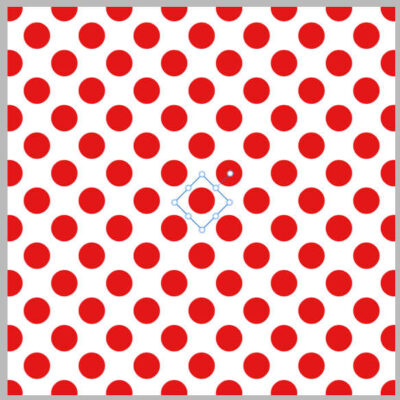
You can also use the top arm to rotate the pattern. If you hold the Shift key, the rotation will be in increments of 15 degrees, so it would be easy to get to an eye-pleasing 45 degree angle for the pattern.
In the Layers Window
You can look in the Layers panel and see that you have one layer with the original design (it is Pixel layer) and the Pattern layer that we created and adjusted.
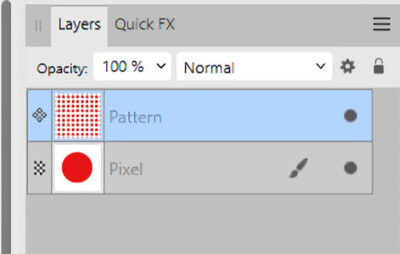
Once the pattern has been applied, you can even delete the original layer and your pattern will stay on its own layer, untouched.
Other types of pattern
This method would work with any seamless design you might want to add to any canvas.

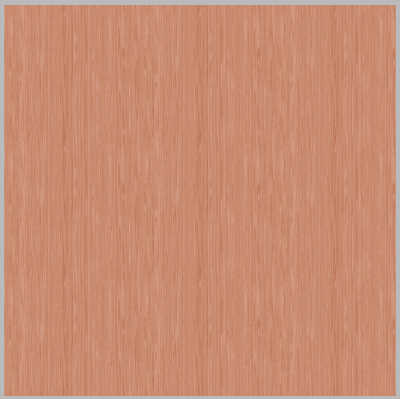
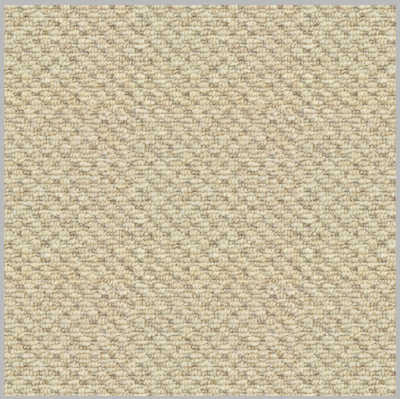
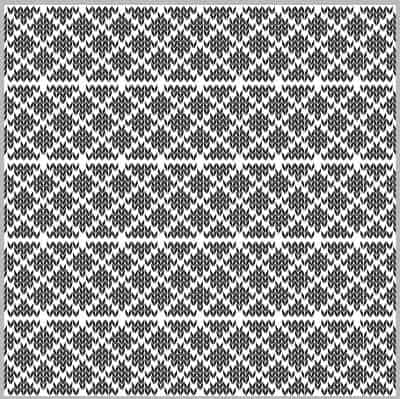
As long as your design is seamless, it will nicely fill the whole surface of the canvas. Even if you choose to resize the canvas, the Pattern layer will stay filled in the same way.
Convert that layer
If you want to use this new pattern all over your image, you are done. However, if you want to use this new layer only on a section of your work, you will want to trim it or remove some areas. If you make a selection and hit the Delete key, nothing will happen. You have to convert that layer to a Pixel layer in order to trim it. Right-click on the Pattern layer and choose Rasterize. From that point, you will be able to manipulate that layer like any other raster layer.


1 thought on “Creating a repeat pattern in Affinity Photo”
Thank you! 👍