
Affinity Photo allows you to create a variety of layer effects. Some of them will be common shadows, bevels, or other settings. By default, as soon as you want to apply a Layer Effect, you have to start from scratch as none of the settings are remembered from your last use. To save you time, you can create Layer Styles that will remember all those settings.
Let's create a basic Layer Effect
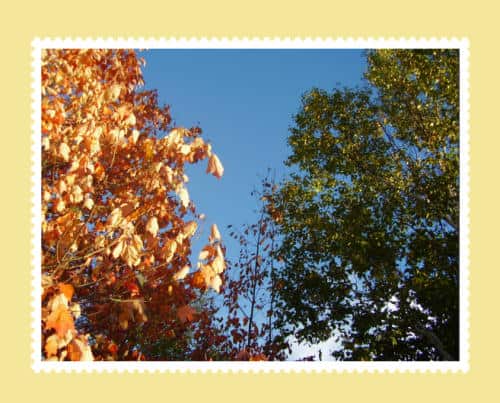
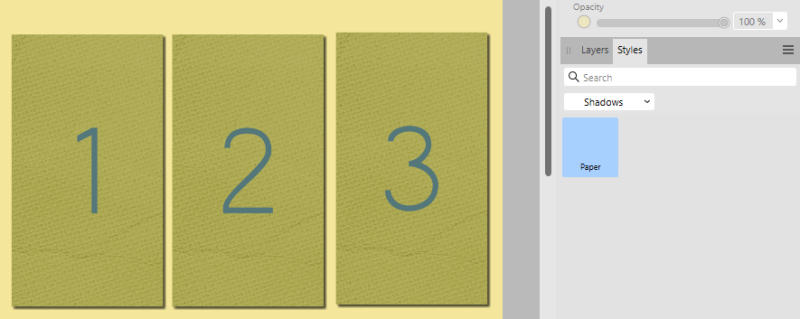
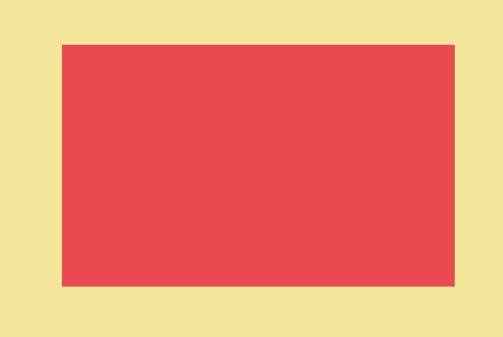
When creating digital scrapbook layouts, many elements will be paper-thin. These elements include photos, papers, paper elements, tags, stickers, and such. Let's work with this postage stamp.
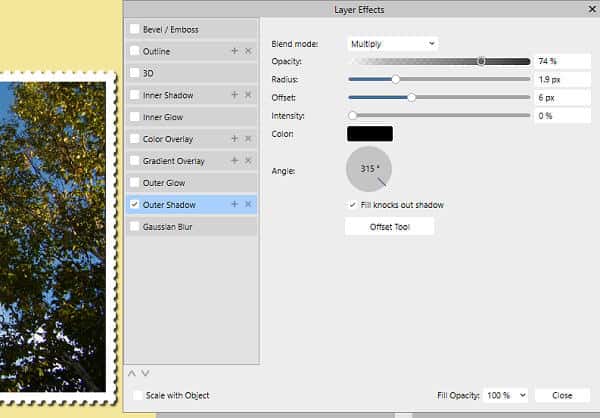
Now, clicking on the FX icon at the bottom, I will add this shadow (of course, you can choose any other settings if you prefer).
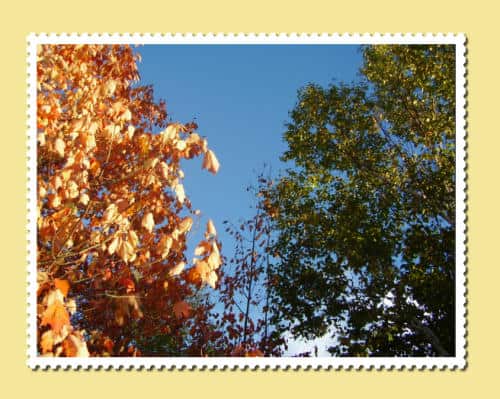
And we have this shadow on our postage stamp.
Let's open the Style panel
By default, the Styles panel is not available. If that is the case, you can go to Window > Styles and it will add a Styles tab alongside your Layers panel.
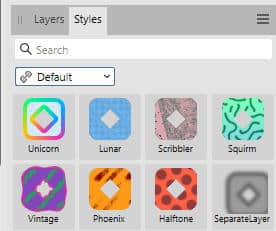
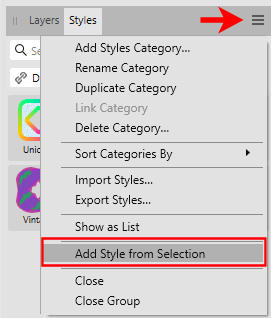
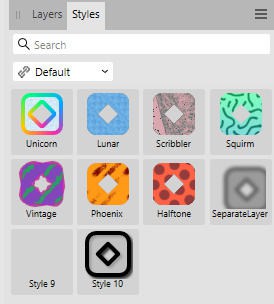
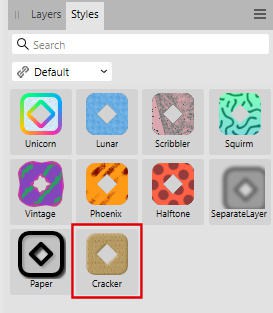
This is the default list of Styles already available. There aren't many, but that is where you can add your own. Notice the hamburger in the corner. Click on it, and you can add a new Style from the layer that was active.
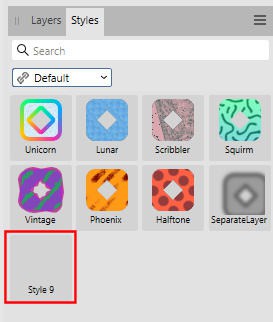
And you will see it appear with a default name.
Did you notice that in my example, the Style is "blank"? This could also happen to you. The reason is that the image I used to create my shadow was an Image layer (I had used the Place command). Let's right-click on the image and Rasterize that element. I will then get this dialog window:
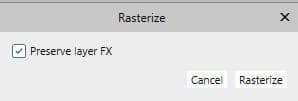
Of course, I want to keep that since that was my intention in the first place, to export the layer effect as a Style. So I will click on Rasterize. Now, adding the Style in the same way we did earlier, I will have a thumbnail as a visual reminder.
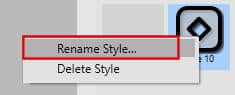
Of course, the default name might be less than descriptive. You likely will want to change that name to something that means something to you. Right-click on that Style, and choose Rename Style...
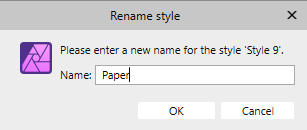
You can now type in the name you want in the popup window. Beware that only about 10 characters can fit in the description.
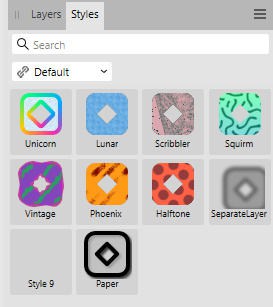
And now, the new Style is available for you to use.
Let's organize the Styles
If you create many Styles, for different types of elements you want to shadow, bevel, or generate different effects you want to repeat, you might want to organize them in separate categories. Click on the hamburger icon and choose Add Styles Category...
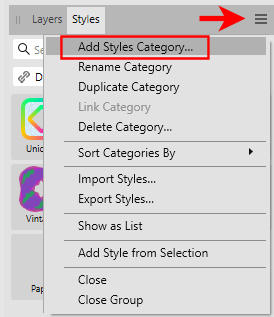
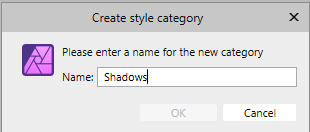
And enter the name of the category you want to create. In my example, I will create one category for different types of shadows so I will label it "Shadows".
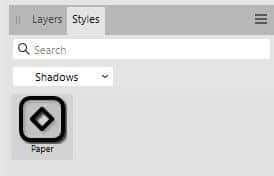
You can see that the new category appears in the drop-down list. Of course, you can have many more categories if you need more.

Once you have selected that category, you can save the Style again and rename it as you see fit.
At this point (using Affinity Photo 2.5), there is no way to manage Styles to change the category.
Let's use the new Style
Since the Style is now available for reuse, you can apply that effect to any new element without having to go through the FX icon at the bottom of the Layers panel. Once you have the layer selected, you can go to the Styles panel, and click on the Style you want.
But there are other types of Styles
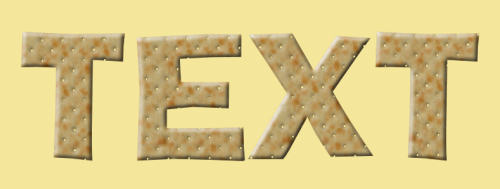
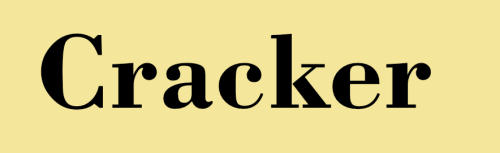
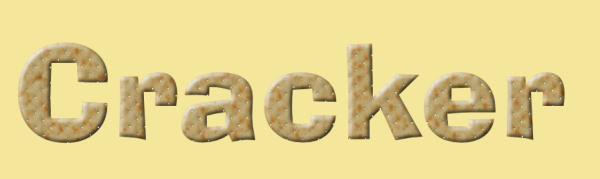
As a scrapbooker, adding shadow styles might be a great start, but there are other types of Styles you could create. If you use a text element, add different colors or patterns, then apply some layer effects, everything can be saved as a Style, including the font and the size. For example, I created this text with a cracker "fill".
I will add that Style to my panel and rename it.
Let's add a different text on a different image.
And let's apply this new "Cracker" Style to it.
As you can see, the original font, size, pattern, and bevel appeared. This might be convenient if you want to repeat the font and size, but it could also be annoying if you were planning on using and maintaining a different font or a different size. If that is what you want, you would have to change those settings (font and size) manually after applying the Style.
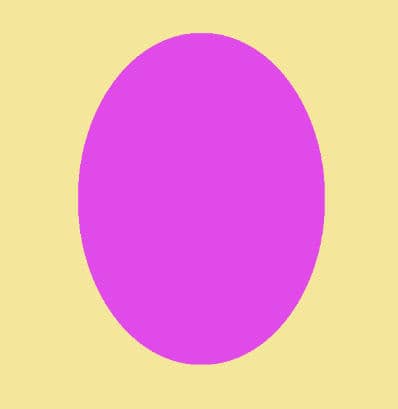
Can you apply this new style to something other than text? Of course you can. Let's start with this rectangle (a vector layer).
And apply the new Style.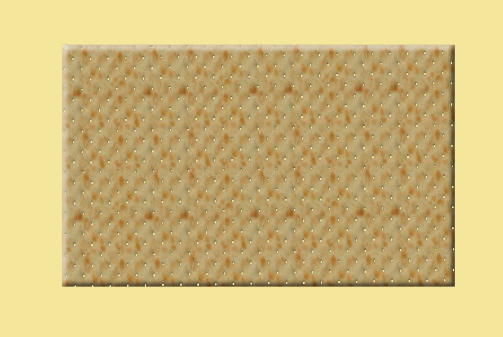
Of course, it will ignore the font and the size since those attributes do not exist in a shape.
How about a pixel layer? Can we apply the same style? Let's see. I have this ellipse created with the Selection tool and filled on a Pixel layer.
When I apply the same "cracker" style, I don't get that cracker texture. What is happening?
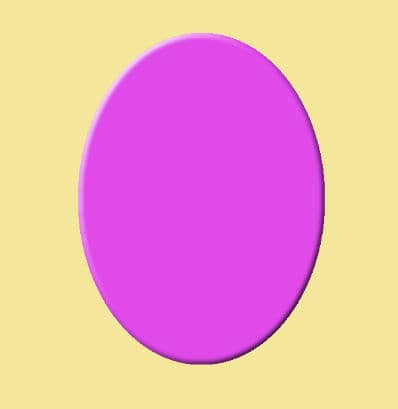
In a Pixel layer, the Style can only apply the layer effects. In this example, only the bevel could be applied. So, you won't get that round cracker with the new Style!
Vectors and non-vectors
If you create a style from any vector layer (Text, shape, curve, etc.), it will include the "fill", whether it is a solid color, a gradient or even an image. And when you apply that style to another element, it will also include the same settings, as long as it is a vector. For non-vector elements, only the layer effects will be applied.
Remember that styles are dynamic and even if you apply one, you can still change various settings after the fact. For example, if you apply a shadow style and find out that you want it intense because you have a dark background, you can still open the Layer FX window and adjust the Intensity or Opacity.
Now, it's your turn to create, save, and use your own Styles.


4 thoughts on “Saving Styles in Affinity”
Thanks for the explanation and PDF option. I will be using this option frequently.
Thank you for this helpful explanation, and the ability to save it as a PDF.
Thank you, it is always great to have such an explanation and be able to come back to it when needed. Learning a new program is an ongoing process.
Very informative. I’ve to try this one.