Double exposure projects allow you to showcase an image inside of a silhouette. Ideally, you will want the photo and the shape to be related together for a more impactful effect. Although some people will just layer two photos as if a roll of film was exposed twice, we will look at a more focused technique.
Choosing the images
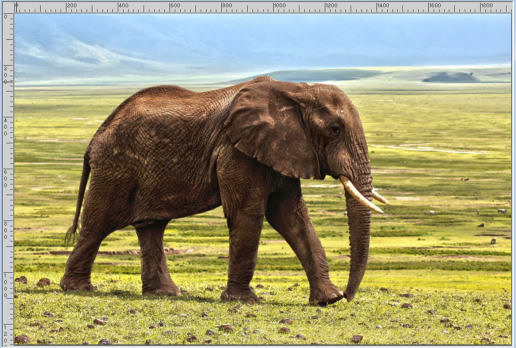
For this technique, we want to use two images that are somewhat related, either in theme or in the story they will tell. Let's find an easily identifiable shape to use as a silhouette. This elephant profile is great.
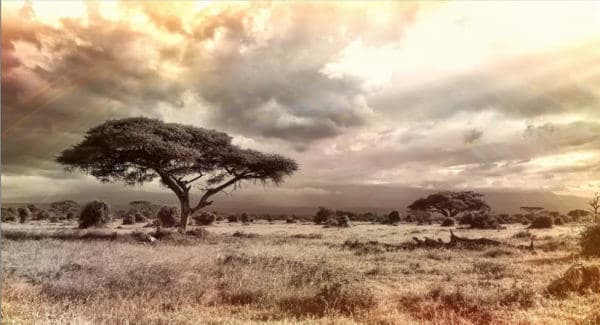
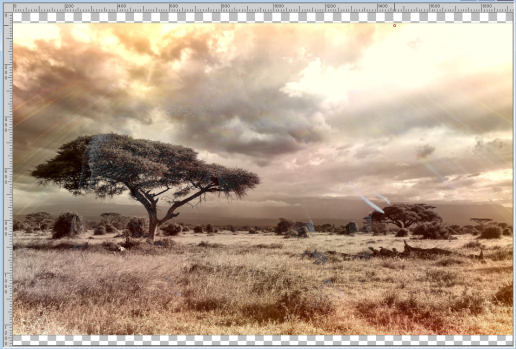
And we can pair this with a photo of the savana.
Isolate the base shape
Since I want the double-exposure effect to be only on the elephant, I will isolate it from the whole photo. Working on a duplicate of the image, let's activate the Smart Selection Brush and select the elephant.
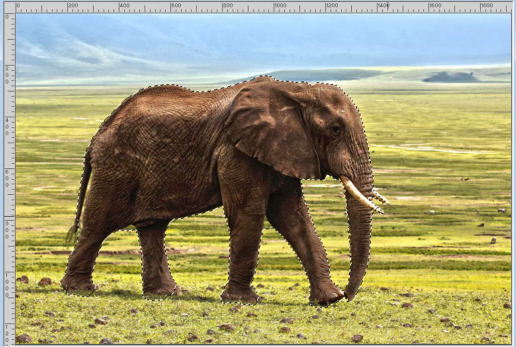
In the Layers palette, I will right click > Promote the Background Layer. Then, I will invert the selection with CTRL + SHIFT + I. Now everything outside of the shape is selected. I hit the DELETE key and my elephant is now alone on the image.
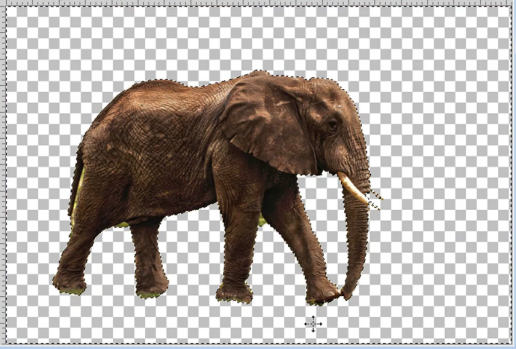
Although the Smart Selection Brush is great, it can leave some unwanted sections.
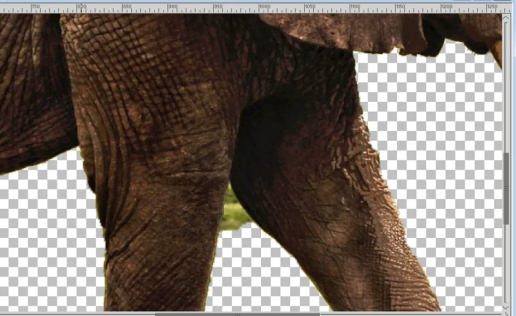
Using the Eraser tool, I will remove them.
Let's go to Adjust > Hue and Saturation > Hue/Saturation/Lightness and lower the Saturation to its minimum, -100.
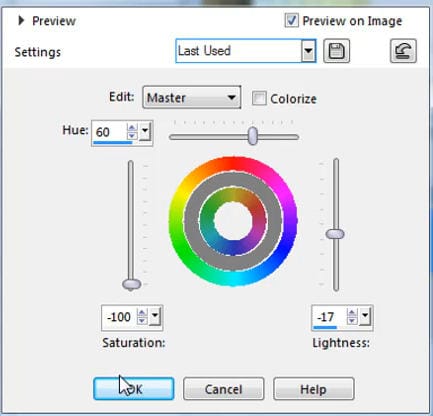
It will turn our image to greyscale. I don't want to lower the lightness too much because I still want to see some details in that "silhouette".
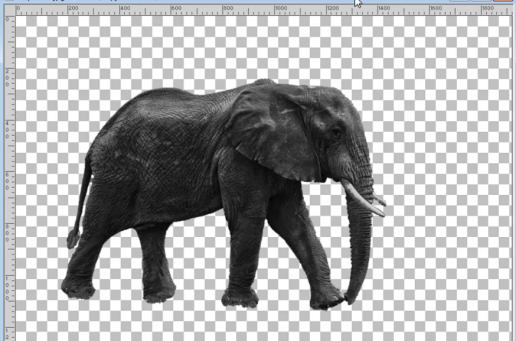
Add the second image
Let's open that second image (the savana) that will show over the elephant silhouette, copy and paste it as a new layer on top of the isolated image.
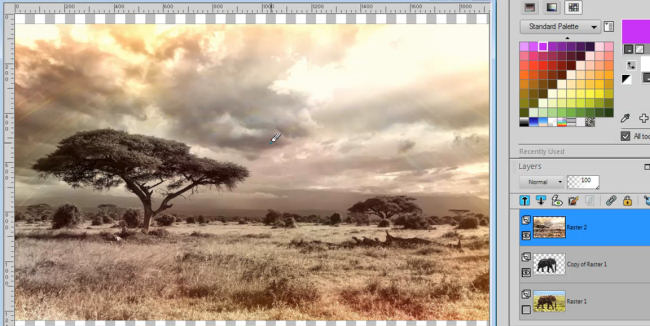
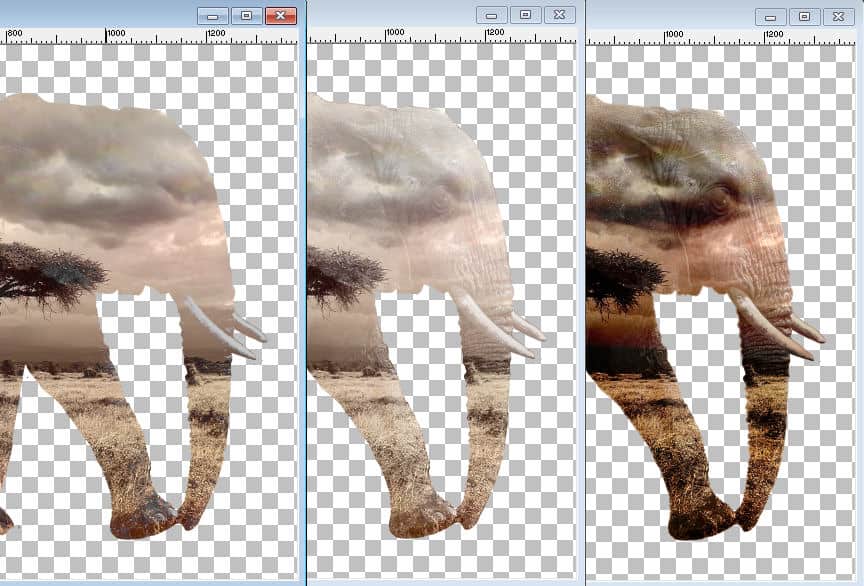
Let's choose the Lighten blend mode for the photo layer as it will blend with the "silhouette" shape.
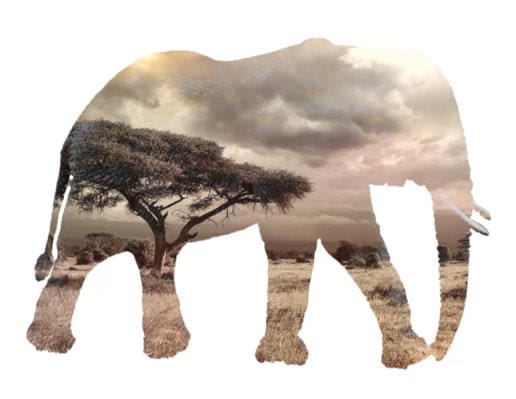
At this point, it does not look like much and that is because the blend mode has no effect if it blends with transparent sections below. To see better, I'll add a New Raster Layer below the grayscale elephant and fill it with white. This will ensure that the photo will blend only where the silhouette is. That is what happens when the Lighten blend mode is used: it will display the lightest of the two colors, and in this case, it is the white.
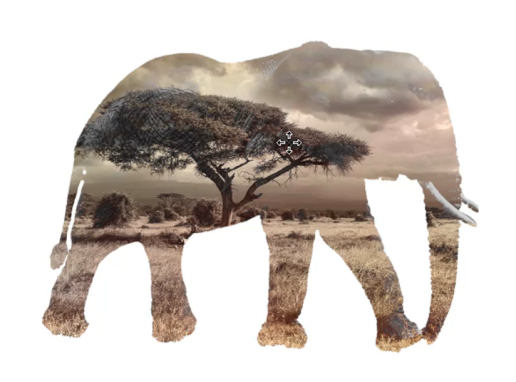
I will use the Move tool to adjust the image. That is how I make sure to focus on specific areas of the photo.
Isolate both images
Since I just want the double-exposure effect on the elephant silhouette and be able to place any other background, I will have to trim the photo to the correct shape. Let's activate the Magic Wand tool, select outside of the elephant and go to Selections > Modify > Smooth. I want to adjust the smoothing amount to about 15 and make sure the Preserve corners is checked.
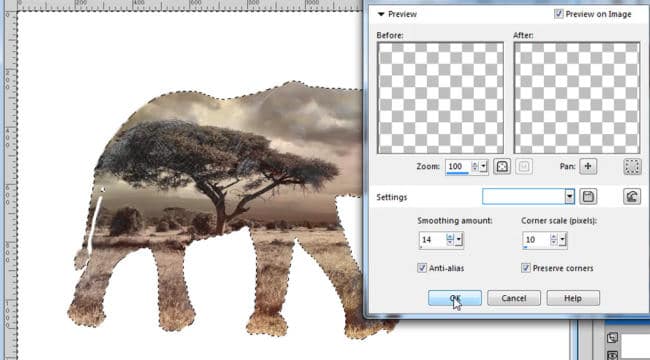
I can now activate the image layer and hit the Delete key. And now, the white layer is no longer needed. I can either delete it or hide it.
Once you are happy with all the moving and adjustments, you can merge the two layers together, if you need to move this composition to another project.
If you want to play around, you can test other Blend modes as you might get some happy surprises. For example, the Screen mode leaves more of the details from the "silhouette" and Hard Light darkens the colors that pop out. The result you get will depend on the colors of the images you use.
Here is another example of what can be created with this technique.
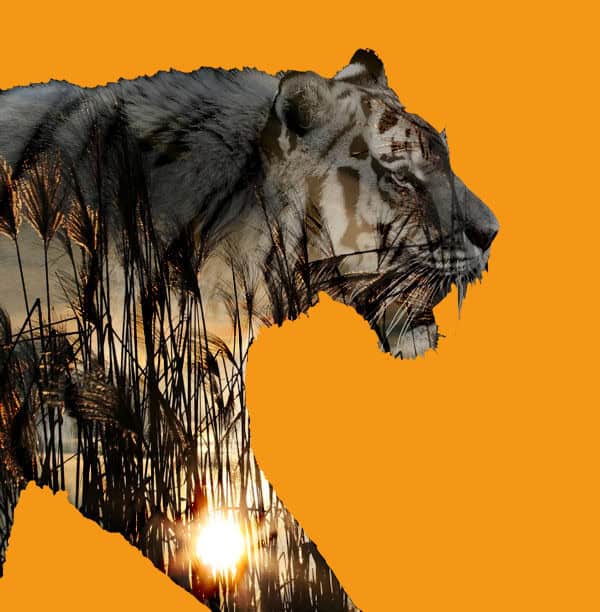
What would you showcase inside of a silhouette?
For more ideas on how you can use the Blend modes in PaintShop Pro, checkout the Blending Pictures Master class. You can purchase it on its own, or access it as part of the DIAMOND membership.


1 thought on “Double Exposure with PaintShop Pro”
This is a GREAT tutorial! I have quite a number of silhouettes to work with but you also showed how to turn an image into a silhouette! Yes, I can see this adding some dramatic effect to my layouts. Thanks.