
A lot of resources available online are in EPS (Encapsulated PostScript) format. Those are vector format, but when you open them in PaintShop Pro, you lose the vector feature. Typically, you end up with a flattened jpg image. That is not what you want. One vector format the PaintShop Pro can handle is WMF. Let's see how we can go from EPS to WMF.
Using an online converter
Some online converters allow you to import an EPS file and export it in a WMF. Although they have some limitations (file size, number of conversions, etc.), they might be what you need. Convert.io is one of those. You can read about that resource in this article.
Using programs you have
Some programs can natively open EPS files. Among them, Adobe Photoshop, Adobe Illustrator, and CorelDraw. Even if you happen to have an older version of those programs, they can be useful to open those EPS files, and they all can export a WMF format for you. Of course, those programs are not free. In fact, they are quite expensive so if you don't have access to them already, you will want to go with a different program.
Preparing Inkscape
Inkscape can handle EPS files and also export files in WMF (Windows Metafile) format. However, it won't do it out-of-the-box. You will need to go through a few steps first, to allow Inkscape to handle those EPS files.
Install Ghostscript
To open EPS files in Inkscape, you need to have Ghostscript installed on your computer. Ghostscript is a suite of software that provides an interpreter for the PostScript language and the Adobe Portable Document Format (PDF), which helps in processing EPS files.
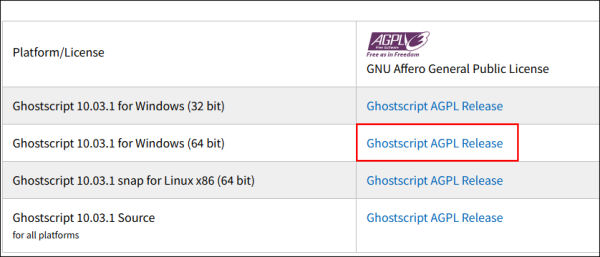
You can get Ghostcript HERE. Download the version you need (it likely will be the Windows 64-bit):
Although it would be simple to just run the .exe file and call it a day, that won't help. We have to go through a few uncommon steps.
Extract the content of Ghostscript
Instead of running the .exe file, right-click on it, and using 7-zip (which is likely installed by default with your Windows) and choose to Extract the file. This will create a folder with all the necessary files.
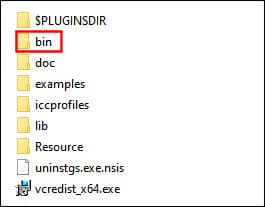
Rename the \bin folder to \gs.
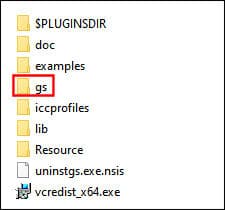
Go to the \lib folder, copy everything in that folder, and paste it into that new \gs folder.
Finally, copy this particular folder (the \gs), and paste it to your C:\ drive.
Adjust the System Environment Variable
In the Search bar of your Windows, type in System Environment Variable, and you will be preseted with this window.
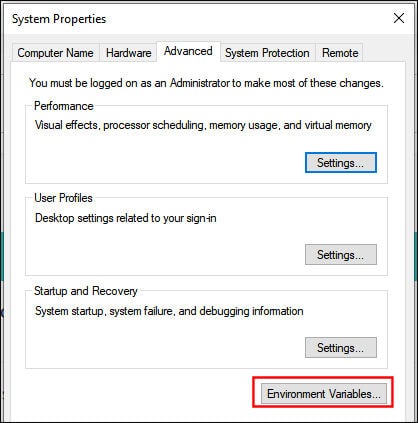
Click on the Environment Variables... Find the Path, in the bottom pane, and click Edit...
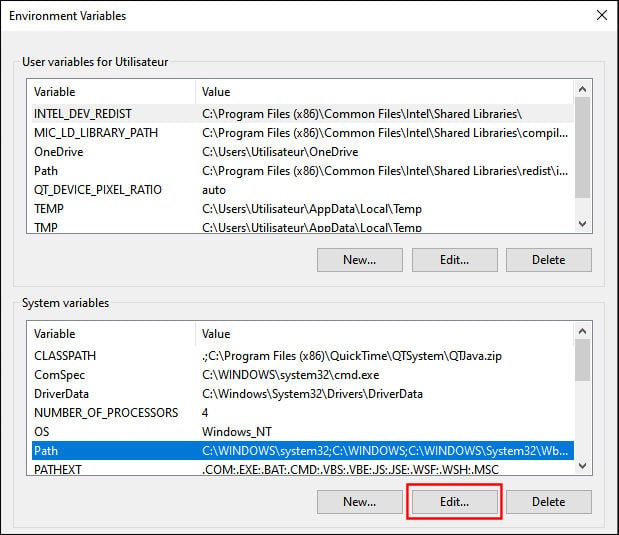
Click New... and type in the path C:\gs .
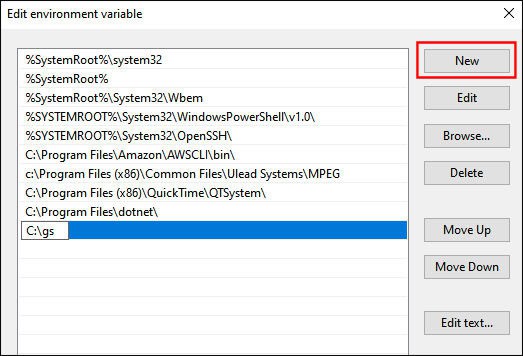
Close all the windows by clicking OK. now, your Inkscape should be able to handle EPS files.
Open EPS files
Now you can open EPS files directly in Inkscape by going to File > Open... and selecting your EPS file. Here is an example of a EPS file, opened in Inkscape. It will bring this window. Just accept it by clicking OK.
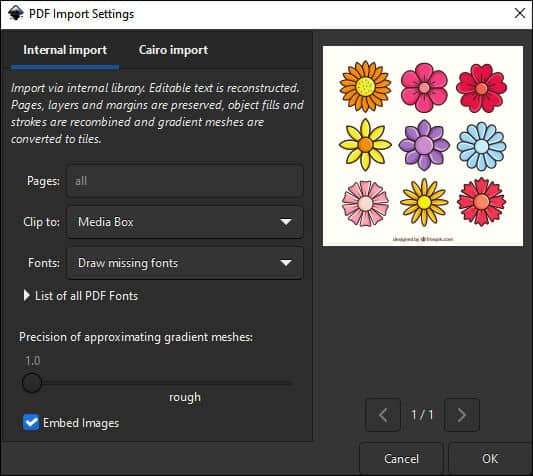
And here is the file open in Inkscape.
Exporting Files in WMF Format
As soon as the file is open in Inkscape, you can save it in WMF format. Go to File > Save as... and choose the WMF file format and give a name to your file.
Open the WMF in PaintShop Pro
Now that you have the file in a format that PaintShop Pro can handle, it is time to open it. Go to File > Open... and select the file you have just created. Once you have selected the WMF file, you will get this dialog window.

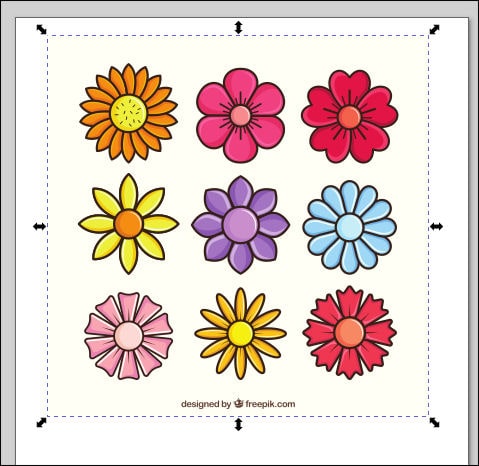
By default, the Import size will be identical to the Original size. However, considering that this is a vector, you can take that opportunity to create a much larger image than the original. Here, I put a width of 2000 pixels, which is almost three times the original dimensions. This will give me a lot more room to work, and if I only need one part of the whole image (like one flower), it will still give me enough space.
Here is the image, opened in PaintShop Pro.
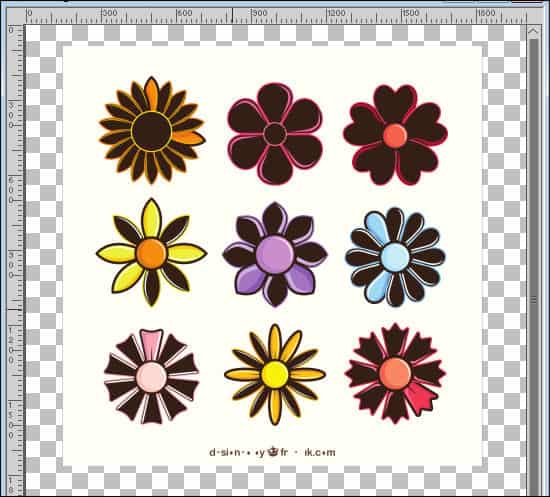
You can notice some issues: the design is not a perfect replica of the original image. This is something that can happen and it will depend on the file itself. Luckily, since all the components are vector objects, it is still easy for you to change the color to what you need.
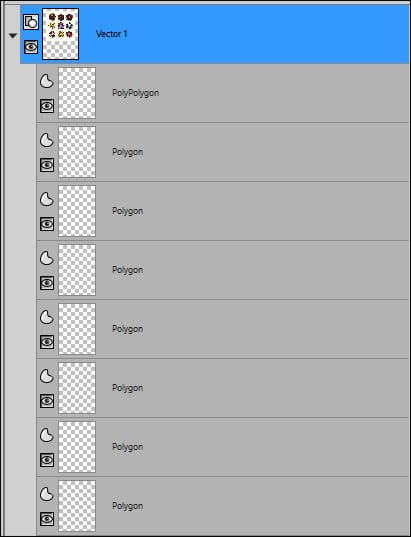
Once you have your image opened, you will see a LOT of individual vector objects.
If you need to work on a small segment of the whole image, make a selection around that section/element, and crop to that selection. This will reduce the number of objects in the Layers palette, and it will be more manageable to handle. Let's select one flower, and crop to that selection.
Handling the image
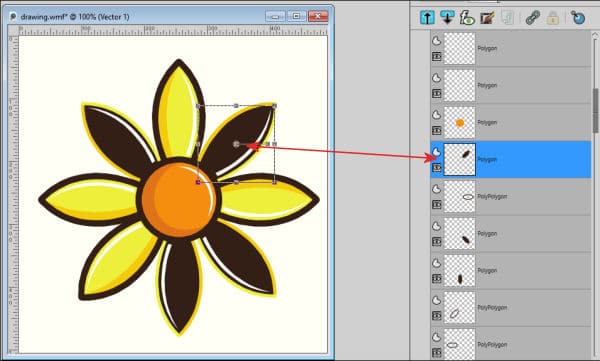
Now that we have only the vector objects related to our selected design, we can change anything we want. In this example, some colors were "lost", so we can add them back. To select a particular section, you can find it in the Layers palette. However, that can still mean a lot of objects to go through. One simple trick is to activate the Pick tool, and click on the specific section you want to edit. In the Layers palette, the matching object will be highlighted.
From there, double-click on the Object, and it will bring up the Vector Property dialog window.
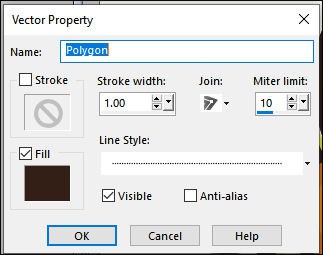
Let's change the black to a yellow to match the other petals.
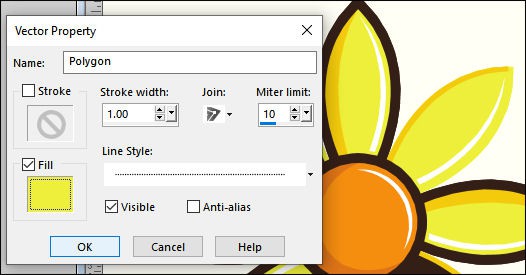
Withmore tweaks and adjustments, you can get the petal the way it was intended.

I found that some layers might end up in the wrong order, which gives an odd result. Some colors are not maintained, but it is easy to change that.
Anti-Alias
I also found that through this process, some edges will be quite rough and jaggied. It turns out that the Anti-alias feature is not enabled on all the Objects. If that is the case, in the Vector Property dialog window, simply check the Anti-alias box and you will see your edges get smoother.
Now that you know how to bring EPS files into your PaintShop Pro, you have a whole new world to explore as so many resources are in that format. Don't skip these EPS files anymore. You can handle them!


