

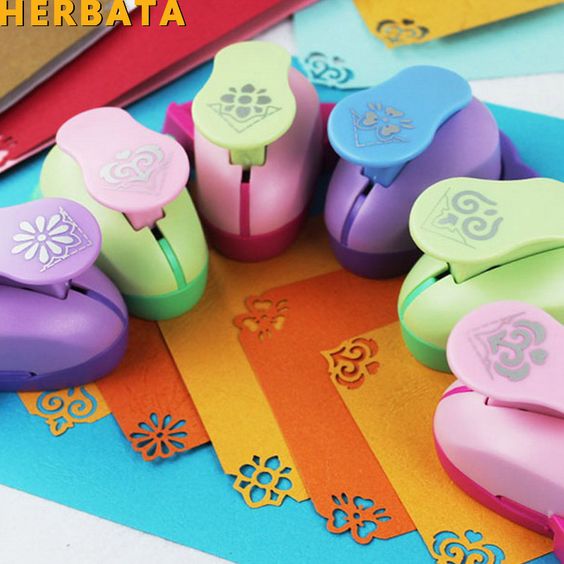
In the Creation Cassel store (a sister site), you can get a variety of scripts, picture tubes, fonts, and brushes. Some of the popular products are "punches". They try to replicate punches available to traditional paper scrapbookers. Let's see how you can use those punches with your PaintShop Pro.
Where are they?
All the punches are available in a single section here. They are in the Brushes section because that is what they are in the first place. Brush tips can be used with a variety of tools in PaintShop Pro and not just with the Brush tool. You can use them as Brushes to add paint or color, but you can also use them with the Eraser tool to remove or cut out the same shapes. They can also be used with other tools, but their usage is not as efficient.
If you plan on using these brush tips with the Eraser tool, that is when we would call them "punches". That simply describes the end result you are looking for.
Types of punches
The first designs were the corner punches. They were created to replicate the punches that were available in the paper scrapbooking world to create fancy corners.
This is how the first punches were created for the store. However, over time, edge punches were added. Those new punches replicated those also available in the traditional paper scrapbooking world.

Again, it was an easy way to add brush tips to use inside PaintShop Pro as an Eraser.
Unlike paper punches, the newest products in the store are meant to create cutouts in the middle of the paper.
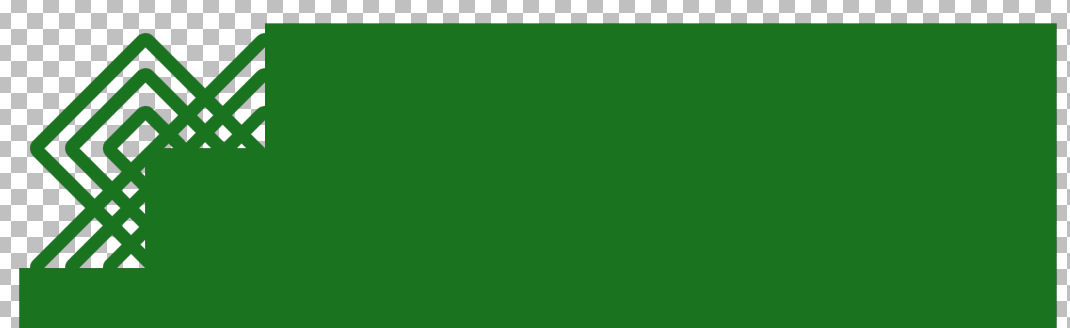
How to use the corner punches?
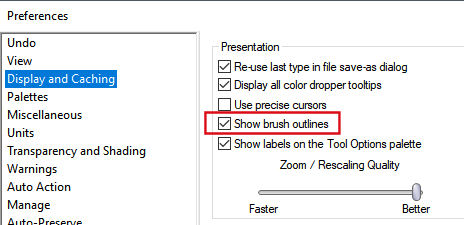
The various punches allow you to see where you are "punching" if you have the correct setting. By default, it should be set for you but if you don't see the outline of the brush tip, check under File > Preferences > General Program Preferences > Display and Caching and make sure that Show brush outlines is checked.
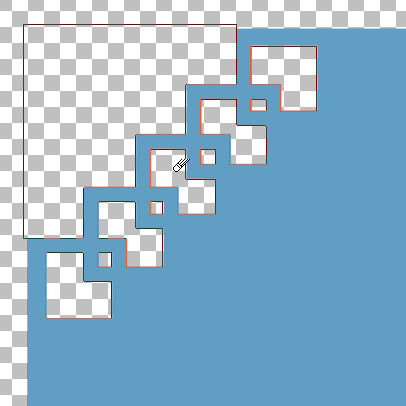
Once that is set, you will be able to see the brush tip and gauge exactly where to click. I have chosen one corner punch here, and I can hover over the corner, to make sure that the "cut" will include the whole corner. You don't need to be right on the edge because you WANT that whole corner to be punched out anyway. Just make sure it is even on the two sides of the corner.

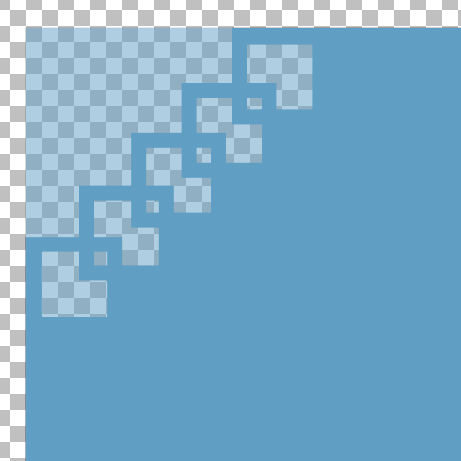
And just click.
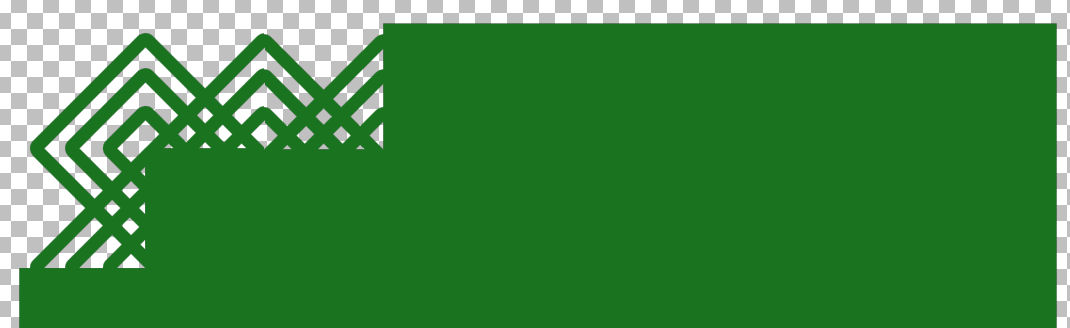
If you want to be a little fancy, you can change the Opacity of the Eraser tool. This will create a translucent effect that is not possible with paper scrapbooking.
If you want to punch out the other corners, you simply need to change the Rotation setting to 90, 180, or 270. That assumes that your shape has horizontal and vertical edges.

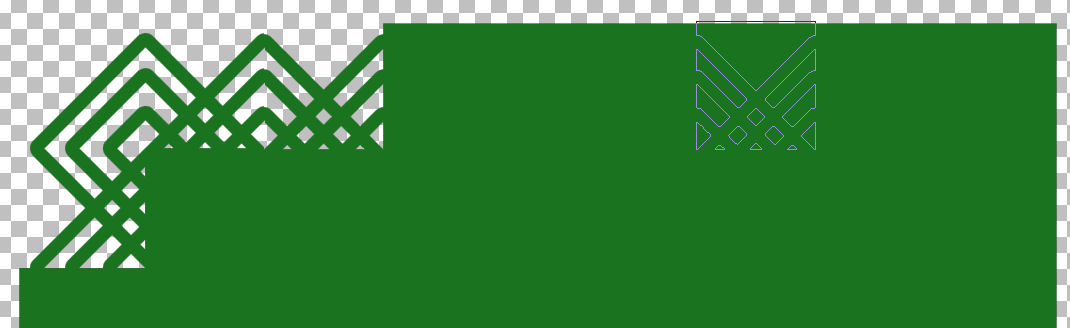
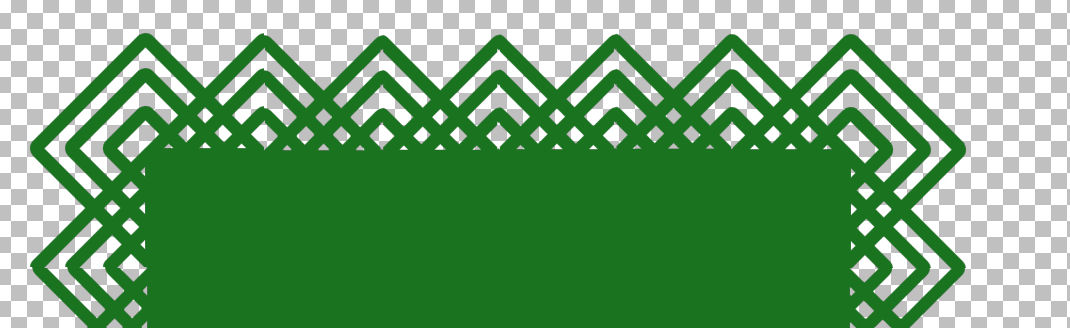
How to use Edge punches?
For the edge punches, you will likely want the cutout to follow one side of your paper or element, and the design should be repeated. Each punch comes with default settings, and this includes the Step value. If you don't change this setting, it should place each cut perfectly aligned with the others.
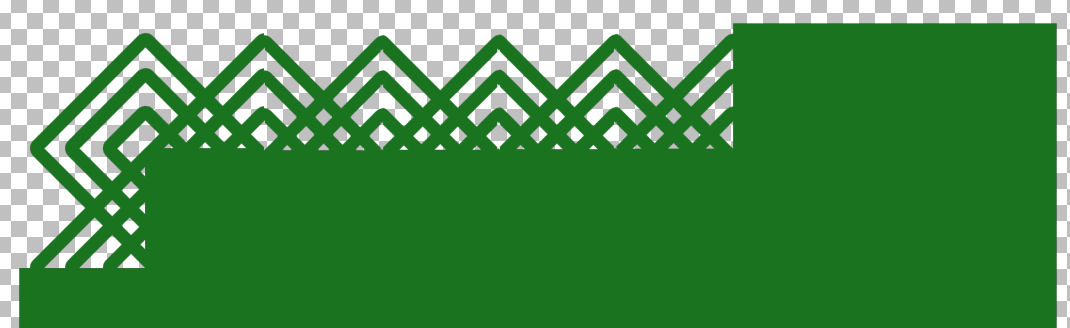
Let's assume that you only want the entire edge cut. You click on one corner to punch it out.

Then, hold the Shift key and move the brush tip to the other end.

And click. Depending on the size of the brush or the length of your edge, it might not cut all the way to the end. It will only cut complete designs and not partial ones. So it is possible that you will end up with an uncut section.

In the end, you could simply trim the little section off, or cut along the full edge. It all depends on the element you are working on.
How to use corner and edge punches?
Sometimes, you may way to use these punches all around a frame or a paper. Maybe you want two edges cut, and you want a fancy corner to match. If that is the case, you have to start with the corner piece first, because you know it will be on one edge.
Then, select the matching brush tip to go with that corner and align it just on the edge.
Move your cursor to at least twice the width of the current brush. Remember that if you want a corner on the other end, it will take some space and you cannot assume that the next corner will match the paper.
Holding the Shift key, click in that position. It will punch out as many complete designs as it can.
Now, you should have enough room to place the corner again. Make sure you rotate the brush to match this new corner.
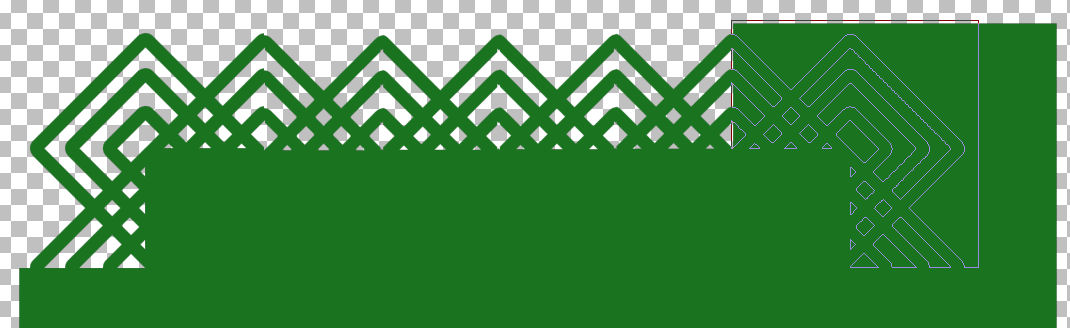
Notice that it will NOT match the corner of the paper, and that is normal.

At this point, you will want to trim the excess on the edge of the paper (or frame) all the way, so you can add more edges on that side.
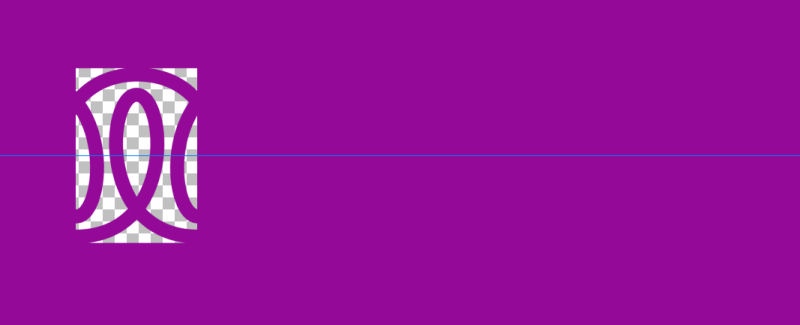
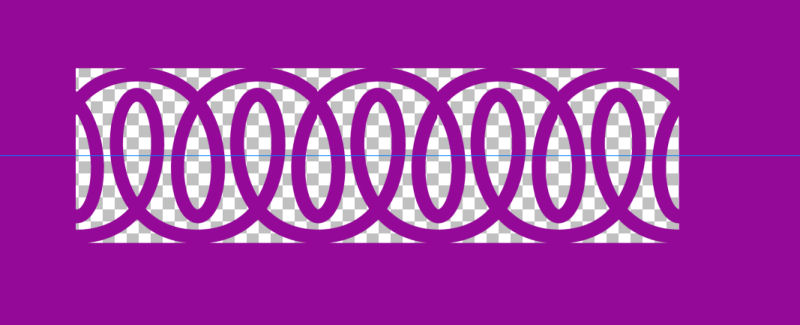
How to use inside punches?
The newest punches available in the store are no longer meant to be used on edges or corners but inside your shape. Since you don't have a straight edge to help you align the cutout, it will be a good idea to use a guide where you want the punched paper. Then, go to one side, and punch normally.
Using the guide, go to the other end of the area you want to punch out. Don't change the Step setting.
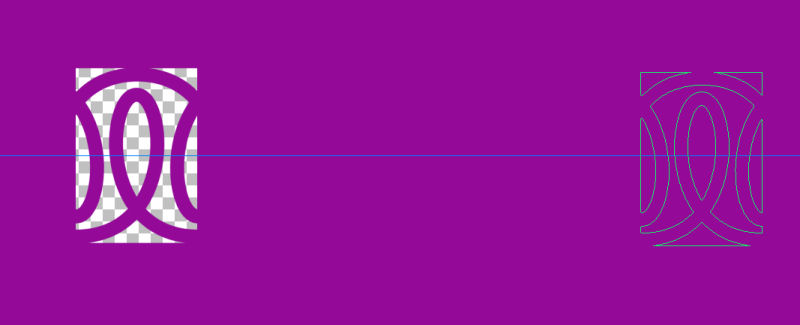
Holding the Shift key, simply click at the other end, and you will get a seamless cutout.
What can you do with these punches?
You can be very creative in using these punches. You can decorate papers, frames, tags, or photos.
What will you do with those punches?


3 thoughts on “Using Punches in PaintShop Pro”
This is fabulous! Now I see where I was going wrong trying to use them. Thank your for the lesson.
Thank you for these great tips!❤️❤️❤️
Great article.