

PaintShop Pro introduced a new selection tool with version X6. It is the Smart Selection Brush. How is it different than the existing selection tools? How do you use this new feature? Let's see.
Where is the Smart Selection Brush?
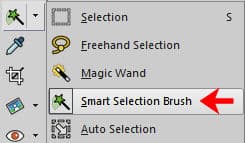
You will find the Smart Selection Brush in the same cluster as the other selection tools. It is similar to the Magic Wand but with a green star on the tip of the wand.
What are the settings?
The settings for the Smart Selection Brush are similar to the ones for the Magic Wand, but there are also important differences.
![]()
Presets: just like most other tools in PaintShop Pro, you can have some presets saved.
Action: once a selection is made, you can use the Magic Fill and the Magic Move options.
Mode: this is exactly like the other Selection tools where you can ADD, REMOVE, or REPLACE the existing selection.
Size: this will be the area where the brush will make a selection and use the colors to select other adjacent areas.
Feather: if you want the end result to have softer edges, you can adjust the Feather settings. I tend to prefer to add the feathering manually, afterward.
Tolerance: just like for the Magic Wand, you can determine how similar you need the tool to select the adjacent areas.
Anti-Alias: with this box checked, the edges of the selection will be smoother as the pixels will be semi-transparent. Keep it checked. It is the best setting 99% of the time.
Use all layers: if you have multiple layers in a composite, this allows you to select an area based on the combination of all those layers if you want.
Smart Edge: with this option checked, the Smart Selection Brush will look for defined edges and will select the area from the point where you click. If this is unchecked, the Smart Selection Brush will just select the area where you brush.
How to use the Smart Selection Brush?
With the Smart Edge checked, you can brush inside the area you want to select and the brush will select the adjacent area that is similar to where you clicked/brushed, up to the nearest edge. You should see the cursor along with the expected area based on the size you selected.

When you first click, you will likely get a small area like this:

As you keep brushing, the brush will select more and more areas, up to the edges it finds.

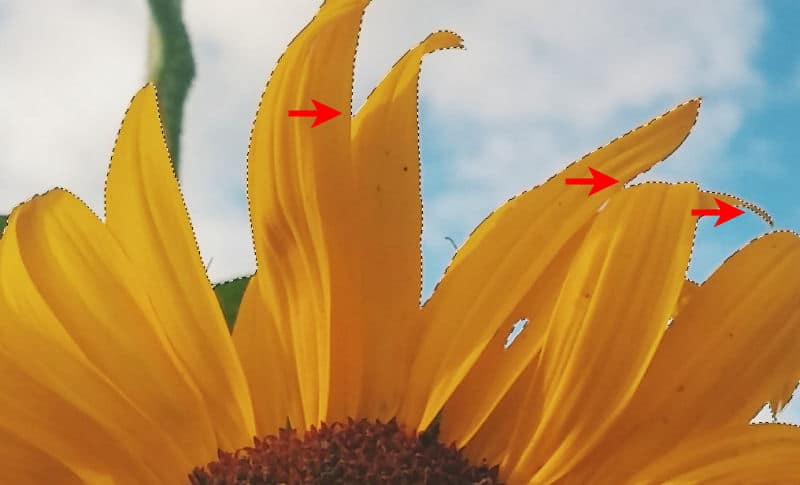
While you keep brushing, you can get more and more of the sections you want, even if they are of different colors (I added the green leaf and the brown center).

As you can see, the result is pretty good, but it is not perfect. We still need to tweak it a bit.
How to adjust the results from the Smart Selection Brush
The Smart Selection Brush works similarly to the other Selection tools. You can add to the existing selection, or remove areas you don't want. You can do that by using ANY of the Selection tools. In this example, I will activate the Magic Wand, and holding the Ctrl key (to REMOVE), I will click the center of the unwanted holes.

I can keep removing some unwanted areas with the Magic Wand, and even add some that the Smart Selection Brush missed.
A fun way to use the Smart Selection Brush
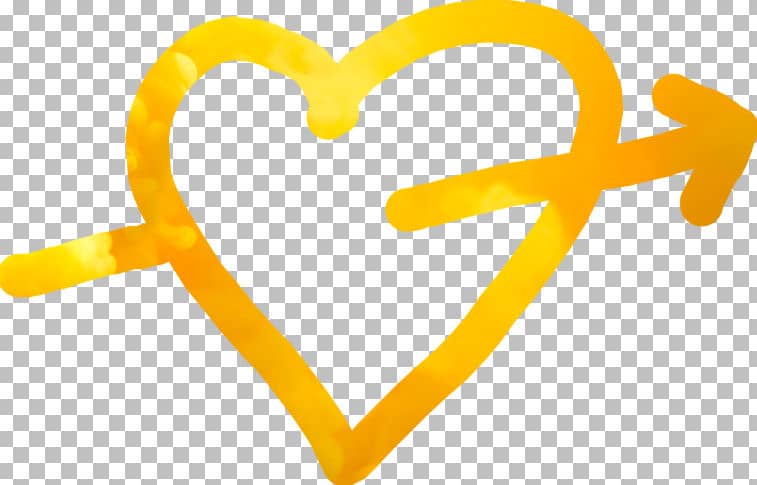
Although you might use this tool for selecting a specific area, or a subject, sometimes, you can use it differently. If you uncheck the Smart Edge, the Smart Selection Brush will just select where you brush. Period! This allows you to doodle some shapes you want cut out of any background.
Let's open a photo for a background.

While the Smart Edge is UNchecked, I can doodle a shape on my image, and the selection will just follow my cursor.

Now, it is up to you to decide what you will do with that selection. You can copy and paste it on its own.
Or you can colorize it directly onto the background.

Since you cannot change the shape of the brush (or use existing brush tips), this technique is most suitable for hand-drawn doodle shapes.
How will you use the Smart Selection Brush? Show us what you do.
For more information on the Selection tools, you can check the two classes, Selections Everywhere and Selection Everywhere - Part 2.


5 thoughts on “The Smart Selection Brush in PaintShop Pro”
Very nice explanation! Do you know, I have never, ever used the selection brush? It just isn’t my go-to.
When you find a situation where it is useful, you will love it. But of course, it is not a tool to use ALL the time either.
I’m prone to use this selection tool more often than not. I find it quite precise at smaller sizes or quicker at larger ones. Holding down the Shift to Add or Control to Subtract areas works great. I find I only need the Refine Brush option to finish off a selection. For me it’s almost an All-in-One tool so I don’t have to switch.
HOW DOES TOLERANCE PLAY ANY PART IN SMART SELECTION BRUSH. EXAMPLE I HAVE IT SET AT 32, IF I DROP TO 16 WILL IT SELECT LESS? IF I PUT 85 WILL SELECT MORE?
Exactly. If the settings make it “more tolerant”, it will select colors that are slightly more “away” from the original color clicked on.