In scrapbooking, a "mat" refers to a decorative element that is used to enhance and frame a photo or other focal point on a page. It is typically a piece of paper or cardstock cut into a shape slightly larger than the photo or focal point, creating a border or frame around it.
Why use mats?
Mats serve several purposes in scrapbooking. Let's look at some of them.
Enhancing the focal point
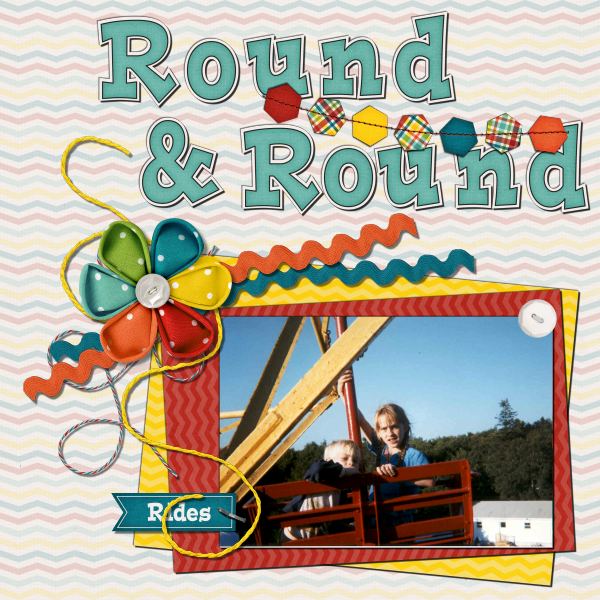
Mats can create a visual separation between the photo and the background paper, drawing attention to the focal point and making it stand out. This might be even more important if you have photos without any border.

Adding dimension and depth
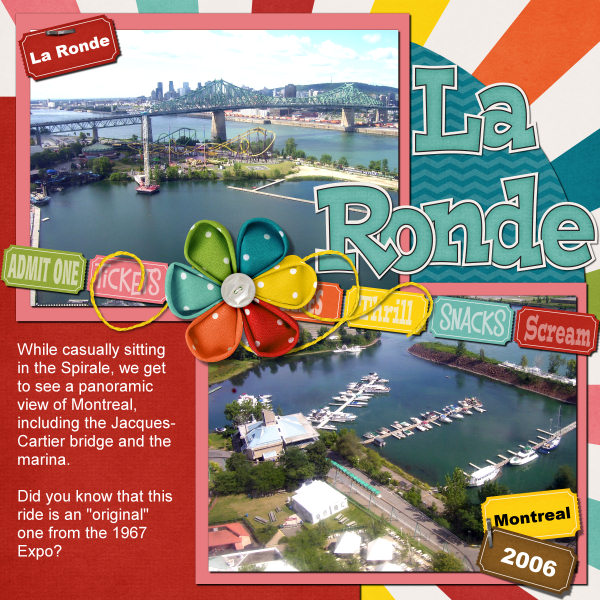
Mats can add depth to your scrapbook page by creating layers. By stacking mats of different sizes, shapes, and colors, you can achieve a three-dimensional effect.

Providing visual contrast
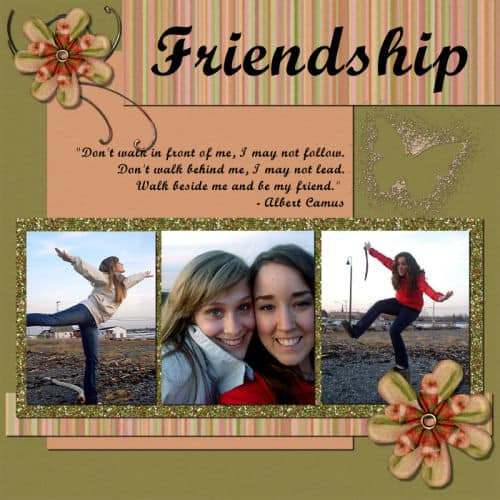
Choosing a contrasting color or pattern for your mat can help the photo or focal point pop off the page and create visual interest. This might actually be very useful if you are using a very busy patterned paper; using a more subtle pattern behind the photo will help it stand out.

Of course, if you need to add journaling, a solid color or a subtle pattern will allow you to keep the text legible.
Organizing and grouping
You can group related photos or elements together on a scrapbook page by placing a mat behind them. By matting multiple photos with the same color or pattern, you can create a cohesive look.

How to create a mat?
A simple way to create a mat from full-size paper would be to place that paper where you want it in the Layers palette. Then, use the Selection tool to select the shape, size, and location you want for that mat. You can use existing photos on the project as a guide. Then, in the Layers palette, right-click on the paper layer, and select "Promote selection to a layer". Now, you have a mat in the exact shape and size you wanted. You can delete the original full-size paper layer unless you want to create more mats from it.
What can be used for mats?
Although you would typically use papers for mats, you can also use other bases. For example, you can use a doily, a piece of wood, or fabric. Everything is digital so you don't have to worry about the thickness or the weight of your mat.
You can definitely add great texture effects when using supplies that are not paper-looking.
You can create some custom paper doilies using a script, like the Laser Cut Doilies one, available in the store.
Mats are just one of many techniques and elements used in scrapbooking to enhance the visual appeal and storytelling aspects of your pages. They provide a way to highlight and frame important photos or focal points while adding creativity and style to your scrapbook layouts.


1 thought on “How to use mats in a scrapbook project”
Typically I dont use many mats but after reading the part about them adding depth and dimension I think I will try to add more mats.