When creating a scrapbook project, or any other graphic project, you might consider stacking papers to create an interesting and different effect. But what is stacking paper and why? Let's see how we can answer those questions for you.
What is "stacked papers"?
As its name implies, stacked papers are a series of papers that will be layered on your project. Most often, instead of cutting papers to a smaller size and shape, stacked papers are left almost full size so the effect will mainly be on one side or one corner. Of course, you can also resize your papers slightly and have a stacked effect all around your project if you prefer.
Typically, the stacked papers will be offset from each other in an irregular way. This gives some movement and interest in the design. However, a different look can be achieved with evenly offset papers.
Why use "stacked papers"?
One reason that you might want to consider stacked papers is to display some papers that would be overpowering if used in full. With the offset of multiple papers, you can show off some of those papers and only a section will be visible.
How to stack papers?
There is no real science or method to stacking papers. You will be guided by your own intuition and preferences. You can stack a couple of papers or more. You can rotate the papers slightly or more, and choose a slight or large offset between each.
Let's look at different examples of stacked papers to inspire you.
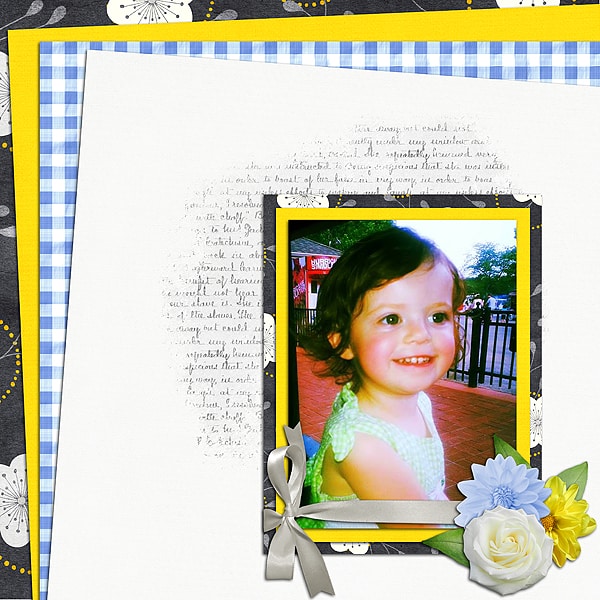
This is how we can typically envision stacked papers, with offset and rotation being visible on one corner (which shows on two sides of the page). As you can see, the colors are reused in the mats of the photo so that the bright yellow color does not overpower the whole layout.
A more regular type of stacking includes even offsets in two directions. Even with only two papers being repeated, it adds some interest on two sides of the page and frames the photo.
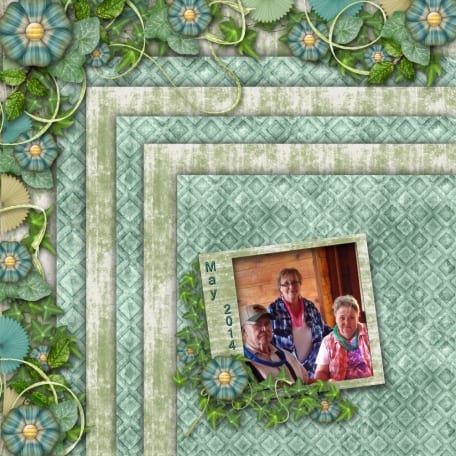
If you prefer, you can stack papers in the center of your page. If you want the effect to be visible, you need to slightly resize your papers. Here is an example of stacking papers that are centered on the page. This will then show up on all four sides of the project.

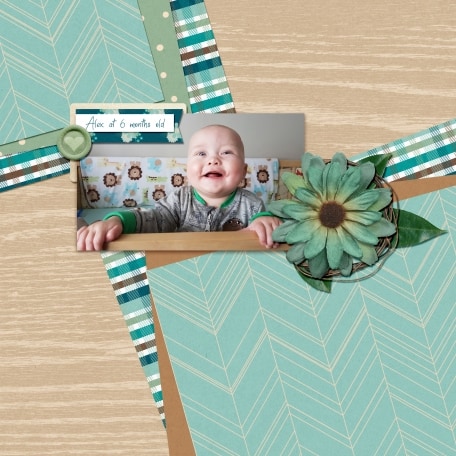
For a different approach to stacking paper, move them partially off the page and showcase the corners in the center. It is an interesting way to add colors and patterns without actually cutting the papers in strips or shapes.
How to stack papers?
The technique is super simple. Layer various papers you want to stack on your project and with the Move tool, offset them. You will probably want to add some rotation. If that is the case, you can use the Pick tool and use the handle to rotate the way you want. The amount of rotation can range from none at all to a lot. It will depend on how much of the designs and colors you want to see in the stack.
Quick projects with stacked papers
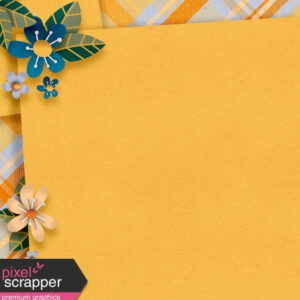
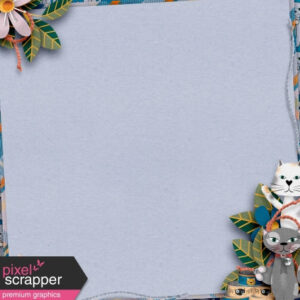
If you are still unsure about stacking papers yourself but you like the look, check out some "papers" that will simulate the same effect. Check these papers from Gina Jones.
With papers like these, you can start your page and add whatever element or decoration you want to embellish your photos.
Will you try stacking papers in your next project?




1 thought on “Stacking papers in scrapbook pages”
Stacked papers means, in my opinion, group them and add some fine effects if you like. I think, the best would be an effect wich shows movement in a way ( differennt colors of papers or their length).