
Sometimes, you can't decide what effect you want to showcase for your photo. Why not display two or more of them? That could be a creative way to show off your work, or sometimes, to hide some defects.
Create two (or more) effects
You might want to apply various effects to your photo. Maybe it is an effect you do manually, or you might want to use a filter, like FilterForge. The first step will be to apply the effects you want on separate copies of your starting image. It is also a good idea to work on duplicates so you keep your original intact.
Let's start with this simple image.

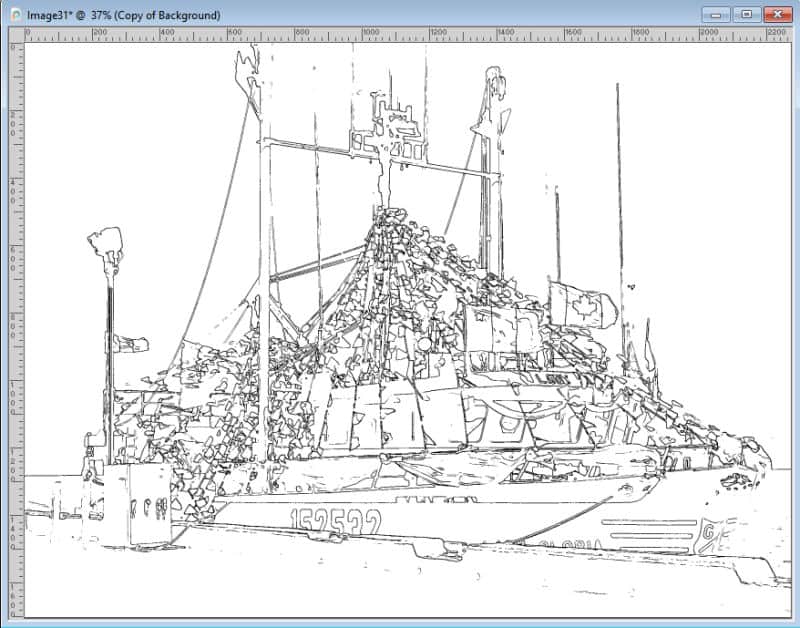
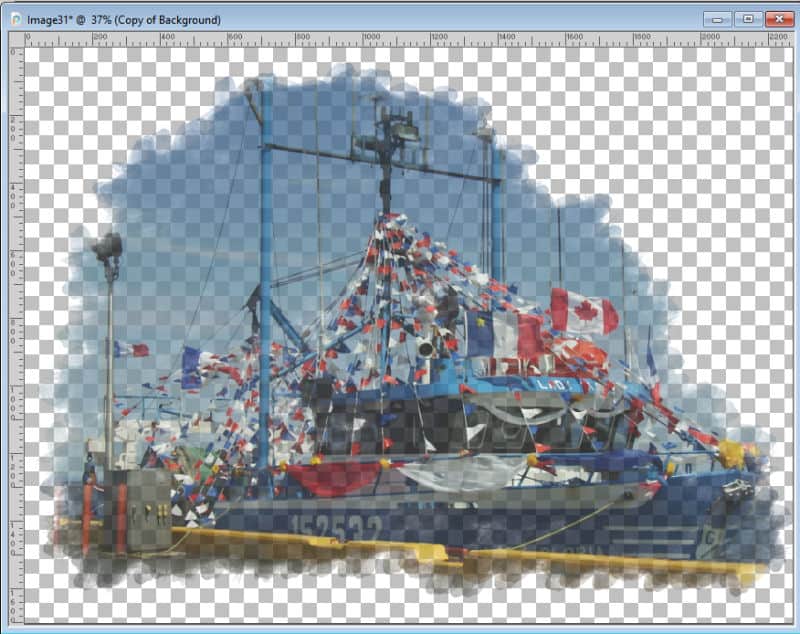
On two copies of the original, I applied effects that I find interesting: one is a simple sketch effect and one is a watercolor effect.
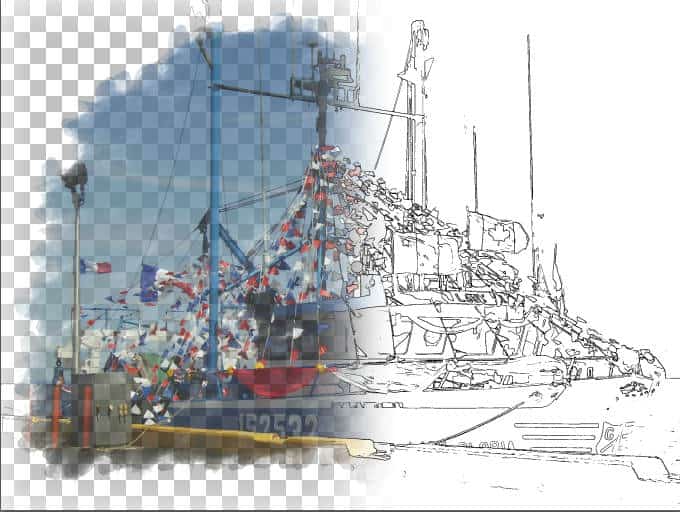
In order to showcase both effects, I will layer the two images onto one to be ready for the next step.
Cut the image
One easy way to showcase the two effects would be to make a simple selection and delete that area from the top image. This is what you would get.

This might not be too bad, but a sharp cut between the images might not be what you want. Instead, once you have made your selection, you can add a feathering before deleting that section. The transition might look better as it will be smoother.
That looks better, don't you think?
Using a mask
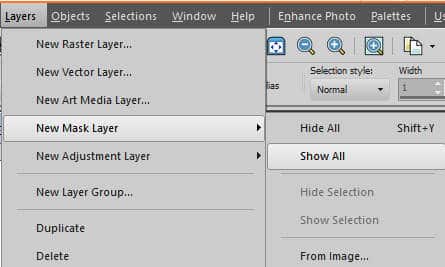
Another approach would give you more flexibility and it is to use a mask. While on the top layer of your project, add a mask through Layers > New Mask Layer > Show All.
In the Layers palette, you will see a white mask layer. On your work, you won't see any change yet.

At this point, find a black/white gradient in the Materials palette. You might have one already, or you can use the Foreground-Background gradient and select black and white colors for the material. Fill the mask layer with that gradient.
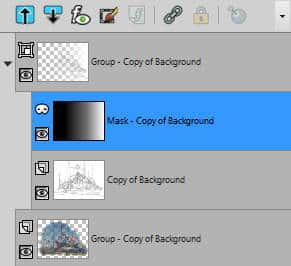
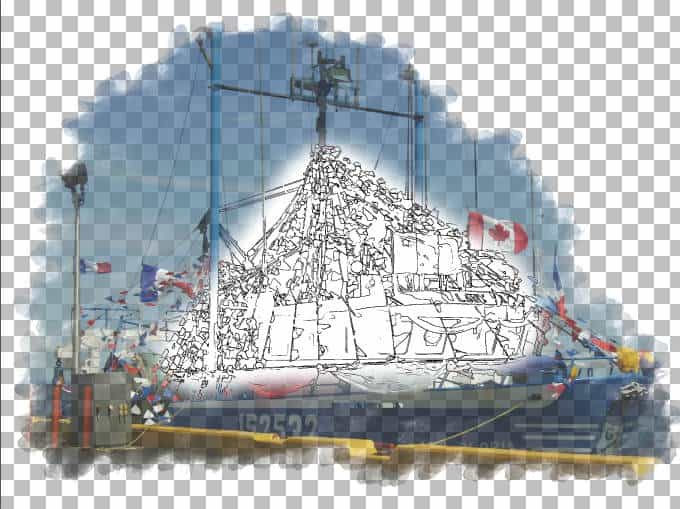
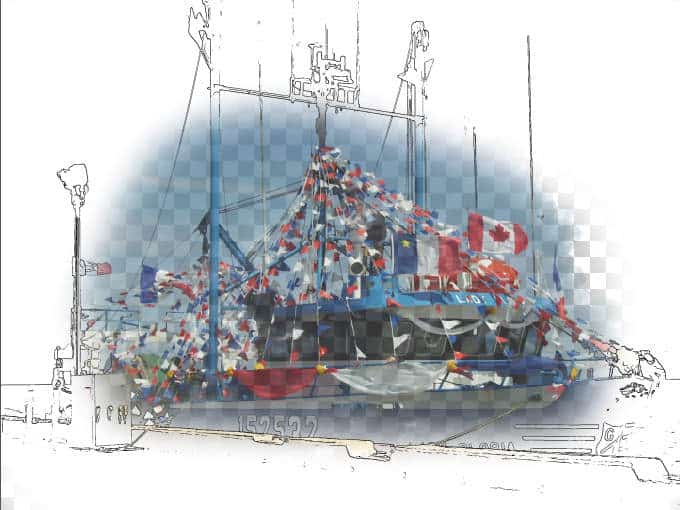
Remember that "Black will block and white is a window", so the area where the mask is black will hide the part of the image below, allowing the next layer to show through. And you can also notice how the transition is very smooth between the two.

If you find that you see too much or too little of the top image, you can tweak the mask using the Pick tool. Once activated, you will see the nodes surrounding the dark part of the mask. If the lighter part is not pure white, the nodes will be around your whole image.

Simply use the left or right center node to resize the mask area. As you resize it, you will see the transition shift.

It is up to you to decide how much of each image you want to showcase with the effect you created.
Painting the mask
Since the mask can offer more flexibility, here is another way you can use it. Let's start at the same point, with the two full images layered on top of each other. Add a mask but this time, instead of "Show all", choose "Hide all". This will add a black mask layer and it will hide the whole top layer.
Using a very soft brush (meaning the hardness is set to 0), you can brush in WHITE, wherever you want that top image to show. It could be focus on the center of your image like this
Or you can do the opposite and brush on the outer edge of your image.
Remember that the mnemonic says "white is a window", but if you use grey, it will be like a "foggy window" and you will be able to see both layers at once, which can make for another interesting take on this. For that effect, you can either use a grey color OR lower the Opacity of the white brush. Both will yield similar results.

This allows you to show some colors or some details that might be hidden if you use pure white to brush on the mask.
Possible variations
In the example above, I am showing how to display two effects. You can choose to use three or more effects if your project is large enough. For example, if you have a panorama, you would have more room to create transitions between multiple effects.
I illustrated a transition from left to right, but you can use a top-bottom transition, or even at an angle. It all depends on the photo and what you might want to showcase (or hide).
Finally, you can also create a transition between one effect and the original photo.
The effects used in this post were done manually, with PaintShop Pro native tools (no filter) and those techniques are demonstrated in detail in the Photo-graphics with PSP Master class that you can purchase, or access if you are a DIAMOND member.


4 thoughts on “Dual effect on a photo with PaintShop Pro”
Cool effects.
Thank you!
Loved all your examples to illustrate the effects! Thanks.
Thank you for this tip!