
If you want to change the color of an element in a design, the Color Replacer tool might be just what you need. Let's have a look at that tool and how you can use it.
Where is the Color Replacer tool?
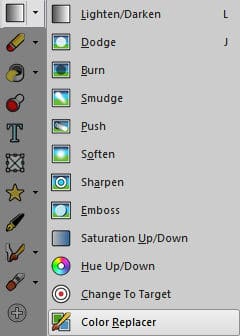
By default, that tool might not be obvious because it does not show in the Tools toolbar initially. You have to click the arrow beside the Lighten/Darken tool to see it appear at the bottom of the list.
This tool has been added to PaintShop Pro at version X.
What does the Color Replacer tool do?
As its name implies, the Color Replacer is meant to replace a color with another one. Because it will use one color as a replacement, it will work best on drawings and images and not so well on photographs.
How does the Color Replacer tool work?
The Color Replacer tool will use the two color swatches in the Materials palette. The Foreground color will be the new color you want to apply, while the Background color is what you want to replace.

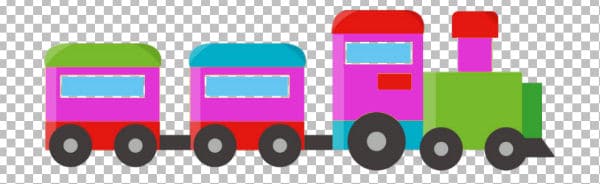
Let's take this particular design of a toy train.
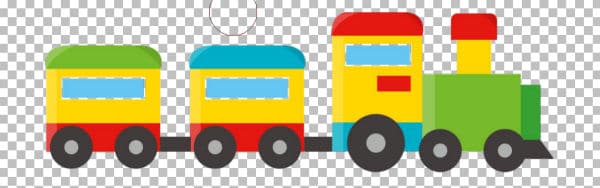
With the colors set above, it will replace the yellow with pink, wherever I will brush. I can replace the color in some areas only, if I want.

Or everywhere, if I brush everywhere.

Notice that it did not replace all the yellow areas. If you look at the initial image, you can see that the areas were different shades of yellow. Among the settings for that tool is the Tolerance. By default, it is set to 20. If it is increased, it will replace colors that are slightly lighter, darker or shifted. For example, the same color choices, with a tolerance of 50, will cover some of those other yellow areas.

As good as it might look, if you zoom in, you will see that some pixels were still not replaced.
What can we do? Maybe increase the Tolerance further? Let's set it to 100 (the range goes up to 200). Let's see if we can cover all those yellow pixels.

Although all the yellow pixels have been replaced by pink, notice another region (the back wagon) has also changed color. It was green, but a lighter color, so with a higher Tolerance, more shades and colors will be replaced.
At the start, two main shades of yellow were present. With the Color Replacer tool, the resulting color does not take those shades into consideration. If you want to keep those shades separate, you might need to use separate settings; one for the lighter yellow to be replaced by a lighter shade of pink (or whatever other color you want). For example, you could get something like this:
Can you use the Color Replacer tool on photos?
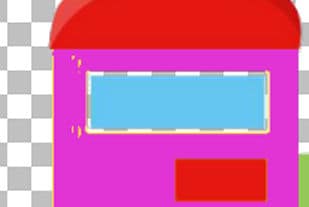
As you saw, the new color will be solid and will not have any shading. A photo will most likely have lots of shadings or hue variations, even for the same "color". As you can imagine, using the Color Replacer on a photo will make it pretty "flat". Let's look at this photo.
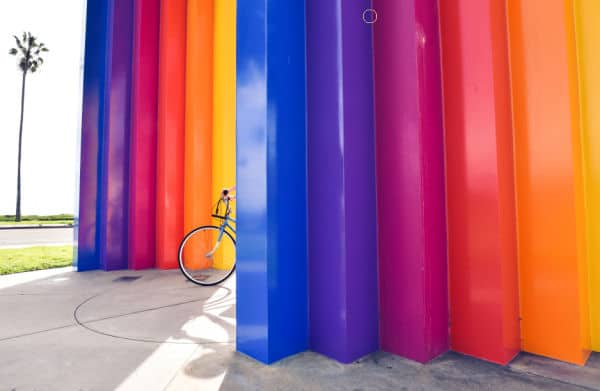
Let's replace the yellow column with pink.
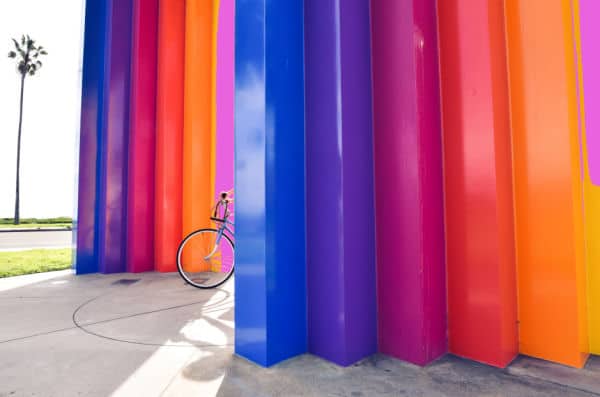
As you can see, the result is less than brilliant! That is the type of result you can expect when using the Color Replacer tool on a photo. Not the best, I would say.
A few tricks when using the Color Replacer tool
You know that you will get the best results on a flat design, with well-defined colors and areas. Here are a few tricks you might like to try.
Double-left-click on one area of the color you want to replace, and ALL the pixels will be replaced; you won't have to brush everywhere for that.
Right-click to replace the Foreground color by the Background color
Double-right-click and it will replace all the colors on the layer as with a single right-click.
If you are looking for ways to change colors while keeping the texture on a photo, you will want to use the Change to Target tool instead. Read more about it in this article: Changing Colors in PaintShop Pro.


1 thought on “The Color Replacer tool”
Very usefull tool, thanks.