
When adding a pattern to a shape, some distortion is needed to give a 3D effect. Adding a simple bevel will not be enough if you want to give the real look of depth. Let's see how easy it is to create a cylinder effect.
Get started
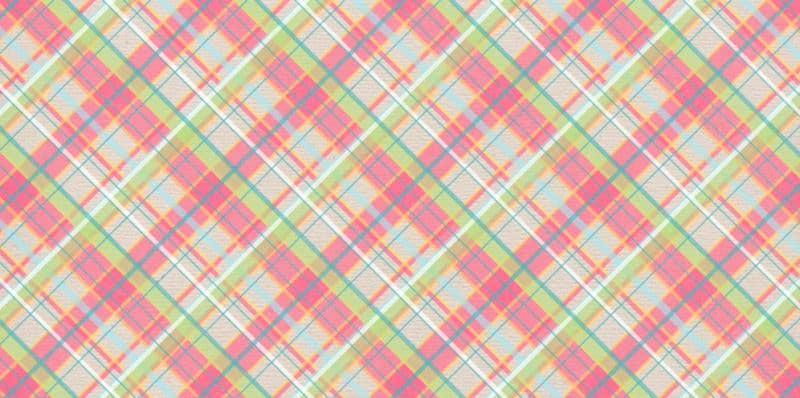
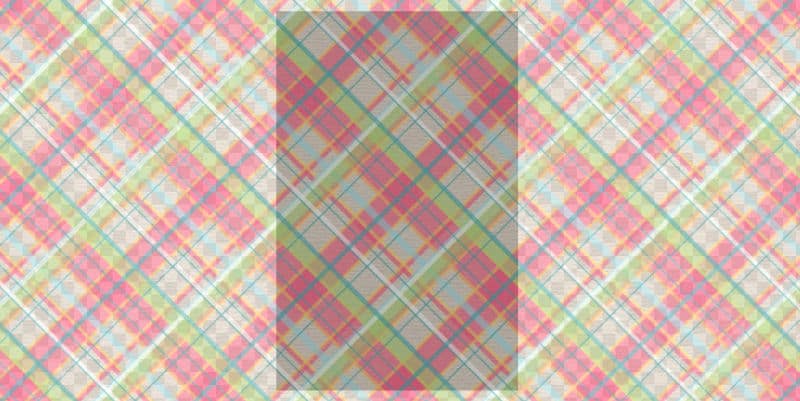
Imagine that you are using wrapping paper. You will need a large paper to go around your cylinder. Of course, if you are creating a digital cylinder, you only have to cover one-half of it. But you will still want to start with an image at least twice the diameter of the cylinder. Let's start with this size to cover the "cylinder" in black. Place the shape in the center of your canvas.

Now it is time to either add the patterned paper on a separate layer, above that black shape. The more obvious the pattern is, the more visible the wrapping effect will be.
In order to help you see where your base shape is, reduce the opacity of your paper to something like 80%.
Let's count
The next tool to activate is the Mesh Warp tool. You can find this tool in different locations depending on your PaintShop Pro version. In recent versions, it is with the Warp Brush tool:
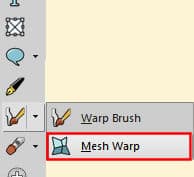
If you are using an old version from JASC, the tool is grouped with the Raster Deform tool:

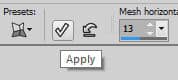
Once you activate the Mesh Warp tool, you will be able to set the number of mesh lines, horizontally and vertically.
![]()
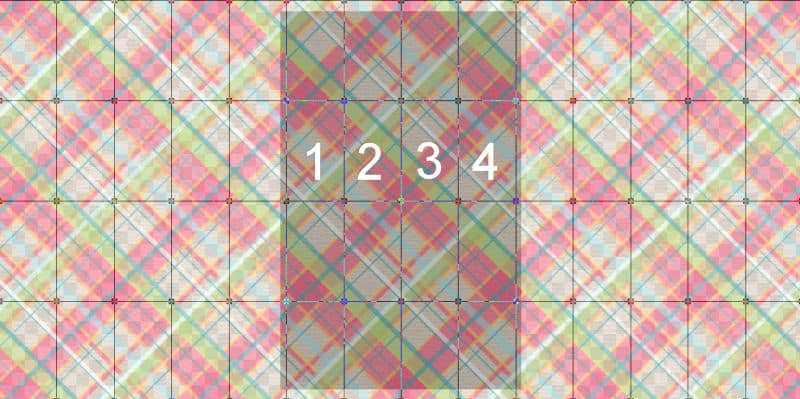
In our example, we will have three rows, layered vertically, and 13 columns, lined up horizontally. I like to have at least three or four sections that cover the size of the shape I want to wrap.
Let's wrap
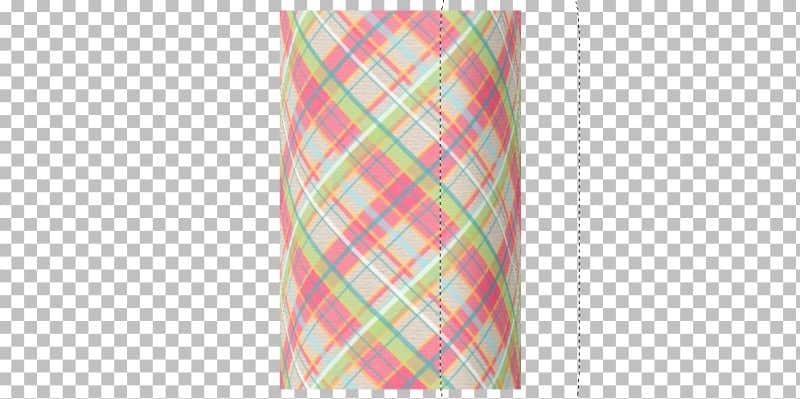
Now, the trick is to gradually move the lines inward while keeping the middle sections intact. For a cylinder, you want to move all the nodes from one mesh line together. You can do that by holding the Shift key. You should see the cursor change to something like this:

This will make the process much easier than moving all those nodes, one by one! Leaving the middle sections untouched, move the next line of nodes to about half the initial width of that section.

On the next line, move it to about one-quarter of the initial width.
Finally, if there is still room, continue to move the next lines to half of the previous one. In this case, it will be one eight of the initial section.

Once one side is done, repeat the same steps on the other side.

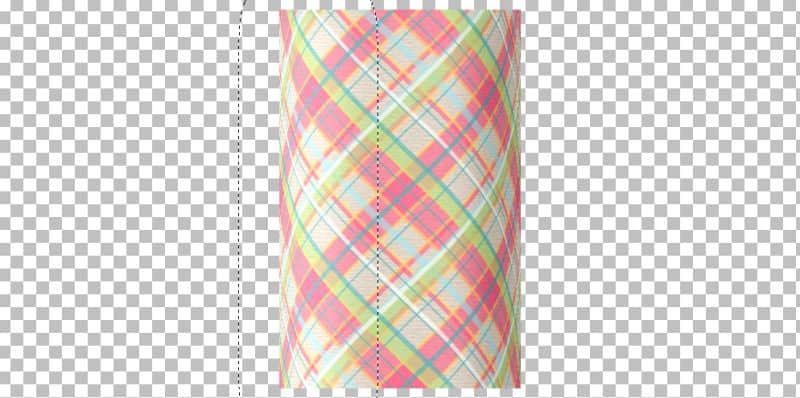
If you notice that the nodes are going back to the initial placement, it might be because you have accidentally double-clicked on a node and applied the deformation. When that happens, undo the command (Ctrl-Z) so you will still see those resized sections. Once you are done moving the lines of nodes, then you can apply, using the checkmark in the Tool Option palette.
Activate a different tool, and you will see your distortion applied.

Since your cylinder is all wrapped up, it is time to trim the paper. Activate the base shape layer and select the space around it using the Magic Wand. Reactivate the paper layer and hit the Delete key. Readjust the Opacity back to 100% and you have a great cylinder.

Let's shade it
Although the distortion is giving the look of the cylinder, you will want to add some shading. Assuming that the cylinder is staying vertical, make a rectangular select on the right side of the shape, about one-quarter of its width, and feather so the selection will end up near the middle. Then, lower the Brightness to your liking.
Repeat the same process on the other side, increasing the Brightness.
What else can you do with cylinder shapes?
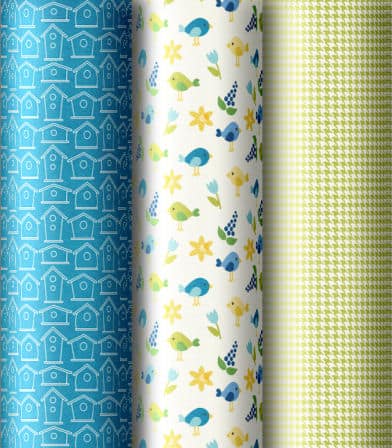
A cylinder shape can be used to display various papers in a kit (like you would see adjacent rolls of wrapping papers in a package).
You can also use four cylinders to create a frame. You would only have to miter the corners. Make sure you keep the shading in the proper orientation.

What will you create now that you know how to make well-shaped cylinders?
Do you like to create your own designs and shapes? We have hundreds of tutorials inside our membership. Read more about our DIAMOND membership.


1 thought on “Making a cylinder shape”
Excellent tutorial – thank you!