

One can create a tiling pattern simply by using an open image as a Pattern in the Materials palette. This is a simple method, but sometimes, you want something a little different and more dynamic. Let's see how to create some diagonal patterns.
Simple tiling
Whether you want to repeat a dot or a star, you can create a small square tile and leave it open in your workspace.
Now, go to the Materials palette, and under the Patterns tab, you should see that image, on top of the list.
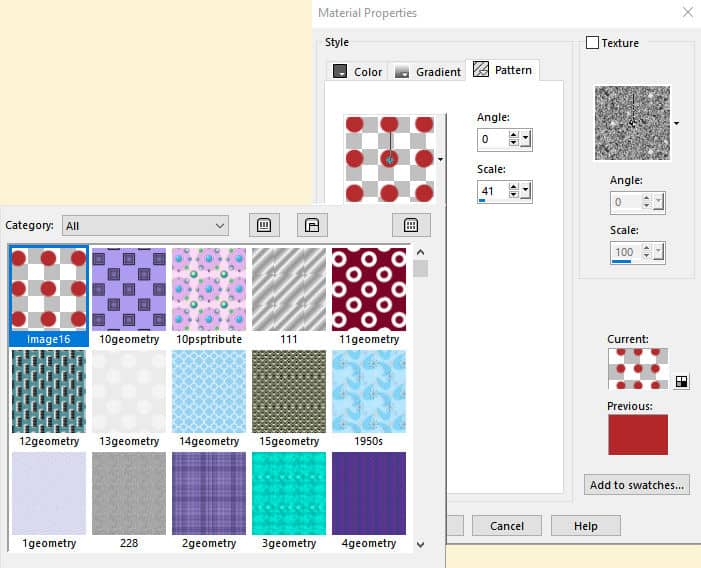
All the images from your workspace will appear in that list, even blanks if you have any.
Adjust the Scale as needed. Activate that tile and it will now become the pattern you can fill your larger project with.
Diagonal tiling
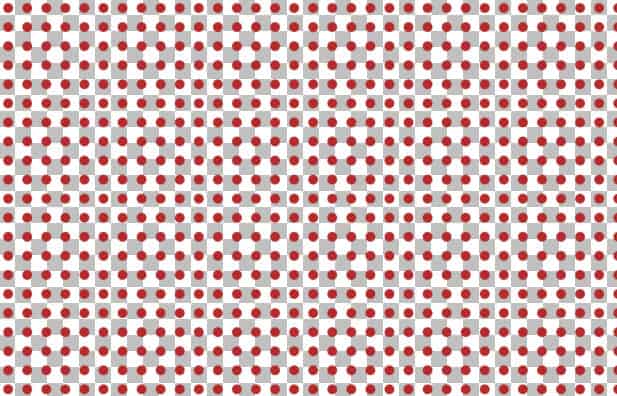
If you want to add some variety, you can change the Angle value in the Materials properties window to 45 degrees.
Now, the same tile will give a different result on your project. It can be used with dots and lines to create plaids.
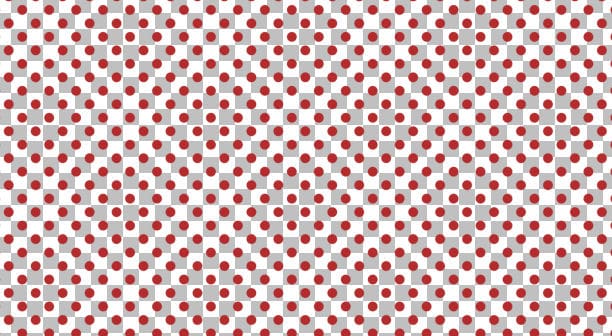
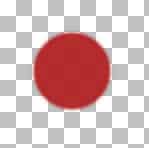
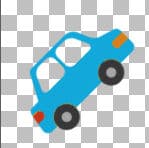
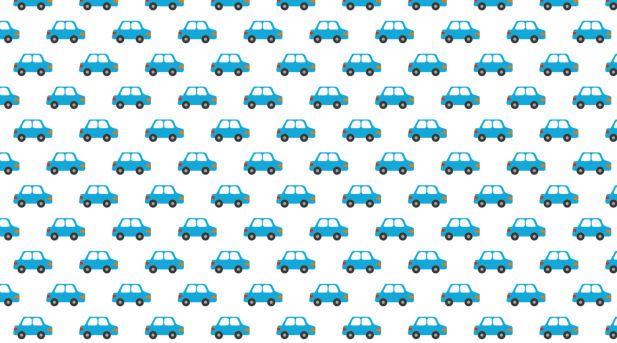
The problem is that if you have a design that is clearly identifiable, changing the angle will not look good. Let's start with this fun design.

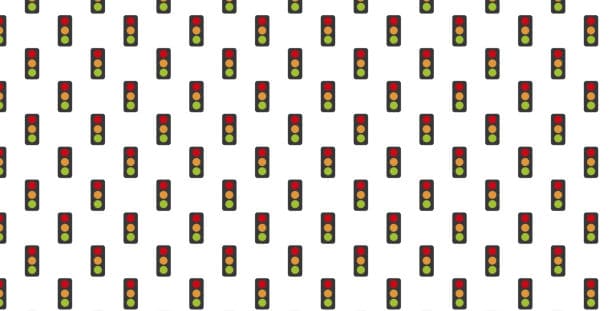
It will simply give the impression that everything is tilted without further thought.

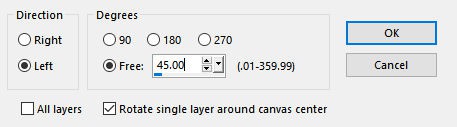
In order to avoid that issue, let's go back to the initial tile. Rotate the element 45 degrees to the left.
Now, your image looks like this:
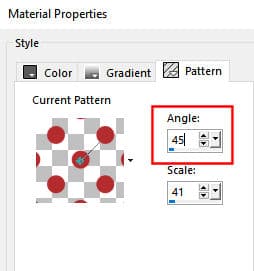
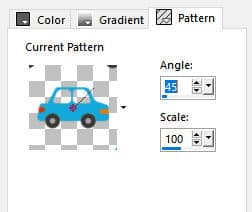
Now, back to the Materials Properties dialog window, choose that tile, and enter the Angle as 45 degrees (to the right). Notice that the design now appears straight.
Flood filling your project will now look more interesting and well thought out.
Doesn't that look better? You can use this technique with any design that is directional, whether it should be vertical or horizontal.
For other techniques to create background designs, join our DIAMOND membership where we have dozens of pattern tutorials for you.


3 thoughts on “Diagonal Tiling in PaintShop Pro”
Really good tip thanks
It was enough to think about it but it was nevertheless simple and easy. Thank you very much for this tip.
Thank you!. I doubt that I would have tried that out on my own. This gives me a lot more creative flexibility with my designs.