
A mask is a greyscale layer that will let part of the layer below show through. One can use masks already saved in PaintShop Pro, generate one from an image, or create one from scratch with various basic tools. But if you have created a new mask, how can you save it for future use? Let's look at different ways.
Saving to disk
Masks that come with PaintShop Pro are identified as .PspMask file format. You can create your own file starting from the existing masks you have created. Let's look at this mask that was custom-made.
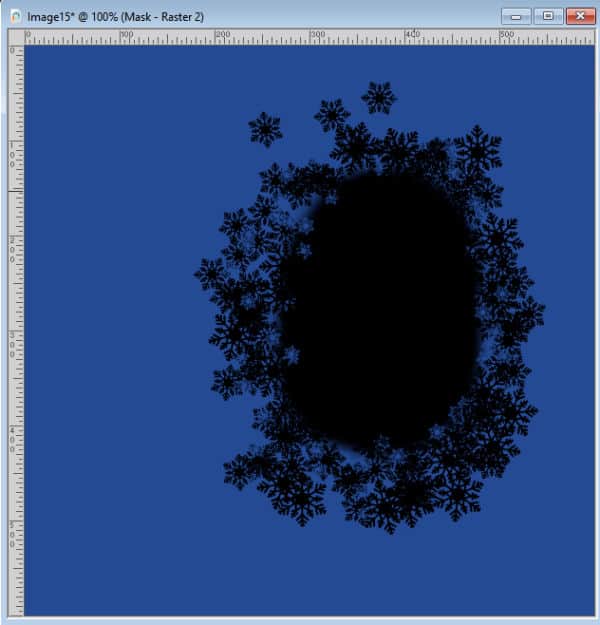
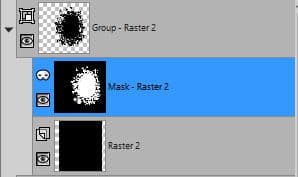
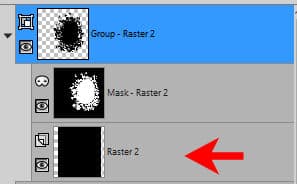
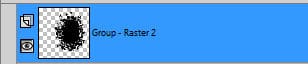
In the Layers palette, you can see the mask group, where the black area is blocking and the white is serving as a window.
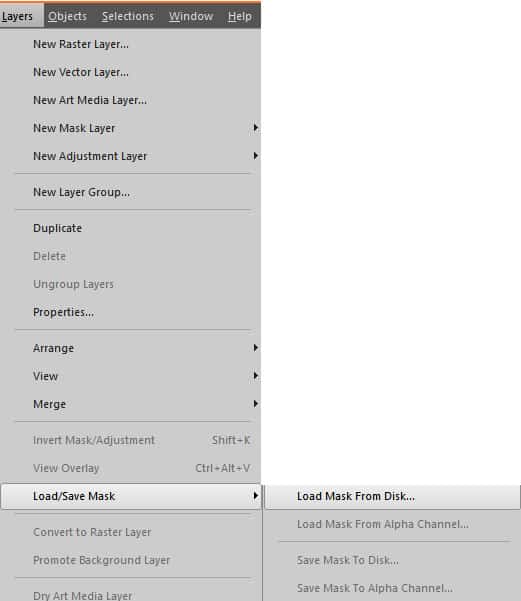
The simplest way to export this greyscale layer is to go to Layers > Load/Save Mask > Save Mask to Disk...
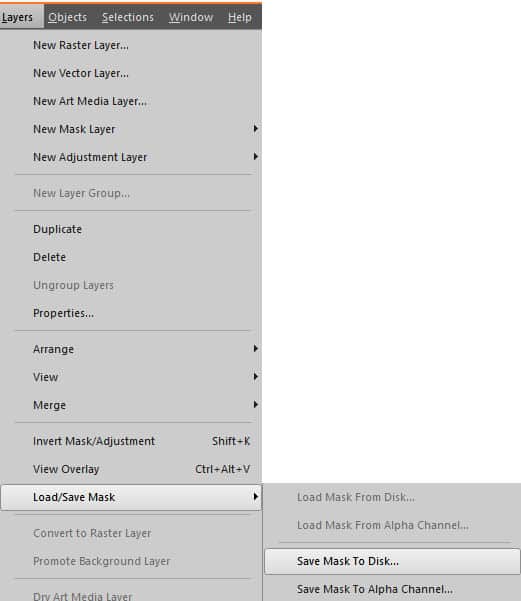
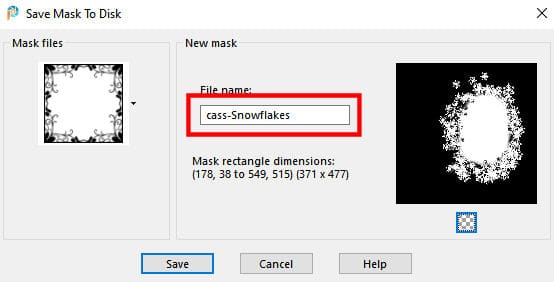
Once you choose that option, you will get this dialog window where you can choose a file name for that mask. It is a good idea to add a prefix that can be identified to you to help prevent overwriting another existing mask, especially if you are using an otherwise generic name.
Once you have clicked the Save button, the mask you just created will be available under Layers > Load/Save Mask > Load Mask from Disk...
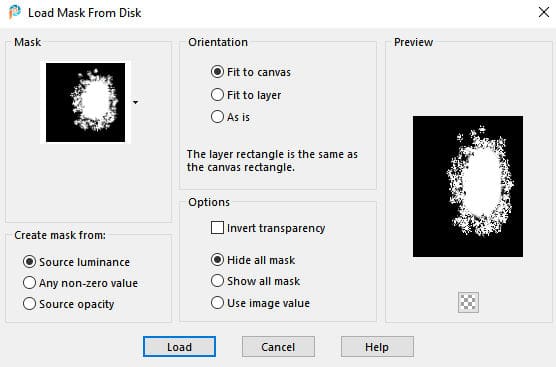
And you can see that the new mask just created, now appears in the list of masks available in PaintShop Pro.
Save as a jpg or png
One of the limitations of saving your mask as a .PspMask format is that it will be applied exactly in the same location every time. On the other hand, if you were to save your mask in a .jpg format, you can place it anywhere on your project, no matter where it was initially positioned. In our example, let's make sure we have a solid black layer showing through the mask.
Then, we can just right-click on the top layer for the group, select Merge > Merge group.

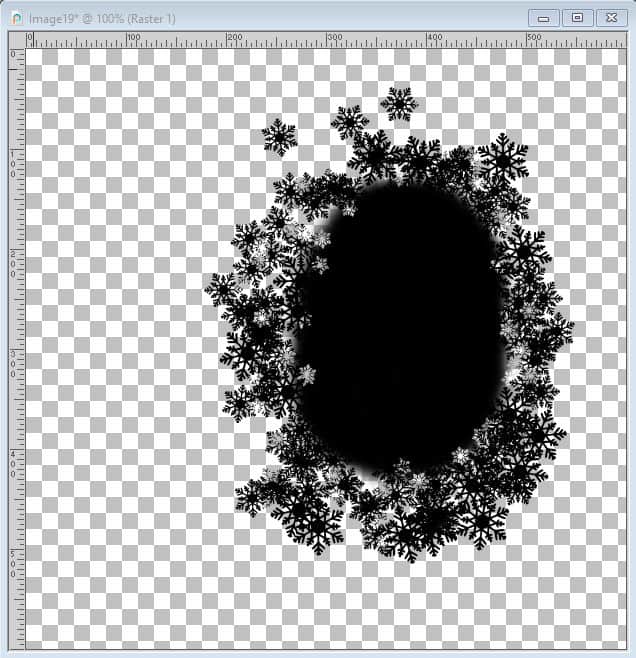
This will give you a single raster layer with an inverted version of your mask (where black would be the window).
At this point, you can copy that layer and paste it as a new image. However, you might want to consider two options. If you just copy and paste as a new image, all the transparent sections will be ignored and your new image will be centered on the mask itself like this:

On the other hand, if your mask might need a very specific placement on a canvas, like having to be on the right side, you would need to select all (Ctrl-A) before copying the layer. In that case, you will end up with a mask layer similar to this where you have the exact placement of the design respected:
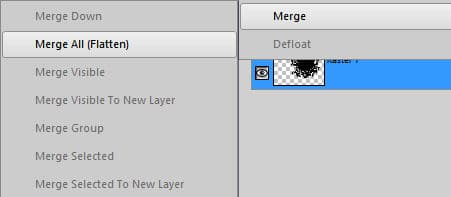
At this point, you can save this new image as a jpg or a png. Both can be reused later in the same way. If you prefer to have the mask part in black ("Black will block"), you can right-click on that single layer > Merge > Merge all (Flatten).
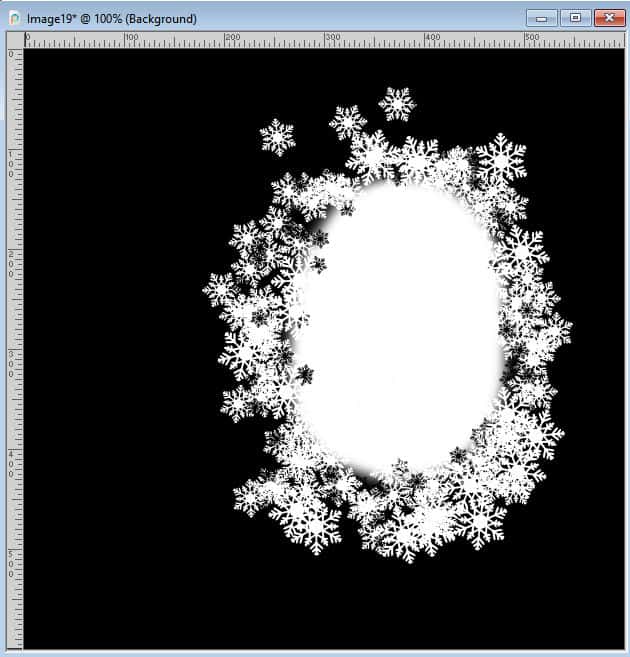
At this point, you will get this mask, which is the opposite of what you wanted.
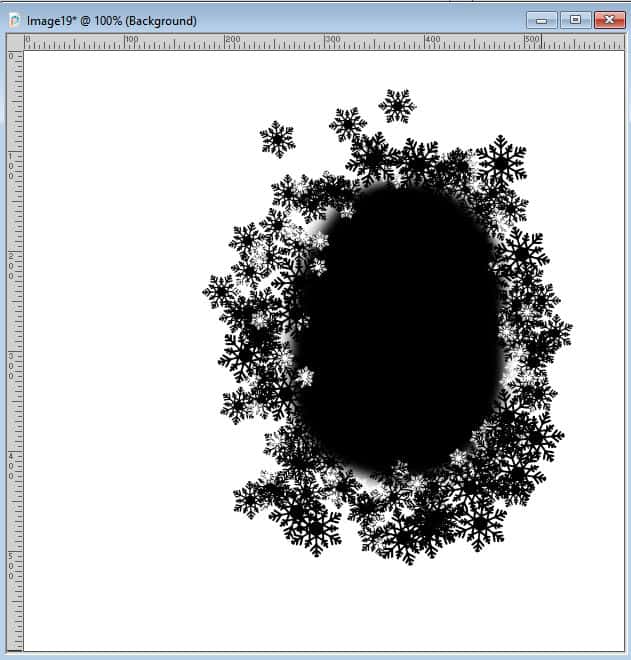
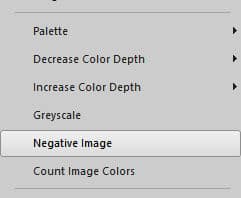
That is not a problem. You can just go to Image > Negative image to turn this image into a mask that you might be more familiar with.
And finally, you will end up with this mask image that you can save as a jpg.
Whether you save as a jpg or a png, in black and white or white and black, you can still use those masks in the same way. You will just have to change the settings when applying the mask.
For tutorials on how to use jpg and png files as masks, you can refer to these articles on How to use Masks in PSP and Using Transparent masks in PSP
If you want to create your own custom masks, you can also use a script like the Mask Maker.


2 thoughts on “How to save masks in PSP”
Thank you for this very useful tutorial, I like working with masks!
I really like using masks on my scrapbook pages. I love the way they fade in and out along the edges of the pictures. No doubt I will be using them more and more. Thanks for all the great instructions, Cassel.