
Vector shapes have a great advantage as they can be resized without losing resolution. And since you can also create your own custom shapes, you have a valuable tool at your fingertips. Alth0ugh various shapes and lines can be added to create a "vector composite", sometimes, you will want to have a cutout in that shape. Here is how you can do it.
Why add a cutout?
Although it is possible to have a regular preset shape and when it is sized properly, to cutout a rasterized version, it is not the most efficient. Simple cutouts likely won't cause issues, but intricate designs will be nearly impossible to do. Let's imagine a simple tag that we want to save as a preset shape. We want the tag to have a whole, like a price tag or something like this.
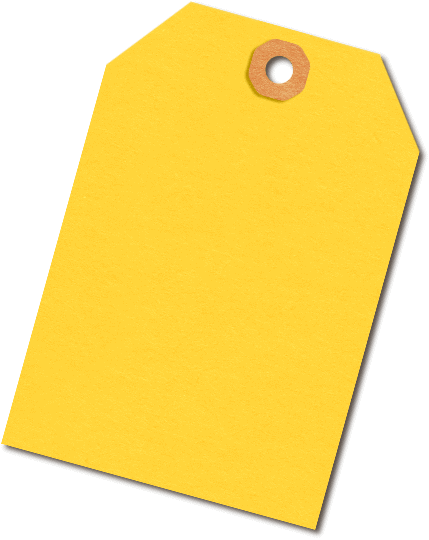
Yes, it is easy to create the basic shape, and then, delete the area for the hole. But this shape would be much harder to cutout afterward, don't you think?

How to create a cutout?
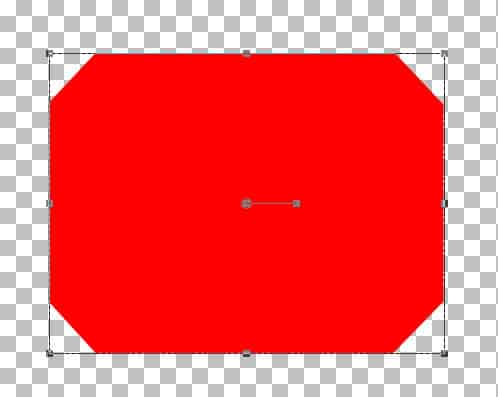
Let's go through the various steps necessary for a vector cutout. First, you need to have your base shape; the outline.
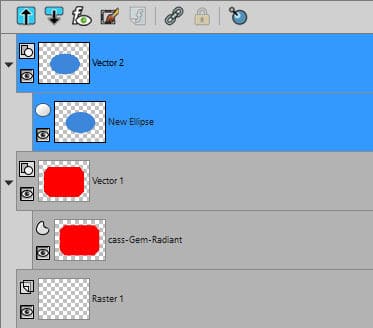
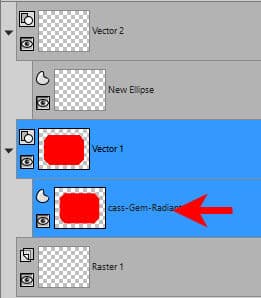
Create a new vector layer, and draw the cutout shape you want (I made it blue for visibility but it will disappear later).
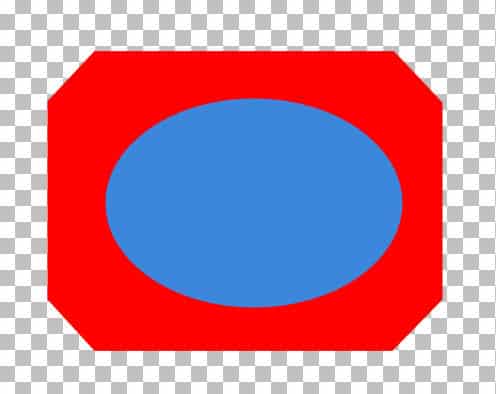
Although you can have the cutout shape as a separate object inside the vector layer, I find it just more convenient to create it on a separate vector layer.
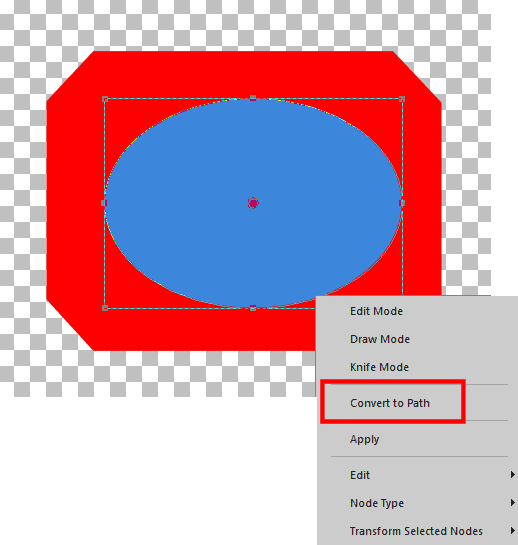
Next, activate the Pen tool, and right-click on the cutout shape (the blue one in our example), and choose Convert to Path.
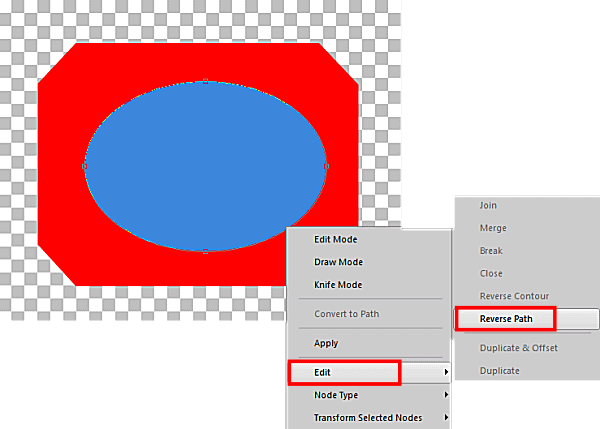
Once it is converted to path, right-click again, and choose Edit > Reverse path:
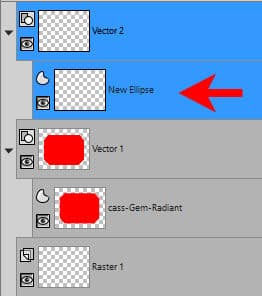
You still don't see much happening, do you? The next step is to Select All (Ctrl-A) and Cut (Ctrl-X) that cutout shape. You will see your shape disappear from the Layers palette. That is normal.
Now, you will activate the base layer or the outline that will be cut out.
Finally, you will right-click, choose Edit > Paste (the typical Ctrl-V won't work here):
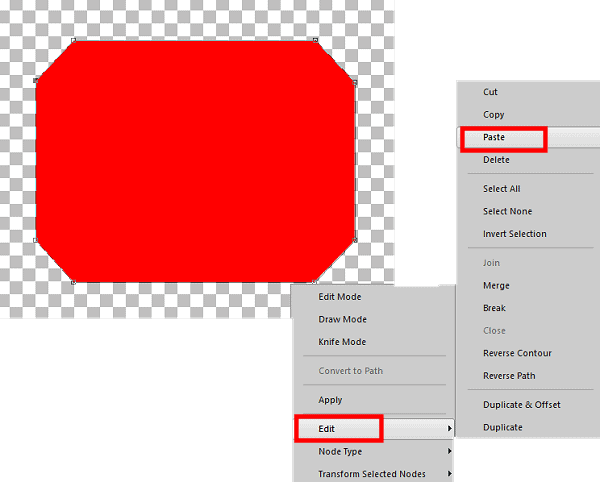
and you will now see the hole appear on your vector shape. Notice that you still have all the nodes around it, and you can even move that "hole" if you want.

Interestingly, if you move it out of the outline of the base shape, you will be something a little different.
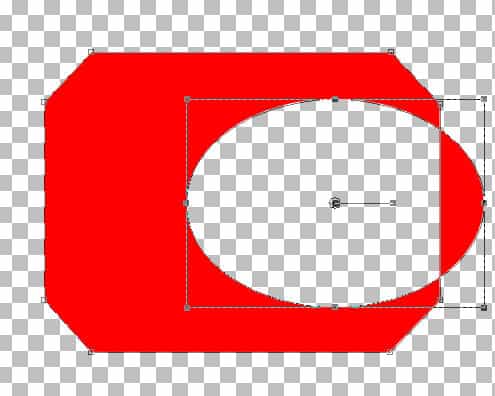
What happens is that the cutout shape is a shape on its own. It is the reversing of the path that will make it a hole within a shape that has its path in a different direction. Cool huh? Now, in the Layers palette, you will see that the initial layer with the cutout shape is now empty. You can delete it if you want.
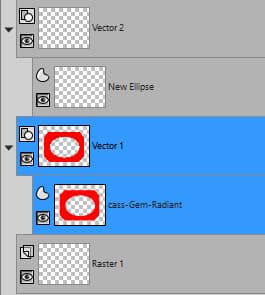
Notice also that both shapes are now a single shape. After this, if you want to tweak the placement of the cutout, you will have to select all the nodes for it, as they are now part of your initial shape.
Once you are happy with your shape and its cutout, you can export it as a Preset Shape. Make sure you have named that object a name that will be unique so it won't overwrite any other shape you have (avoid the default names like "New Ellipse"). Read more about saving your own custom preset shapes.
Can you add more cutouts?
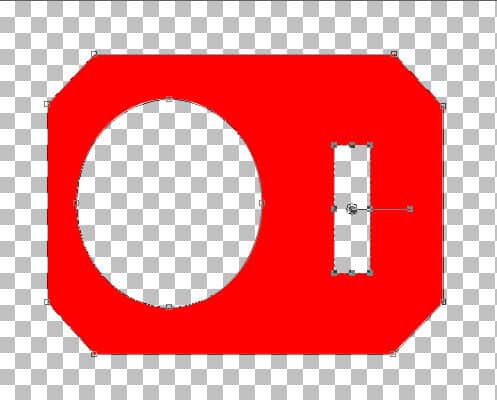
Of course, you can add as many cutouts as you want. In this example, I am repeating the process with a rectangle.

And end up with this shape.
How to remember all that?
I created a little mnemonic to remember all the steps: CRAC-Paste (I wish I could incorporate the P but it was impossible to pronounce).
- C - CONVERT to path
- R - REVERSE the path
- A - Select ALL
- C - CUT
- Paste - Paste (obviously)
Now, it is your turn to create your own preset shapes that include cutouts.


2 thoughts on “How to cut out a vector”
Can you cut out multiple ovals with that one oval?
You can have multiple cutouts but you would have to repeat the process since each shape will bring in its own nodes.