When looking online to find various supplies for scrapbooking and PaintShop Pro, you might find fonts and alphas. What are they, and how do you use them? Although at first glance, they could look similar, they are very different.
A font
Typically, fonts will have a .ttf or .otf extension. When viewing them on your computer, they will look like this:
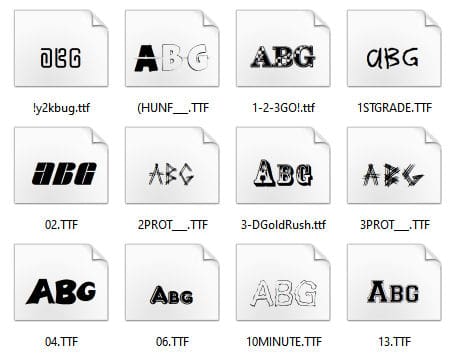
There are different styles, but they will always display in black. In order to use fonts, you have to either install them on your computer or use a font view that will allow you to use them temporarily.
An alpha
An alpha (short for "alphabet") is a set of images in .png format that you can layer on your projects to write the text you want. Alphas will typically come in one of two formats: either a full sheet with all the characters, or individual files, one for each character. You can see them in this format:
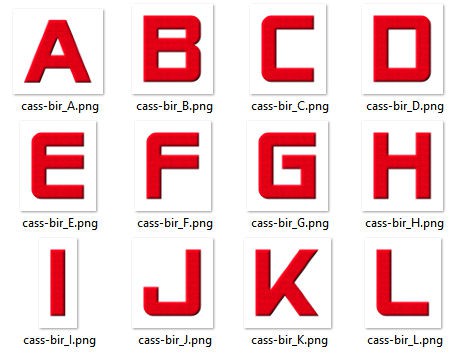
or in this format:
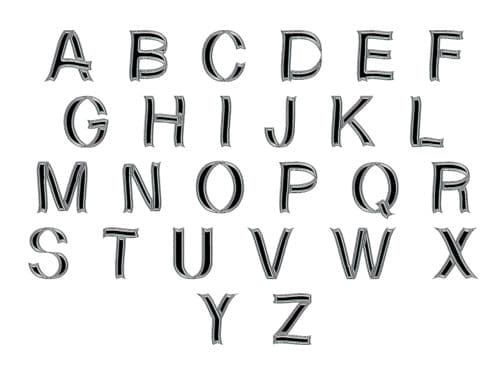
How to use fonts?
Before you can use fonts, you need to either install them or use a font viewer that allows you to use them without installation, on a temporary basis. You can read here about font viewers. Once a font becomes available, you can use it with your Text tool while choosing the size and color for it. Depending on your program, you can add the text along a path, adjust the kerning, and the leading.
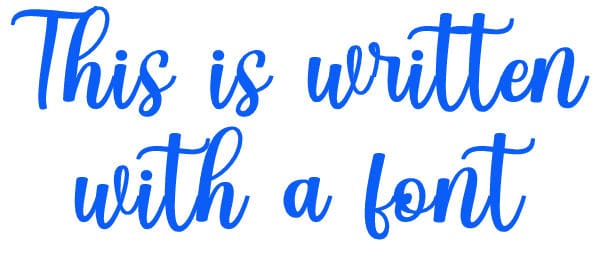
The text will be in vector format, allowing you to resize as much as you want without any distortion. However, while in vector format, you have some limitations: you will usually have all the characters "evenly" placed, sized, aligned, and colored. Effects can't be added to a vector, like bevels and textures directly on them. There is a way around it by converting it to a raster and then applying those effects. However, once converted to a raster, the text is no longer editable. You can also use Layer Styles, but those are a bit awkward to use and bring on other limitations.
How to use alphas
Alphas have the advantage of already being colored and textured. Sometimes, they are even decorated. Since they are just png files, they don't have to be installed anywhere nor imported into PaintShop Pro. You will just open them as needed, copy, and paste them onto your project. When you download alphas, simply create a folder with your general supplies, and save the files in it.
When you are using a single sheet alpha, you have to cut out the letters you need, copy them, and paste them to your image as needed. If you use individual files per character, you have to open each one, copy it, paste it onto your work and then close it. You can save time by using a script like Open as Layer. This script will automatically complete those steps for you after you select which files you want to open.
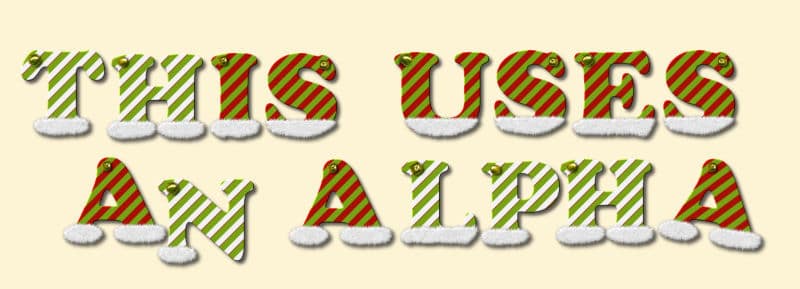
You can place all your characters however you want. You can use guides to help you place them evenly, but you can also move them so they are not aligned. You can rotate them. You can add shadows if they don't have any already. You can even overlap them. However, alphas come in a set color, size, and shape. You can size down the individual characters, but sizing them up is tricky and can lead to blurriness and pixelation.
An interesting advantage of alphas is that if they are part of a scrapbooking kit, the colors and design will perfectly fit the particular kit. The designer will have used the same color palette, and sometimes, some decorative elements will also be used in creating the alphas.
Some alphas are simple and not very decorated. If you are using one like that, you can change the color using the Colorize command. You can't do with a multicolored alpha. You can also add your own elements from a kit to create a matching title.
Which one is better?
Whether to use a font or an alpha will depend on various criteria:
- Alphas are more tedious to use, so it will be limited to titles
- If you want to write journaling, choose a font
- If you look for very decorated titles, alphas will already match your kit
- It will be faster to add text along a path, using the Text tool (with a font)



1 thought on “Fonts and Alphas”
Both are very funny to use!