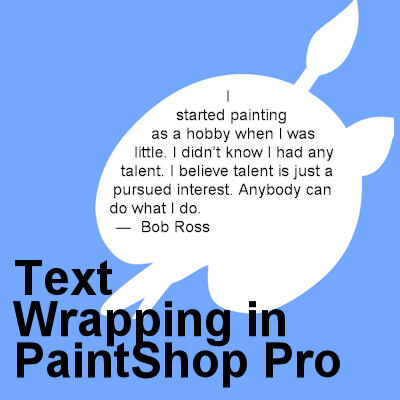

Users have asked for The text-wrapping feature for many years and finally, in version X7, Corel added it. This long-awaited feature was incredibly useful for scrapbookers who could now add text in odd-shaped areas. Graphic designers can wrap text around subjects on their photos. Let's see how to use this fantastic feature.
Text wrapping in a selection
The first step to use this feature is to make a selection to tell the program where to wrap the text. You can create a basic shape selection, like a rectangle or a circle, or something more elaborate. Let's start with the basics.
Let's make a simple rectangular shape on our project.

Now, activate your Text tool. If you hover over any section that is NOT in the selection, you will see the typical cursor for the Text tool.
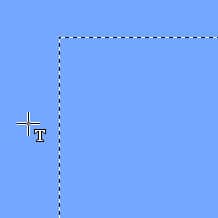
However, if you hover over the selection, see that the cursor changes shape.
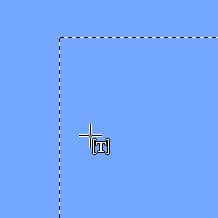
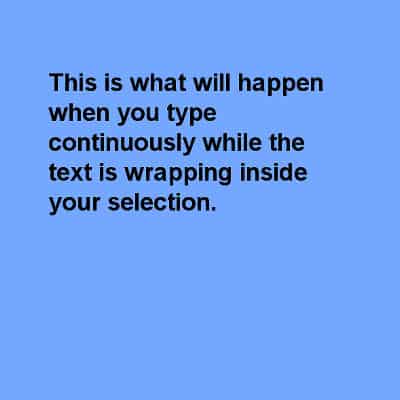
At this point, clicking anywhere inside the selection will show the blinking cursor appear. The location will depend on the alignment you selected. If you chose the Left alignment, the blinking cursor will appear on the top left corner. On the other hand, if you chose Right alignment, the cursor will appear on the right side.
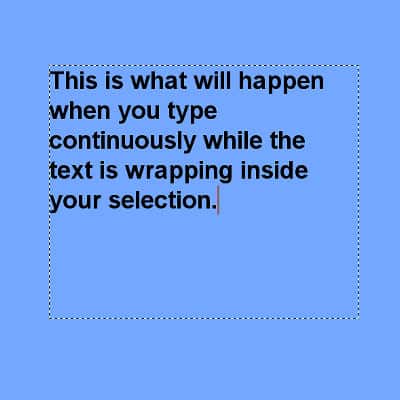
Once you are done, accept the text and you can deselect your selection.
Text wrapping between edges
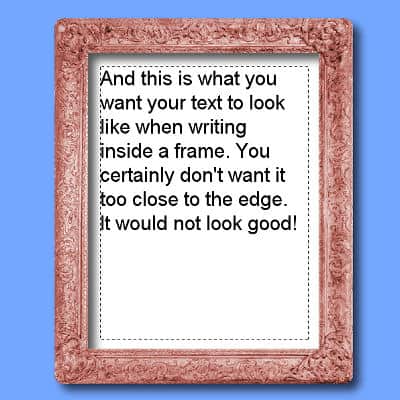
If you happen to have a specific element you want to write on or a photo you want to wrap around, you have to adjust your selection. The text wrapping feature does not include any setting for padding so you have to do it yourself. In this example, to add text inside the frame, I needed to make the selection inside those edges.

If I don't, the text would be too close to the edges and won't look good. With the correct selection, the text will look better.
Wrapping text inside an irregular shape
Sometimes, you want to add text inside a shape that far from a simple rectangle or circle. How do you do that? You will need a different selection tool, but the principle is the same. Let's start with this very irregular shape.

The simplest way to select the area is to use the Magic Wand.

Although the shape is correctly selected, we need some padding to avoid the text from touching the edges. We can do that with Selection > Modify > Contract, and choose a setting that will be proportional to the size of the project.

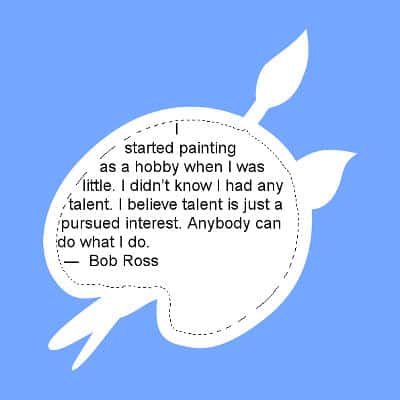
Although I have a nice and even padding on the edges, this shape is so irregular that some areas should be removed. Using the Freehand selection and holding the Ctrl key, I can select around the area of the paintbrush on top. I will also remove the smaller indentations on the lower paintbrush, and the handle on the bottom left.

And now, we can add the text as illustrated before.
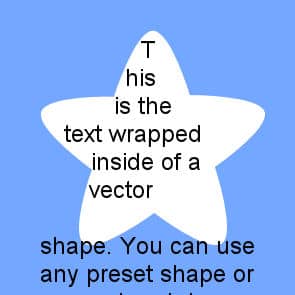
Wrapping text inside a vector shape
You can wrap text inside a selection but also inside a vector shape. You will see the cursor change the same way it did when you hover over or outside of the vector shape.

One inconvenience to add the text directly to the vector shape is the inability to add any padding around the edges. However, it is easy to work around this limitation. First, create a selection from the vector object with Selection > From Vector Object. Then, you can contract the selection just like you would do with a regular selection.
Warning about saving
Since this feature was only added with version X7, if you save your work in compatibility mode for earlier versions of PaintShop Pro, none of your text will be saved. This can be very disheartening because you might not remember that you had changed the compatibility mode and when you will reopen the file, later on, all the wrapped text will be missing, completely.
Warning about resizing
If you are working on a large project, you will need to resize it if you want to send it by email or post it in galleries or forum posts. Usually, it is a good idea to keep the text in vector format because there is no distortion. When you have wrapped text inside a selection, although regular text will resize, the selection won't, so the text will stay inside that selection which is likely to end up outside of the image border. Here is an example of the earlier image if resized from 600 pixels to 300 pixels.
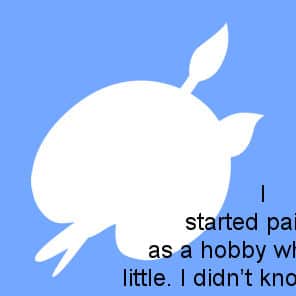
As you can see, the initial selection is still there, and the text is in the same place, but the selection was not resized like the rest of the image. If you resize a large project (like 3600x3600) to something much smaller (like to 600x600), the selection will probably not appear at all in that smaller area, giving the impression that the text is gone. It is not gone; it is out of the image.
If, instead of a selection, you had your text wrapped inside a vector shape, resizing the project will also yield some unwanted results. Let's look at the star shape with text. If the 600x600 image is resized to 300x300, this is the result.
As you can see, the vector shape resized, and the text is still inside its borders however, the size of the font was not adjusted proportionally. The solution is to just change the font size to get a reasonable result.

Unfortunately, there is no such simple solution if you wrap the text inside a selection. In that case, you have to duplicate your wrapped text layer and convert it to a raster before resizing your project. The rasterized layer will not be affected by the compatibility mode nor the selection that won't resize.
With this feature, it is time for you to create wonderful projects.


