

If you have been collecting a lot of fonts or purchasing bundles, you are likely to have hundreds if not thousands of fonts. Going through that many fonts when you are looking only for one or two is far from efficient. In a previous article, we looked at the suggested organization for your fonts, but in the end, HOW will you do that?
Choose categories
Fonts can be categorized in many ways, but some common types will be Dingbats, Script, Grungy, All caps, Decorated, and such. Then, inside those main categories, you can have sub-categories, to have fewer fonts to browse through when you are looking for one. For example, the Script category could have Slanted, Straight, Formal, Curly, and maybe Decorated. Those are only suggestions, and will often depend on what kinds of fonts you have accumulated. In order to get an idea of what categories you might want, ask yourself what would you be searching for? Are you looking for a "grungy font"? "Christmas decorated letters"? Or are you looking for an "all cap font"? Those should give you some starting points. Remember that you can also have other categories like "Hard to read" or "Symbols" which would be good to be separated from the rest.
View to sort
You can use different font viewers to view the entire alphabet for a font to decide in which category each one would go. If you can do that, it is great. I find that whether I am using TheFontThing or NexusFont, it takes quite a long time to render the font display every time I scroll a bit to view more fonts. That can be a bit frustrating and a waste of time.
Another way is to view the fonts in your Windows Explorer. Yes, you can have a thumbnail of each font in your folder. Simply adjust the display to "Small icons", "Medium icons", "Large icons", or "Extra large icons", depending on the size of your monitor (and your eyesight). I am using the "Large icons" display and have something like this:
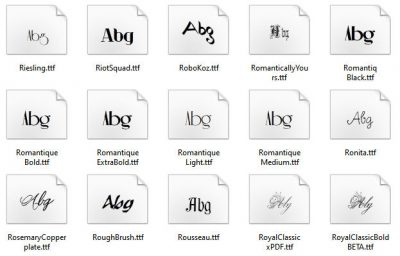
These icons will display the uppercase A and lowercase b and g. It is often enough to give you at least a general idea of what each font is about. You can see if it looks like a dingbat, a script, or a bold font.
Have your categories ready
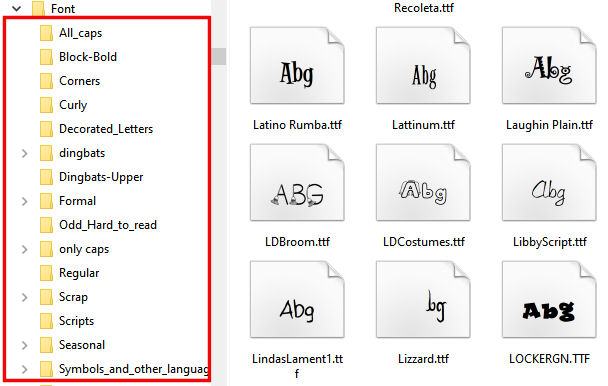
If you have already created your categories (at least the main ones), they should display on the left of your explorer.
Select and drag
Now that you are seeing your fonts, or have a general idea of what they look like, and you have your categories ready to receive them, it is time to select the fonts and move them as needed. You can select one font, drag it to the correct category, and repeat that process one by one, but that is adding more time to this process. The easiest way would be to choose a category (ex: Script) and select all the script fonts you see among the icons. Hold the Ctrl key to select multiple fonts. This way, you can select dozens at a time, and then, when you are finished scrolling through those icons (or when you want a break), you just have to drag and drop them on the category to the left.
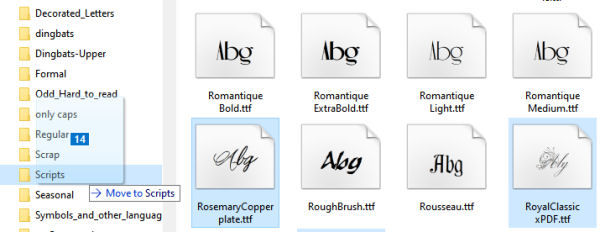
At this point, you might want to stick to the main categories instead of immediately sorting for the sub-categories. It will move you further into the sorting process and you can likely sort more fonts in that way. Later, you can repeat the process from one category to the sub-categories, but at least, you will already have a general organization of your fonts.
View more
If you are not really sure what the font looks like, or you don't feel you can see enough with those three characters displayed in the icon, you can click on the icon and allow the font to display on the right pane of your Windows Explorer.
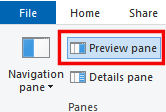
If you are not using that right pane, you should. Not only it allows you to view the fonts you want to look at, but it also allows you to preview other documents (txt, docx, etc.) which saves you time as you don't have to open those files to decide if they are the ones you want to open!
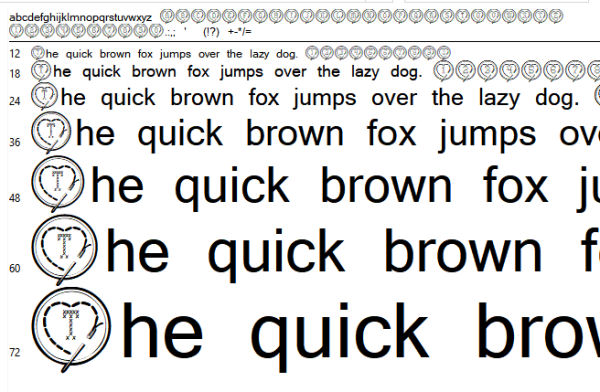
But back to our fonts, once you click on an icon, you will see this in the right pane:
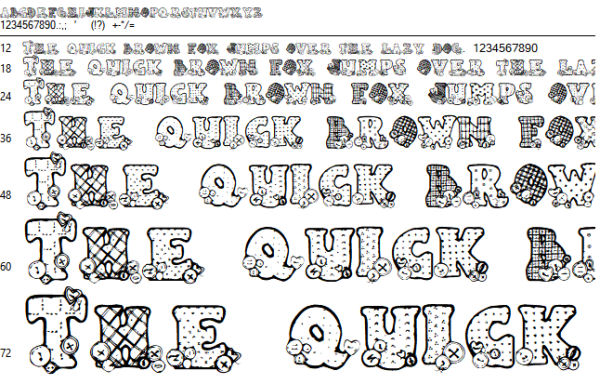
This will give you a better idea of what this font will look like. You can see whether all the lowercase are actually all uppercase (sometimes, just a bit shorter), or you can see if only the uppercase will have dingbats while the lowercase are "normal" letters.
Sort by usage too
Remember that you might also need to sort your fonts by usage. Some fonts are free only for personal use, so if you are making projects for yourself or for gifts for your family, you are ok. However, if you were to use those fonts for alphabets you want to sell, or posters you are paid to create, then you would need commercial use license. Don't mix both. You never know when you will get asked to do something for someone else... for money!
Take it a little at the time
If you have thousands of fonts, this whole process will surely take a while. Don't expect to do it all in one sitting. Work with a plan. Sort all the scripts font one day. Sort all the dingbat fonts another day. And so on. That way, you will know you are getting more organized with each day.


9 thoughts on “How to sort your fonts”
Windows will not let me add folders(categories) to the Font folder. When I open the Font folder, the fonts are visible, but there is no “new folder” to click and add a folder. While in Windows Explorer, I can create a new folder. However it cannot be moved to the Font fonder because Windows says it is not a font.
You don’t add those categories to the Windows fonts folder. You create your own. The ones in Windows are the fonts that are installed. Create your own Font folder, somewhere else, where you will save all the UNINSTALLED fonts. Windows will not let you do anything with its own Fonts folder.
I loved the idea that I could view the fonts in File Explorer, but it did not work for me. All it shows is the icon for Irfranview on each font. Most of the them are .ttfs if that makes a difference. I tried the preview pane and the details pane and all the different sizes of options, but nothing showing.
That is strange. I wonder if Irfanview is taking over the Windows Explorer’s behavior? Would it be a big issue to uninstall Irfranview to test the hypothesis?
It changed it to the A folder and you can see the fonts out to the side now. You could not when Irfranview was in charge. Not quite as handy as you showed on your computer, but usable.
It does not show a spot to put an attachment to show picture.
How do I add categories to my fonts folder?
Since those folders are visible in Windows Explorer, you just create folders by right-clicking > New > Folder and you name them the way you want. They are the same as creating any folder in Explorer.
What a great idea! It never crossed my mind to do this. Thank you for the BEST idea for fonts!!! I only have 425!
patti