

If you are collecting a lot of fonts, you might face a specific challenge when it comes to choosing and using them. Font viewers can be a great help in that area. In the past, I have mentioned TheFontThing as one font viewer that had a particular advantage for PaintShop Pro users: you can use fonts without having to install them. NexusFont also has that advantage, so you get two programs for this particular need.
Where to find NexusFont?
You can download NexusFont HERE (scroll to the second program as the first one is NexusFile, which is completely different). It is completely free. The latest version is 2.6.2. You will get an installation file that you will need to run.
What does it include?
Once you have run the installation file (the .exe), you will see something similar to this interface open. Let's have a look at the main sections you will be using (click on the image to see it full-size).

1- This section will be used to list all the folders you will indicate as having fonts for you to view and use. These refer to actual folders where the fonts are saved.
2- This section, called COLLECTION, will be a list of fonts you will likely use together, or want to use together. That is NOT where the fonts are, but they are just displayed there, and redirecting you to the actual folder. This can be a great way to "gather" a list of fonts that are used together in a single project, even if they are from different folders. As in this example, I wanted to show some fonts during a particular class, so I listed them here, as a collection (called Dingbat Class) even though they were from different locations on my computer.
3- In that area will be listed all the individual font names of the fonts that you are highlighting, whether they are from a folder in the Library, or one from the Collections.
4- Here, you can type in your sample text. This can be useful to get an idea of what your expected text will look like. It also allows you to know whether the specific fonts have accented characters you need, or uppercase, or symbols.
5- This pane will display the sample text in all the fonts that are part of the folder/collection selected on the left.
How to add folders to the Library?
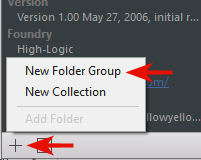
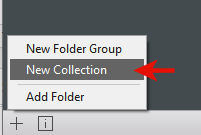
Since NexusFont does not know where those uninstalled fonts are, you have to let it know. Notice the + sign at the bottom left of the window. Click on it and you get two options: New Folder Group, or New Collection. Let's start with a New Folder Group.
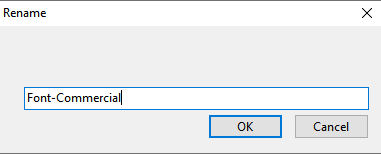
I'll choose to call my font folder Font-Commercial
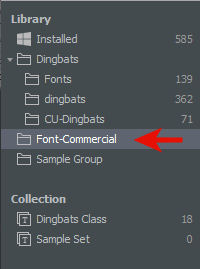
and you can see that it is now added to the Library.
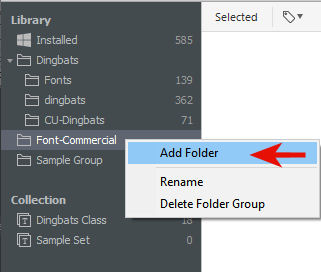
However, this is only a folder name and it does not have any font in it yet, that is why you now have to create sub-folders that WILL contain the fonts you have. Right-click on that folder and choose Add Folder.
Now, you will get to navigate to your own folders where you have organized or saved your fonts. Let's add more than one folder here:
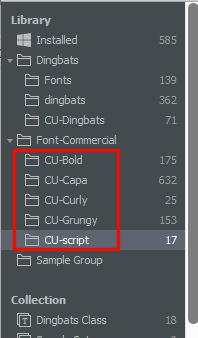
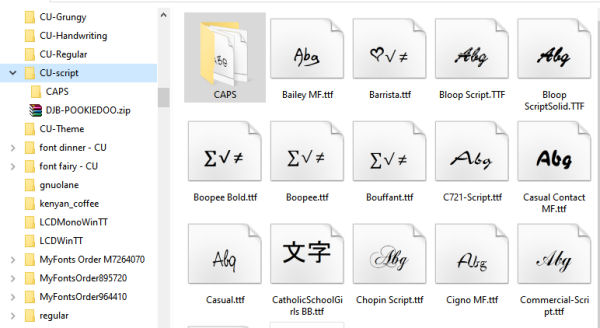
I am using the CU- prefix to indicate Commercial Use fonts, so I can distinguish them from other fonts that should not be used commercially. I am not sure when I will use one or the other, but I would rather sort them in separate folders, just in case. One thing I noticed is that if my folder included sub-folders (for sub-categories), NexusFont does not seem to identify them, but will "group" all the fonts that are part of any sub-folder into that one folder I created. For example, in my CU-script folder, I had 15 fonts and one sub-folder for fonts that are all caps. That subfolder included two fonts: Be Agressive and BlamBlam, which you can actually see in the CU-script folder:
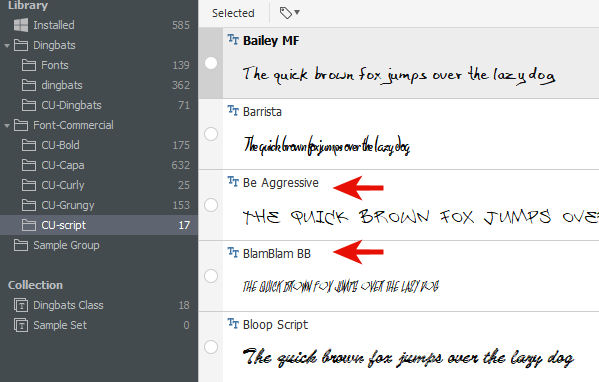
even though, those fonts are NOT immediately in the CU-script folder:
So, at this point, you can add folders for every individual folder of fonts you have.
How about Collections?
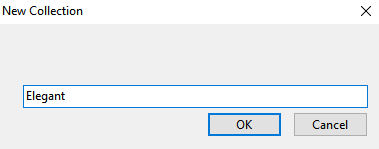
In order to create a Collection, you also click on the + sign at the bottom left of the screen and choose New Collection.
Let's add a Collection of Elegant fonts (those that you can envision on wedding invitations for example).
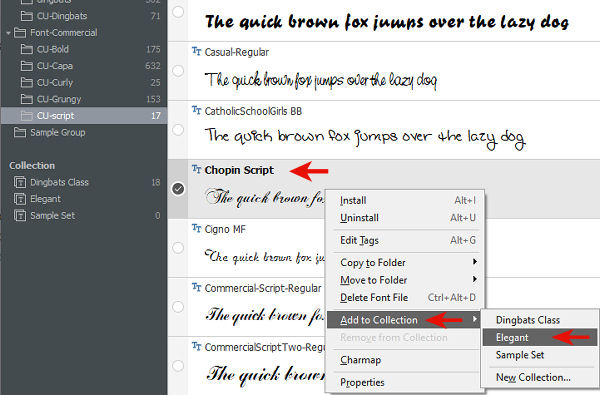
As mentioned before, Collections are not actual folders of font but more like a reference list. To add a folder to a specific collection. In order to add a font to a collection, it has to be part of a Library folder above. So, let's navigate through the CU-Script fonts to start and find one that would fit in the Elegant Collection. Right-click on the font you want, and select Add to Collection and choose the Collection you want it added to.
What about PaintShop Pro?
One great feature of NexusFont is that if you have highlighted a folder or a collection, all the fonts in that folder/collection will now be available in PaintShop Pro even if they are not installed. This is a great feature as it allows you to have access to hundreds of fonts that won't bog down your system. Isn't that a fantastic alternative to installing that many fonts?


