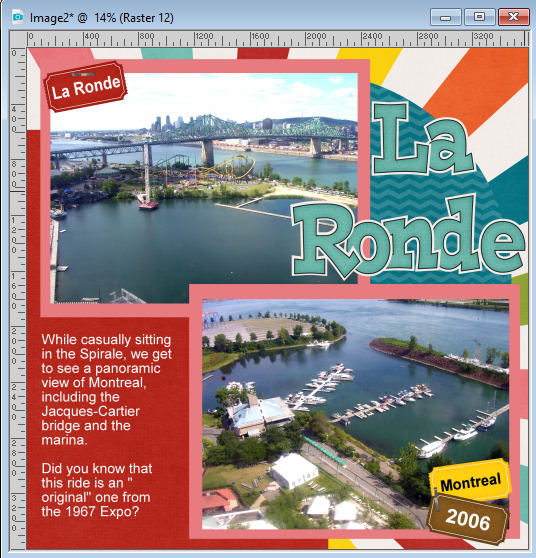
After building the base of your page, with photos, papers, and text, you already have a very good idea of what your project will look like. At this point, although you can still tweak here and there, the changes are likely to be minimal. In this 10 minutes, let's add some embellishments.
Fasteners
Although you probably used some invisible "glue" to hold your papers and photos, maybe you want to add some decorative fasteners. Buttons, brads, and staples are common ones you can find in kits and it is up to you to decide if you want to add some or not. If a kit you are using does not have basic fasteners, you might have your own stash.
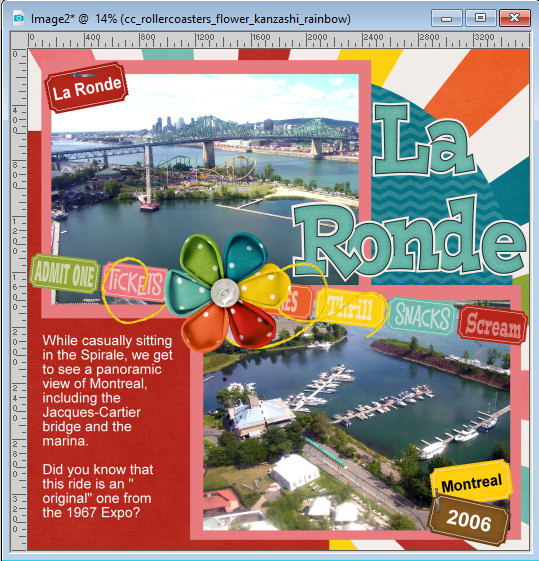
In this layout, I decided to add some staples to hold the tickets.

Other elements
Depending on the kit you get, you might have a variety of additional elements that are available. You can have access to ribbons, bows, strings, and stitching which are very common, but you can also have some elements that are specific to a particular theme.
For this layout, I added a few elements in the center, to create a sort of cluster. It included one "flower" and one string, which are pretty standard elements in many kits, but it also included one strip of carnival tickets which is great for this particular theme.

How many elements you want to add at this point is really a matter of taste and preference. Some scrappers will love to have clusters with a lot of elements. Some scrappers will prefer to have very few elements, even fewer than those I added. And there is a whole range between the two. What is your own preference? Remember that there is no right or wrong preference. It is all personal. You are the scrapbooker, you are the designer.
And we will just have some finishing touches to add.


2 thoughts on “10 minutes to scrap – Embellishments”
Some page topics scream out for loads of add ons while other do not.
Absolutely, and it also depends on which elements too.