You might have some evening photos and you wish the lights were on to give a glow to the overall image. Maybe you took the picture just a bit too early in the day for the lights to be on or someone just didn't turn them on. Nevertheless, you can add some light with your PaintShop Pro.
Choose a photo
Pick a photo that has elements that could be lit but aren't. It could be a single element or a series, like in this photo.
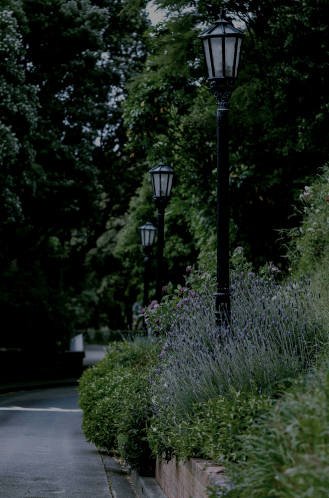
If the photo was taken in bright daylight, you will want to reduce the brightness and saturation in order to get a reasonable and visible effect with your light turned on.
Select the area
Whatever the shape of the lamp post or the light element, use the tool of your choice to select the area. You might use the Freehand Selection tool, unless you have a light in a specific shape like a circle or a rectangle.
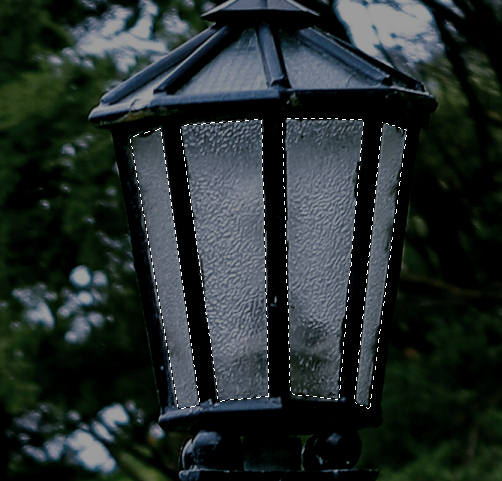
Add light
On a new Raster layer, flood fill that area with your light color. In this example, I will use yellow but you can use white if you prefer.
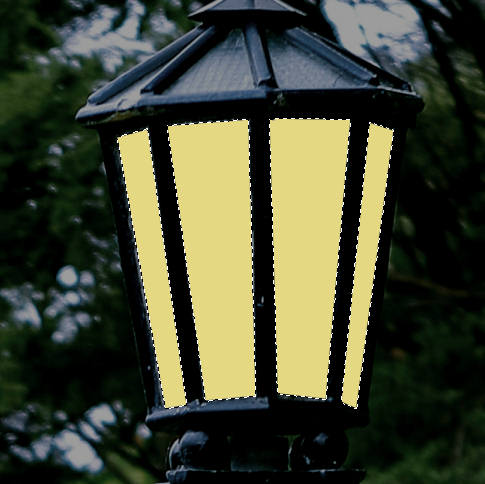
You can reduce the Opacity of this layer
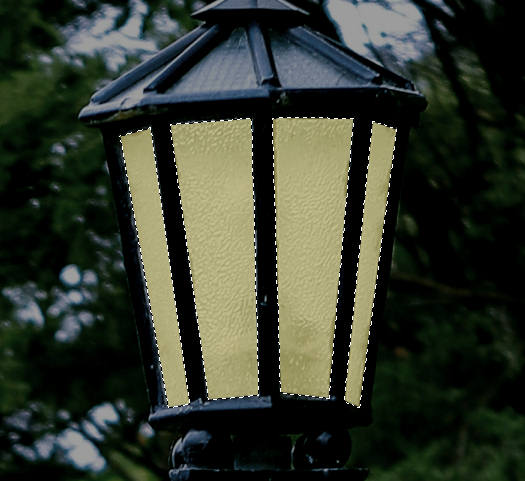
Add a new Raster layer and flood fill again with the same color or a "deeper" shade of the same color.
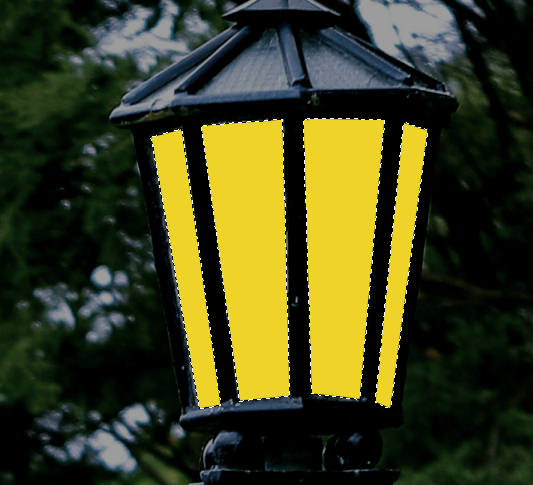
Deselect and apply a Gaussian blur of 100.
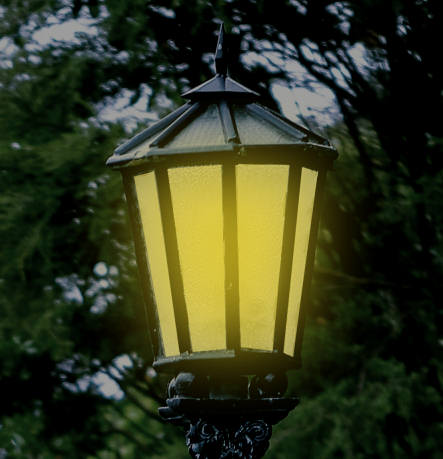
You can see how it already adds a glow to the light. If you are satisfied with this amount of glow, you can stop here and repeat the process on all the lights on your image. If you want to add even more, you can continue.
Adding extra flare
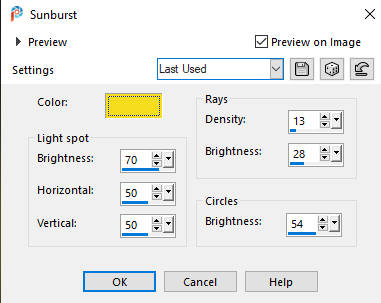
Open an image about 500x500 pixels (but that can vary depending on the size of your lights), and flood fill with black. Go to Effects > Illumination > Sunburst with settings similar to these.
You will now have an image similar to this one:
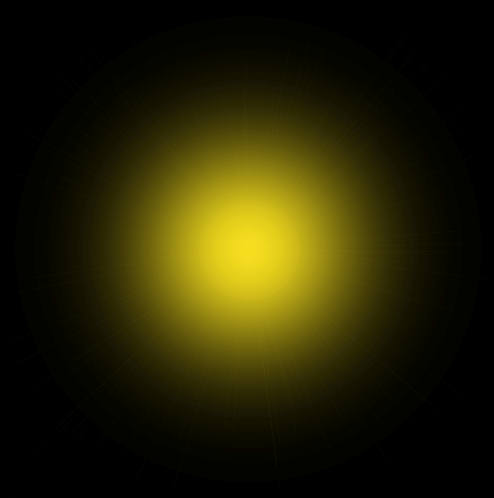
Copy this image and paste it on your photo. Center that sunburst on the light you are working on, and adjust the size too.
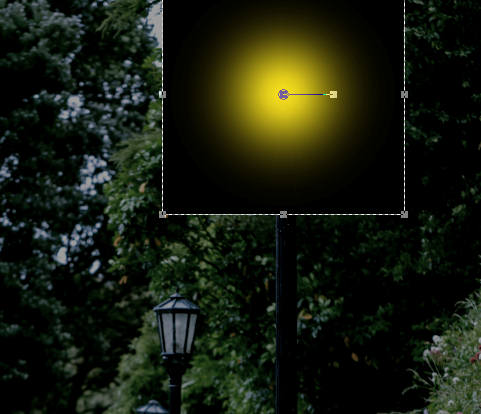
Change the blend mode to Screen, so the black will "disappear".
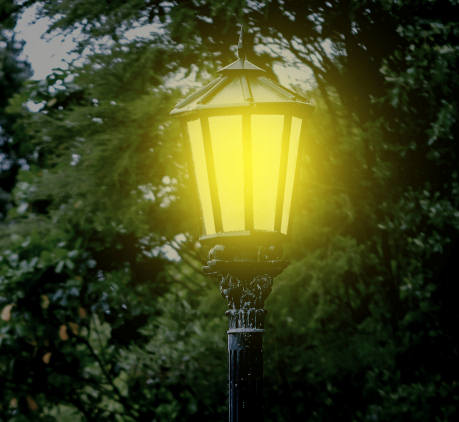
Now, you can repeat the same process for each of the lights or lamp posts you want to "light up".
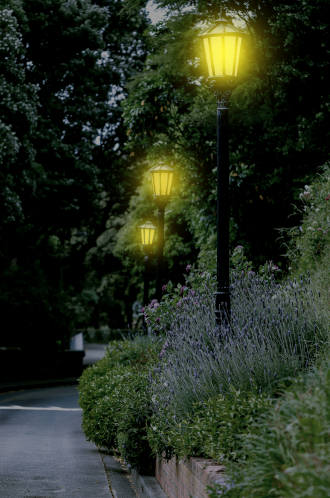
You can add lights on lamp posts, strings of lights at a party, headlights of vehicles, windows, and more. Where are you going to turn on the lights?
If you want more tutorials and instructions on how to turn on lights, add lights, or change a photo from daytime to night time, you can always check out our Details in the night Master Class.



5 thoughts on “How to add Glowing Lights”
It’s a really useful tutorial when we have a dark photo. Thank you Carole:)
Hi Cassell, just read through your instructions on how to create a glow and found them to be very useful indeed. I am sure I will have some photos that I can use this tip on. Loving your tutorials.
Krystyna
this is a lovely idea I’m going to see if I have some where to use it. I can see it being lovely on a Christmas message
thankyou.
thanks Cassel for this very useful tutorial.
ps. i tink your cat is thinking : please give me some attention and hugs…
the same with my cat tommie, when i am busy on the laptop he always come and have a look and walk over the keyboard!!!
greetings bram
Thank you for the tutorial it’s much more realistic than using properties, inner & outer glow. Hugs, Arlien