

You might have seen some fancy swirls as backgrounds for various projects, and might wonder how they were created. One possible plugin that could be used is Sinedots II. It is a plugin that works fine with PaintShop Pro.
Installing Sinedots II
The installation is extremely easy. Once you download the file HERE (scroll to the bottom), simply unzip it and place the content either in the Plugins folder that was created upon installation of your PaintShop Pro OR you can keep it in a different location on your computer and point your PSP to that folder through File > Preferences > File location > Plugins. No other step is needed.
Once installed, it will appear under the Effects menu, at the bottom. Notice that the "initial" name is Dragonfly, and then, Sinedots II. Beware that this will only work on the 32-bit version of PaintShop Pro, and NOT in the 64-bit one.
What are the settings
Although some people have a good understanding of all the settings of this plugin, it is more common that users will just play around until they get something they like. Let's have a look at what each setting does.
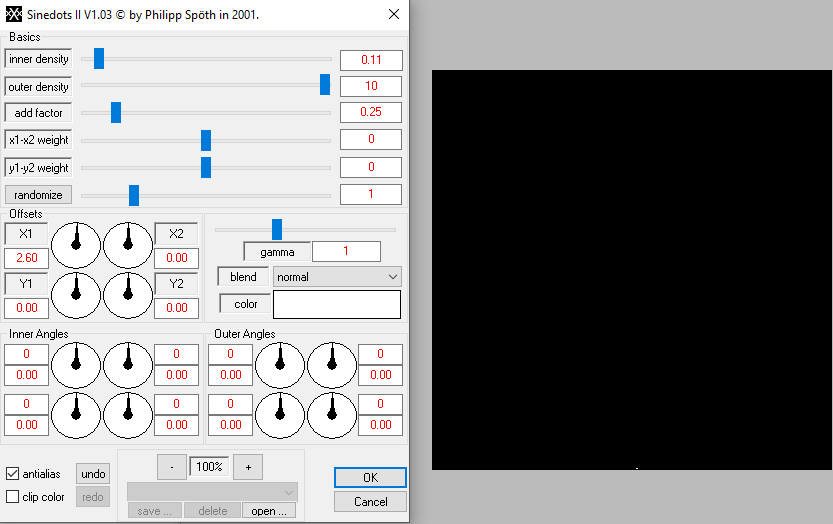
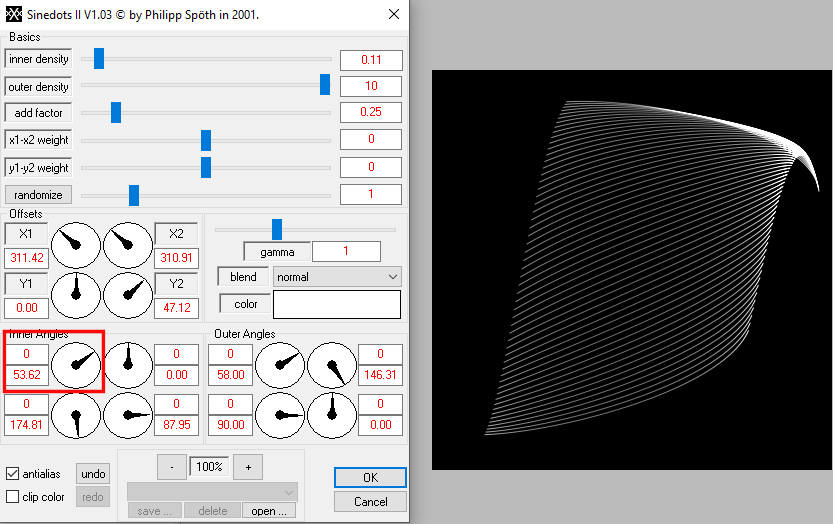
Once Sinedot is open, I set every dial at the bottom to 0, so we would be able to see the changes made by each of them. I set up the color to white (even though it shows as a black background)
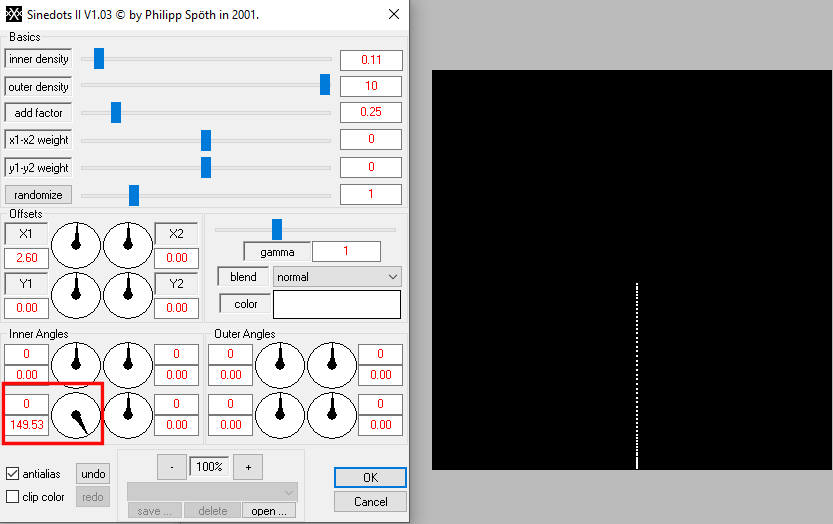
This dial will stretch the design upward from the little tiny dot. If you increase the value more, you will notice that the line seems to fold back on itself, however, since everything is straight, it won't show very well yet.
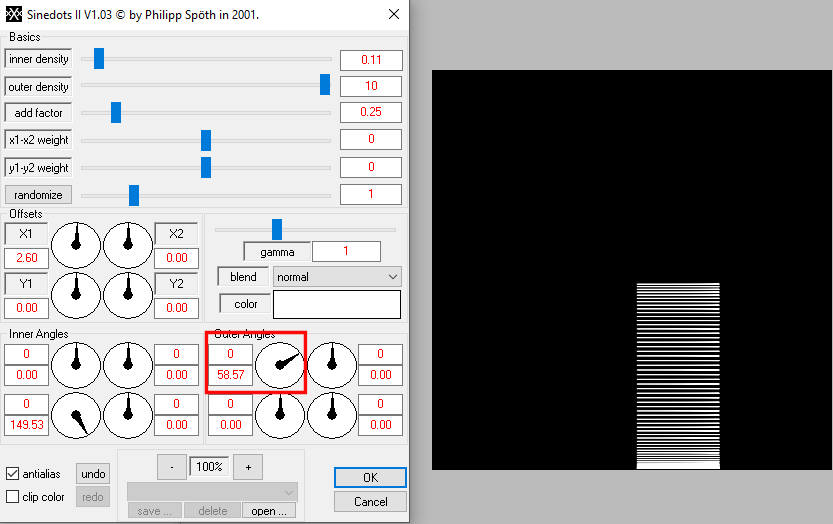
This dial will stretch the design to the right. If you turned the dial to the left, it would obviously stretch to the left.
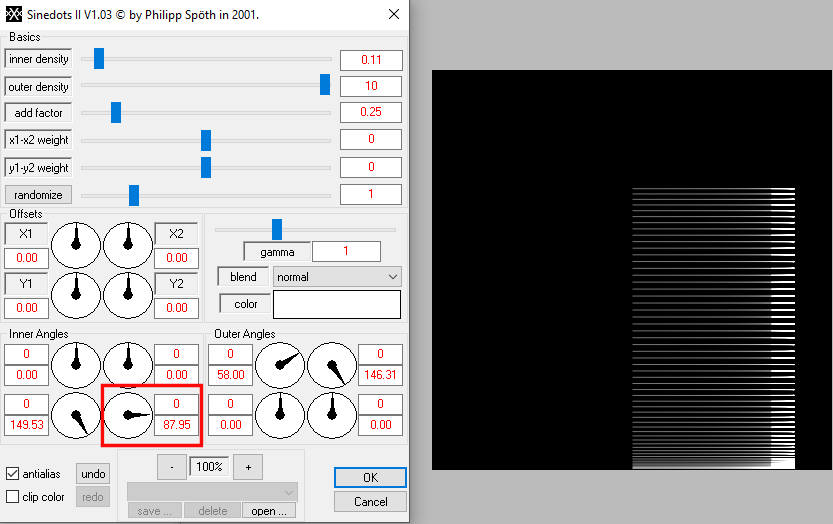
This adjacent dial will stretch even more toward the right, but at a certain point, will fold back on itself.

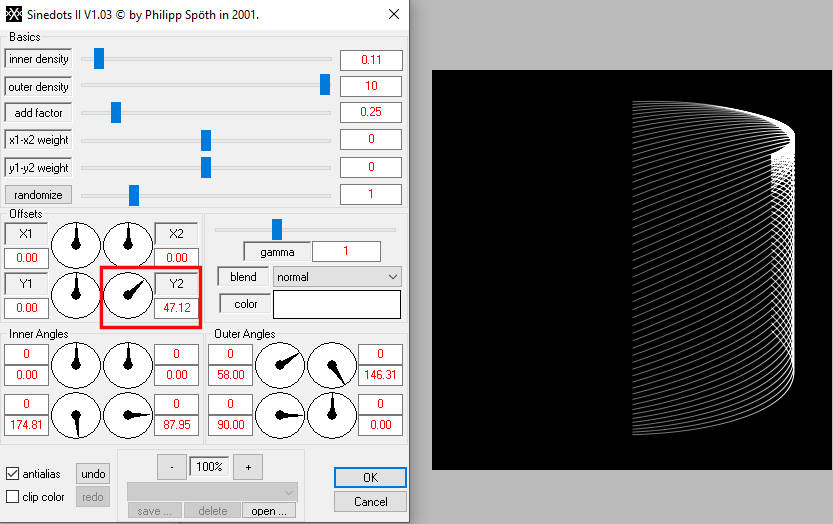
This dial will now stretch the design vertically.
Let's have fun with those otherwise straight lines. This dial will create a change in the width of the design as it is getting narrower than at the start.
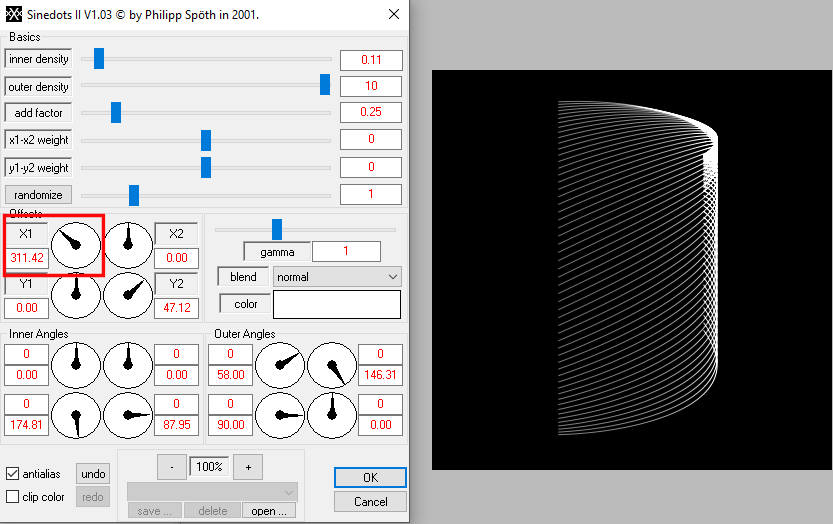
Let's move the whole design upward to have more room to play.
And a little bit on the left.
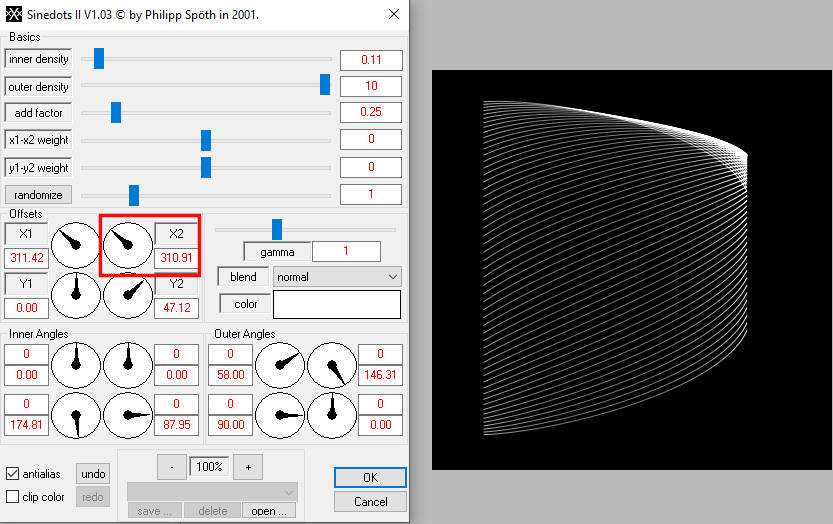
And this one will stretch the design wider.
Now, let's have some fun and play further. This dial is angling the design which starts being interesting.
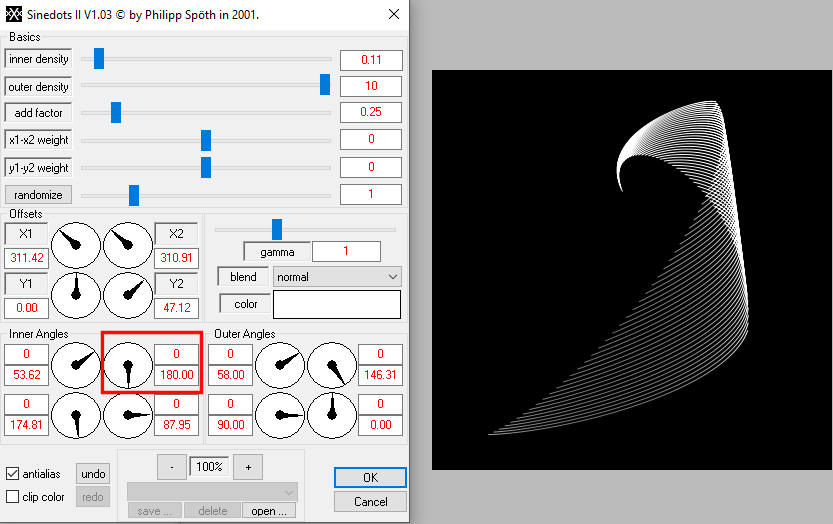
Now, we will curve it backward toward the left.
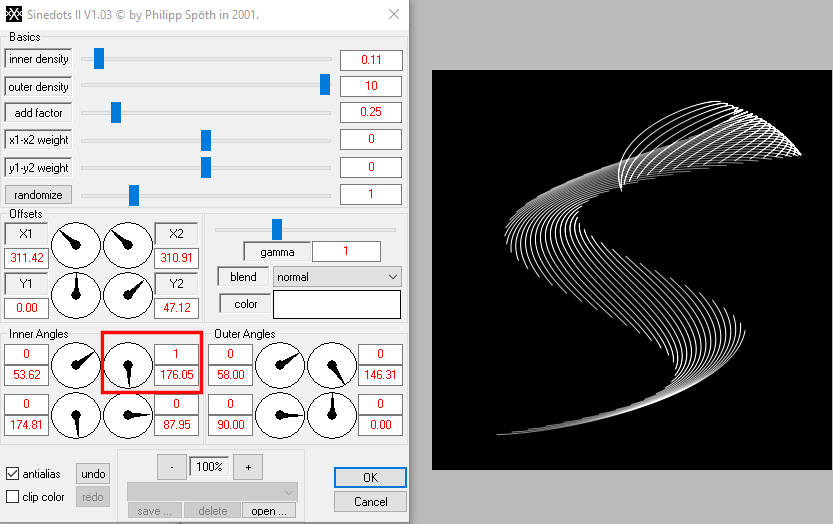
Now, the same dial can be turned more than once and you can see how the 0 turned to 1, and yield this different design.
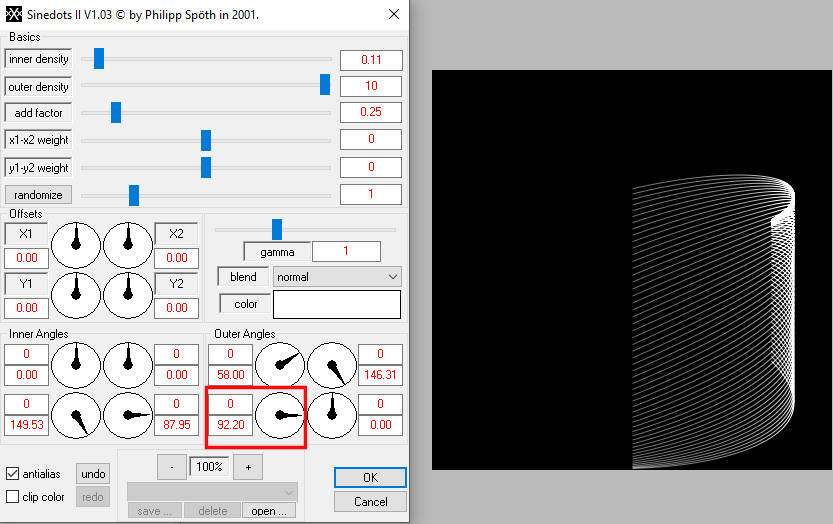
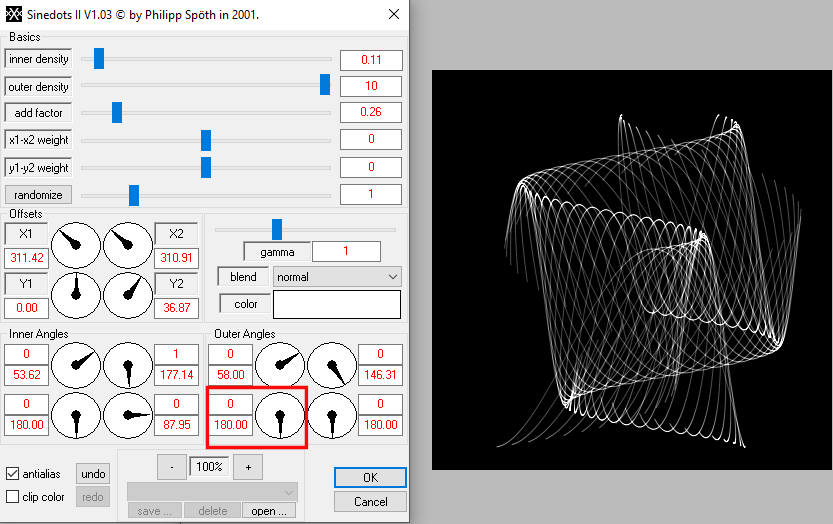
Now, a simple half-turn of this dial will create a fun shape.
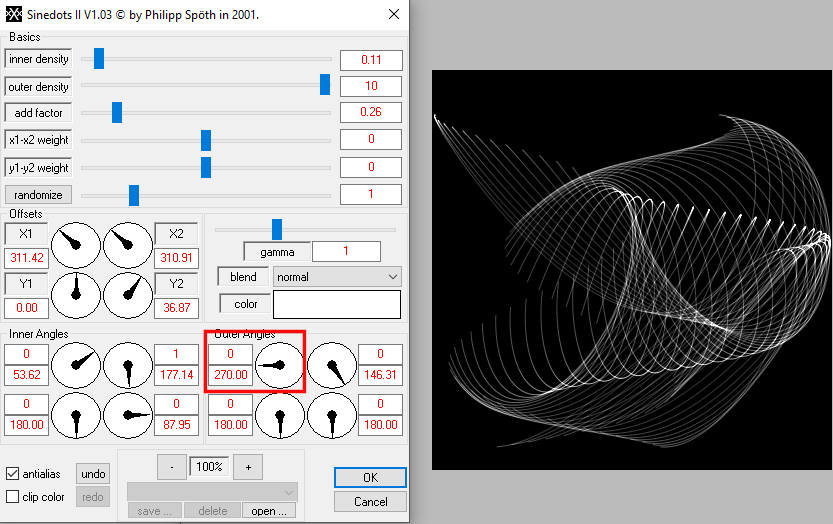
How about a little more tweak?
This time, we will stretch the design sideways in addition to turning it. If you play with the dial, you will actually see how the shape is turning (that is really fun to watch).
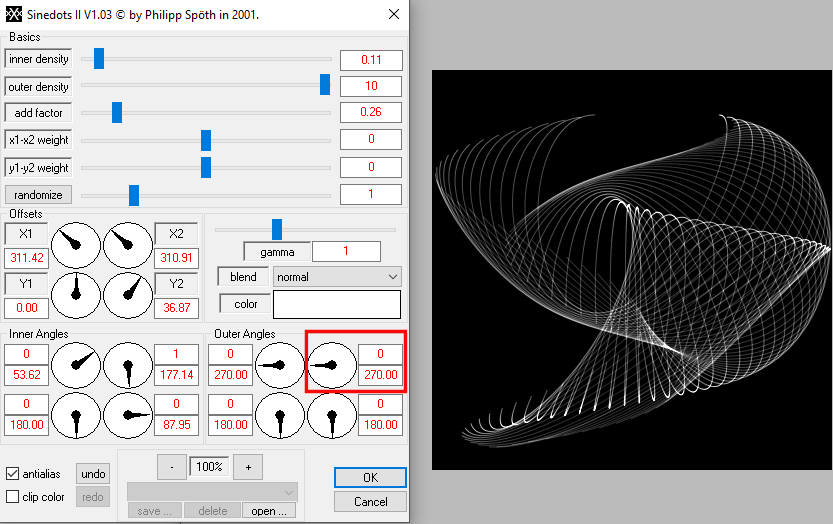
And more distortion.
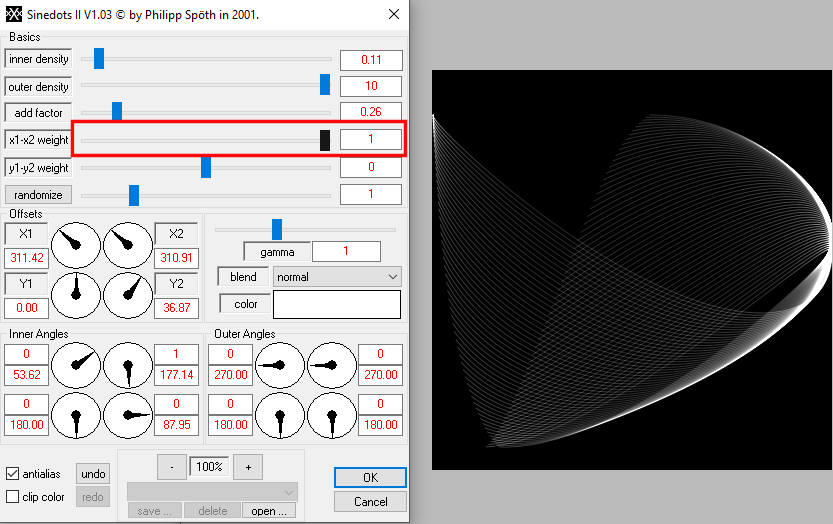
The top part of the settings will have more effects. The X1-X2 weight value can range from -1, where it will stretch the design from edge to edge...
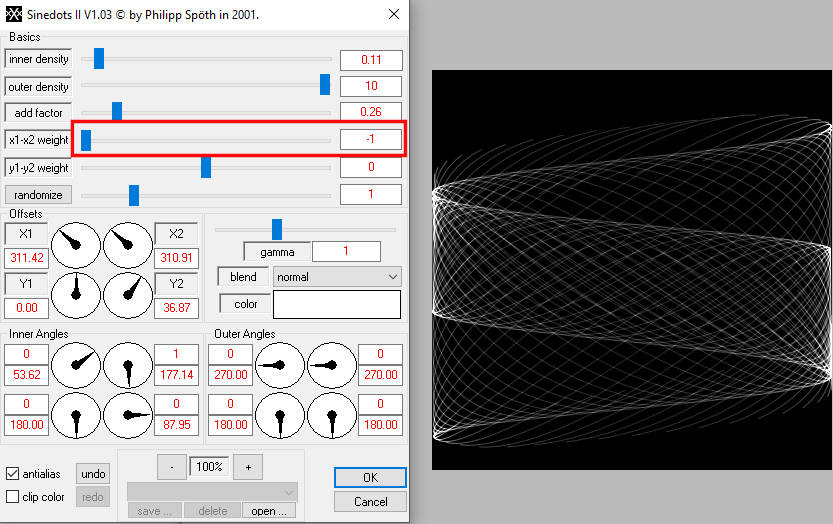
... but dragging the cursor to the other end will give you a very different result.
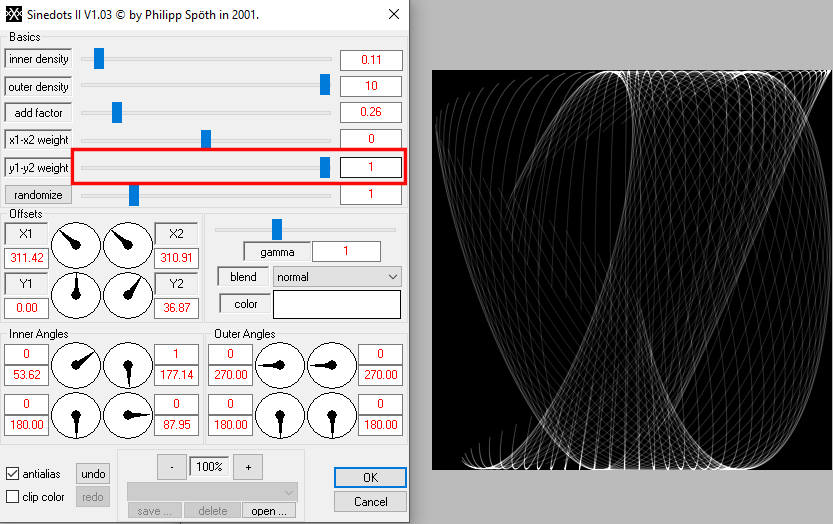
Let's bring it back to the center and change the y1-y2 weight value, and you can see the design stretch from top to bottom.
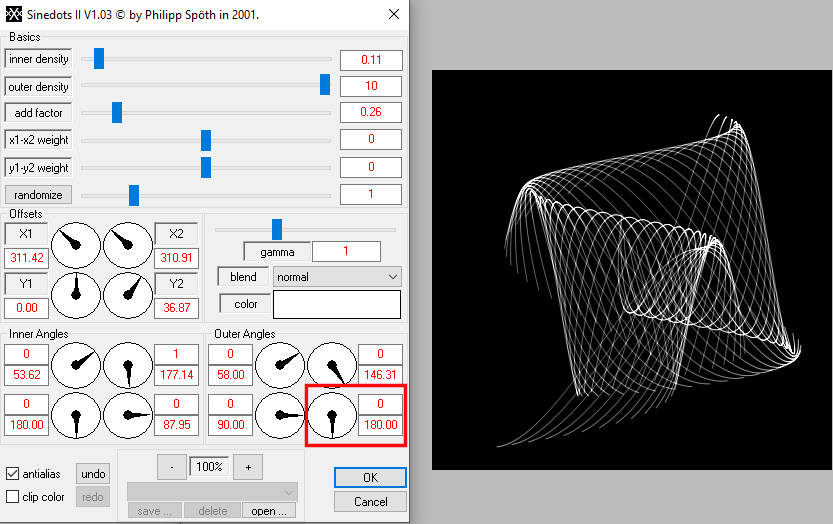
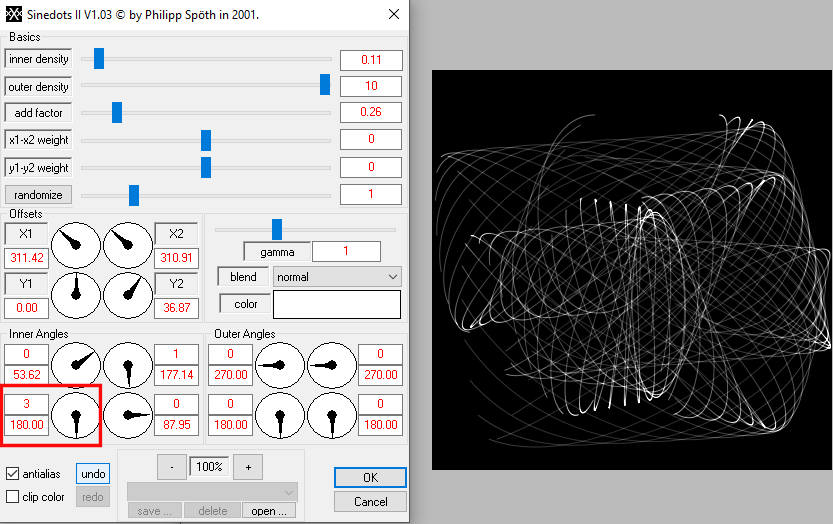
Let's get it back to the center and play with another dial. Notice that the top value was 0 previously, but now, it is set to 3, meaning that the dial has done three turns around, which yields more "folds" of the design.
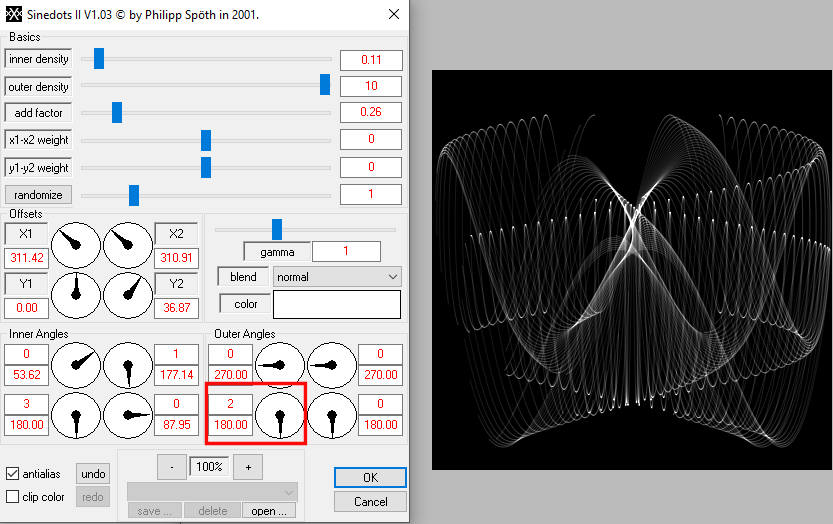
Let's also change the 0 to 2 on another dial, which adds even more folds.
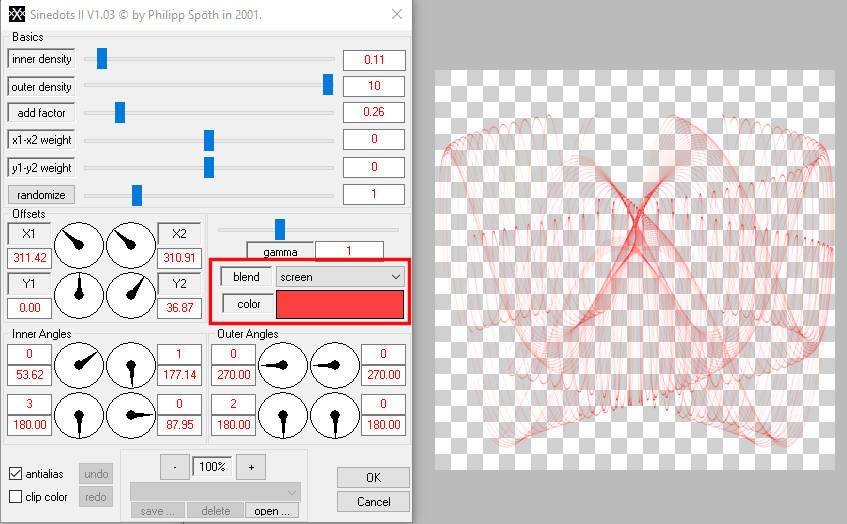
At this point, if you are to accept these values, the end result will be a white design on a black background, so you cannot really use that design separately. So, here I will change the color from white to red, and the Blend mode to Screen so it will not have a background once I accept those settings.
And here is the design, with a white background layer that is separate.
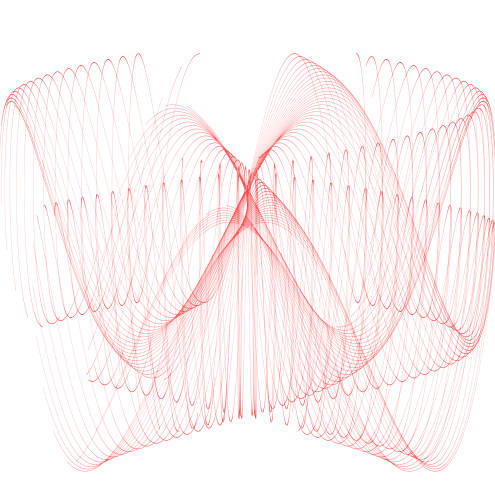
And if you lock the transparency of the Sinedots layer, you can paint it different colors in some places, as you wish.
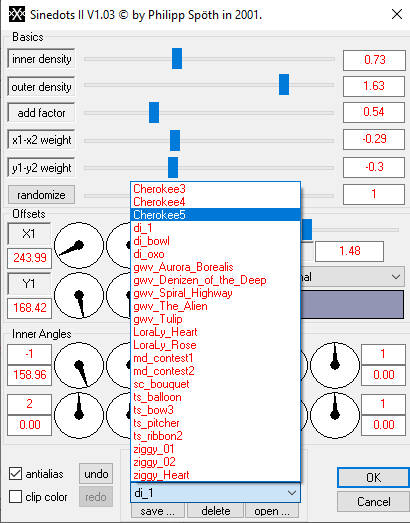
Now, you might want to play with this plugin, but there is still more. When you download the plugin, the zip file also includes one file called PSP_PluggersPresets.cfg . This is a real gem because you can import many of those designs. Did you notice that, in all the above screenshots, the Save button at the bottom was never available? It seems to me that you need to have open an existing preset to then be able to save your own (odd, but that is what I found). So if you click on the Open button (which is available), and choose that preset file, you will then see a whole series of new presets now available in your Sinedots II.
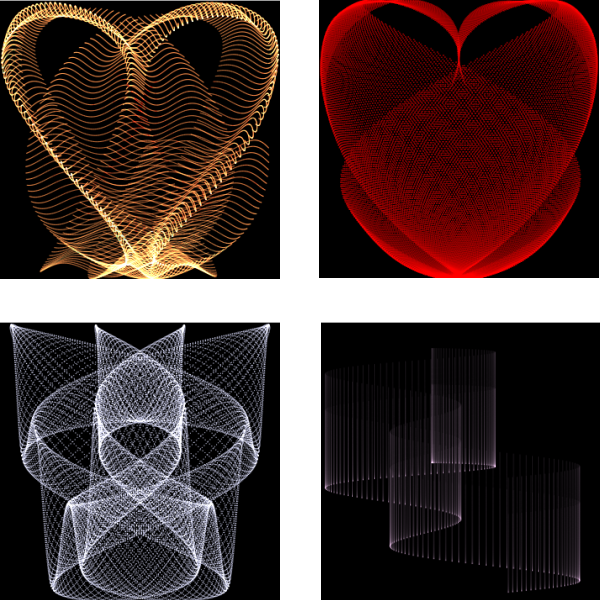
In addition, you can now see the Save... button is available for you to save the design you would create and might want to keep for future use, either to recreate or to use as a base to tweak some more. Here are some samples created from those presets:
Now, it is your turn to play around with this tool. I have to warn you that it is quite addictive but you might end up with some fun background you can use with a variety of projects in the future.


2 thoughts on “Featured Resource – Sinedots II”
Ok, this is just too tempting not to load and I am a fractile freak anyway.
its an old one but a good one perfect to make different overlays