
Creating a complete layout could take some time and feel overwhelming, especially if you have many photos to use and several pages you plan on doing. Did you follow the previous tutorials to work for 10 minutes at a time? If so, you might already have several projects on the go, so let's see what you can do in the next 10 minutes.
Check your papers
In the very first step, you likely gathered a few papers for your project. Hopefully, you have some patterned papers and some solid papers. It is always good to have some variety, even though, it is always possible to use only patterned papers or only solid papers. It is a matter of personal preference and will also depend on the actual papers you have.
If you have used the Open as Layer script, you should know the filename of the papers you have gathered. If you decide you want another paper from the same kit (as they tend to match in colors and styles), you have the option to go back to that kit and add more papers without searching endlessly for it.
Cut those papers
If you have several papers on your "stack", you likely want to use them but only in sections, so you can see a variety of colors and patterns. Yet, all the papers you have currently stacked are full-size, so how will you cut them? Unlike physical paper, you have a great advantage, with digital scrapbooking, that you can use and reuse the same paper multiple times (a great money saver, right?). Let's see how we can add some cut pieces of paper to our project.
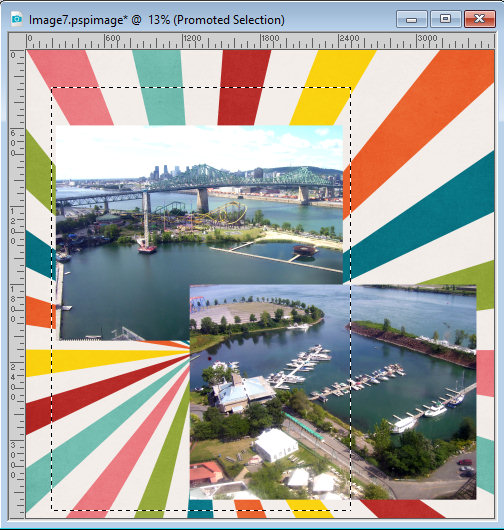
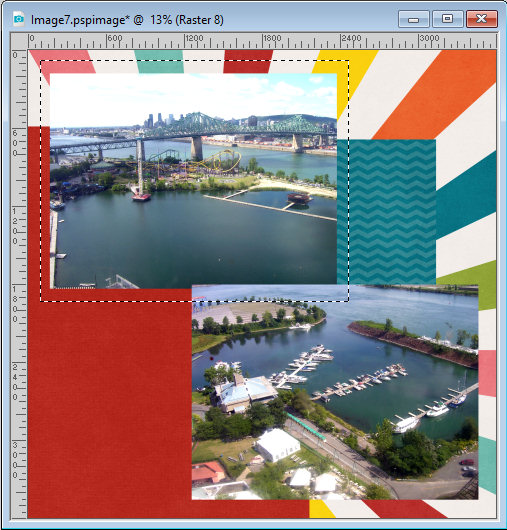
First, make a selection on your project where you would want the paper to be. Use the Selection tool and you can choose any shape you want, whether you want a rectangle, a square, a circle or any of the other shapes available. You can use your photos as a guide if you want the piece to be larger than them, or narrower, or the full width of the project.
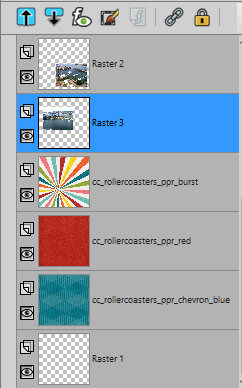
In the Layers palette, activate the paper you want to cut in that shape.

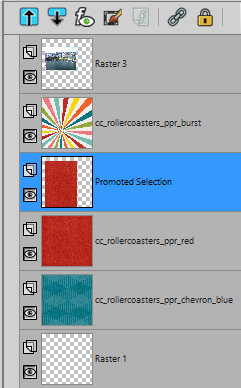
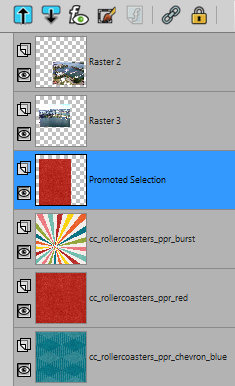
Right-click on that layer and choose Promote selection to a layer. This will create a new layer with the paper piece and the original paper will still be left intact, in case you change your mind or when you want to reuse it for another piece.
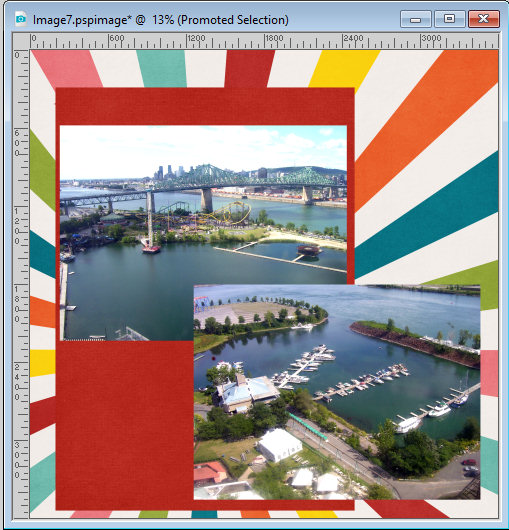
Move that layer where you want it. In this example, I will move it above the starburst paper, which will likely end up as a background paper only.
This is what the layer looks like now.
Let's go through the same process for the blue paper.
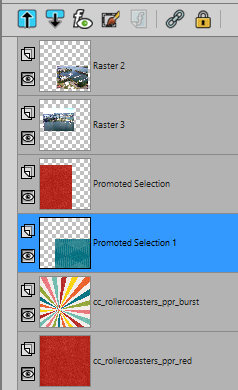
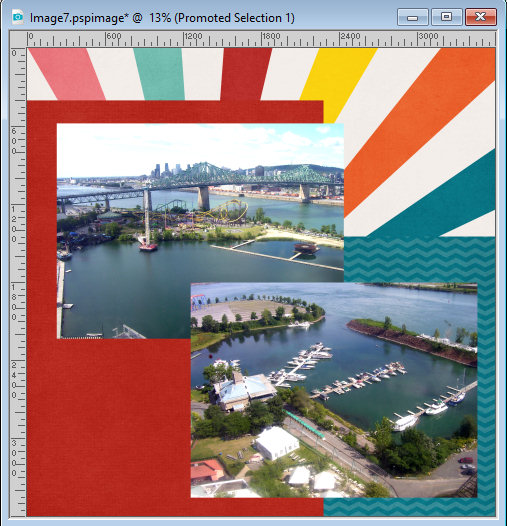
So we now have something like this (I moved the red piece, just because I could).
Create mats
Although this step is totally optional, if you have a busy patterned background, you might want to add a mat to your photos to make them stand out more. You can also plan a matted area if you expect to have some text that would be hard to read on patterned papers. If you have a solid paper in your stack that you want to use for that, you just have to follow the steps listed above, and you will have perfectly matching paper mats. If you don't have one, and the kit does not have any that you can use, you can create some yourself.
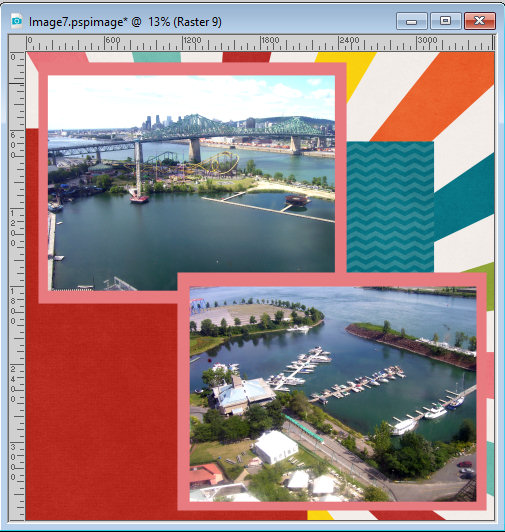
Make a selection around your photo in the size and shape you want with the Selection tool.
Add a new Raster layer. Pick a color either in the current papers or on your photo. I chose pink from the starburst background paper. Flood fill that selection and deselect. You can repeat on more than one photo using the same or different colors. Arrange the layers as you want.
Changing your mind?
Throughout these processes, it is very common to change your mind, to get a new idea you want to try, or find out that what you did does not really suit your taste or the effect you wanted in the first place. That is ok. Remember that your original papers were never altered, so you can delete the layer you don't like and make a different piece, with a different shape, size or paper. Here, I changed the rectangular blue piece with a circular one instead.
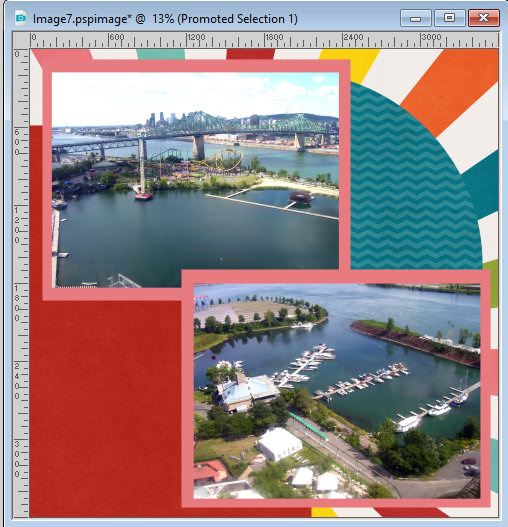
As you can see, the layout is starting to take shape. Nothing is final, and everything can still change, but I am moving forward, and getting closer to completing my layout, and yet, I still only worked a few minutes this time around. You can batch the paper steps for several layouts if you have more than one on the go. Make sure you still save your work as a .pspimage format, so you can continue at a later time!
And make sure you don't spend more than 10 minutes on this step. Don't make any final decision, as it is likely you will still tweak it when the elements and journaling are added, so let it go for now!
Now, it is time for Text and journaling.


