

With the power of PaintShop Pro, you can create photo edits that will make you appear in locations that you never visited in real life. Wit this process, you can "visit" the whole world, the most beautiful beaches, cities, mountains or attractions. Let's travel, with PaintShop Pro.
Choosing the photo
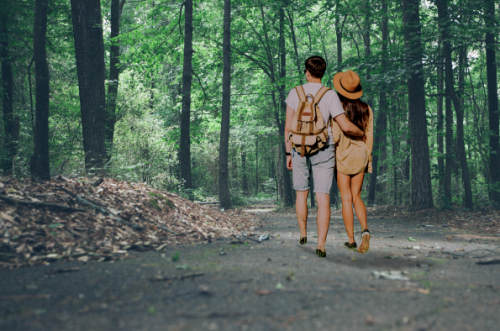
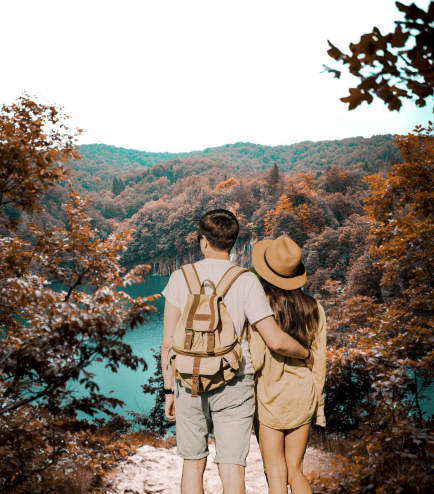
Although it is not essential, it is a good idea to have a photo of the subject in full-length. We will look at options if the full-length is not possible, but for the first example, we will choose a photo of this couple. We see them all, although the feet are a little tricky because they are partly hidden in the grass. But we'll make do with that.
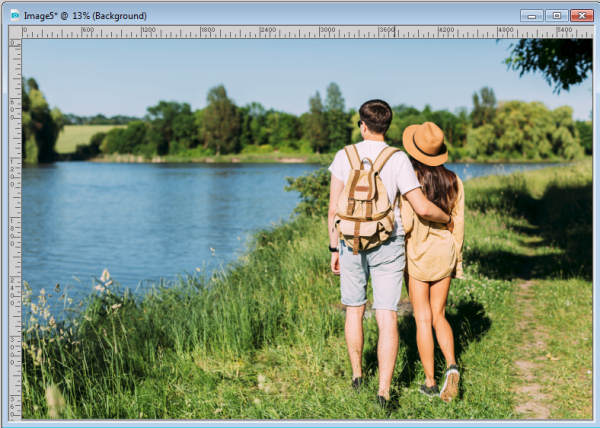
If the photo has an obvious light source, indicated by the shadows, make note of that orientation. That will become important when adding the subject to a different background.
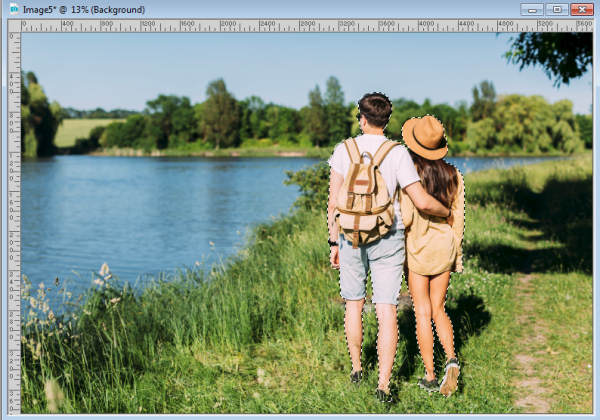
Using the tool you want, select your subject. I prefer to use the Edit Selection (explained in this tutorial) but you can use other tools if you want.
Choose your new background
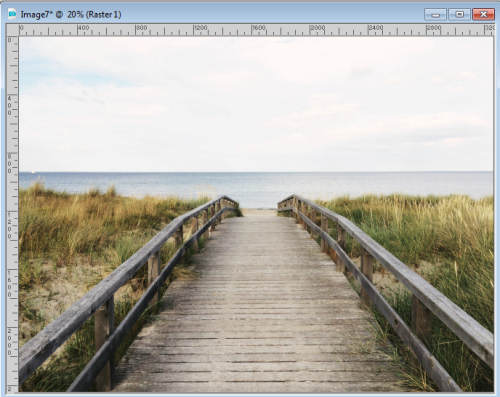
The background where you will add the subject will have to be consistent with the original photo. For example, you would not be able to use an aerial photo of a beach, because the angle of the subject and the background would not match.
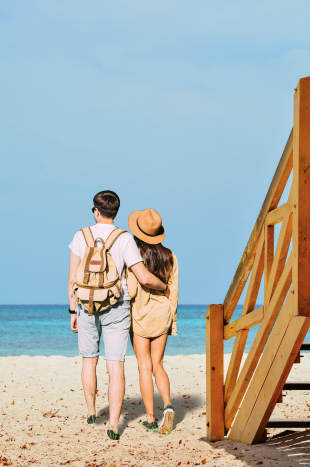
I chose this photo for the new background. Notice that the angle of the shadows is similar to the angle of the shadow from the original photo of the subject.
Add the subject
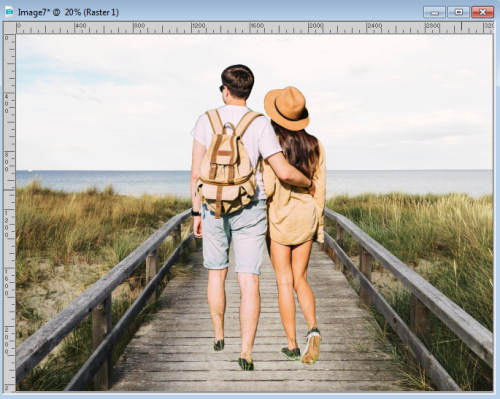
Going back to the photo of the subject, simply copy that selection, and then paste it as a new layer on the new background. Adjust the size if needed.
Add the shadows
It is unlikely that you would be able to extract the shadow from the original image so you will have to add it here. Start by adding a normal black shadow to the subject, making sure it will be on a separate layer.
Using the Pick tool, first, reduce the height of the shadow.
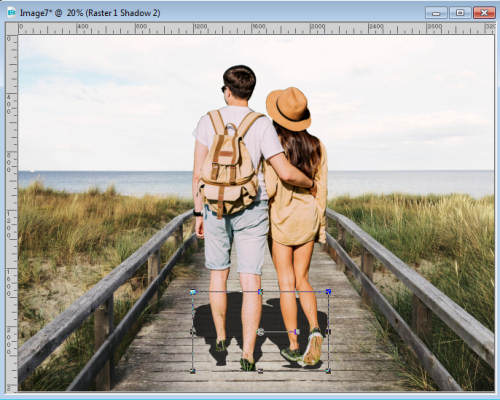
Then, holding the Shift key (or changing the mode to Shear), move the top center node to angle the shadow to the right (remember, that was the angle from the original image).
If needed, you can use the Warp Brush to make the shadow fit the contact points for the feet. Sometimes, the distortion from the Pick tool will make the shadow separate from the object, which is obviously not realistic. But you don't have to be very precise as far as the exact shape of the shadow since it will be blurred.
Although we could have a very sharp shadow if it is very sunny, this particular background does not have very sharp shadows so we have to match the subject's shadow to the background.
Using the Freehand selection tool, select the top half of the shadow. Add some feathering with Selection >Modify > Feather. The amount will depend on the size of your image and the size of the shadow.
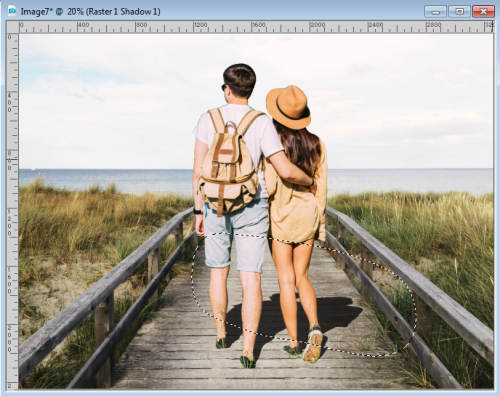
Add a Gaussian blur to that selection. In this example, I added a blur of 38.

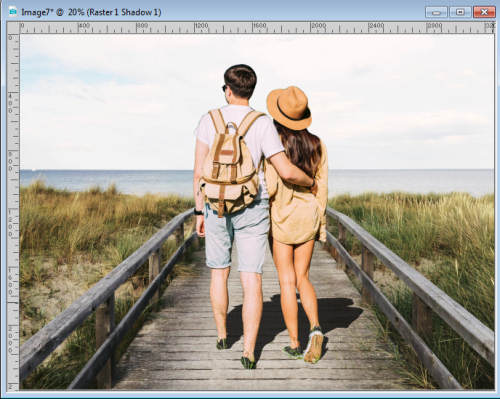
Deselect and add another Gaussian blur that will be applied to the whole shadow. I added a blur of about 20.

Comparing their shadow to the shadow of the edges of the boardwalk, I will be reducing the opacity to about 65. Of course, your adjustments will vary depending on your choice of image.

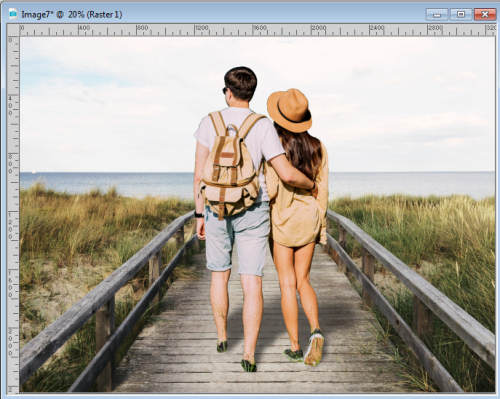
Matching the Brightness
This last step will again, vary depending on the images you are using. I find that my subjects are a little too "bright" compared to the colors of the background. It is still a clear day, but maybe a little be cloudier than the initial image, so I will reduce the Brightness by about 10.
Other scenery
Once you have selected the subject, you might want to save a copy in a png format, if you plan on using it again. Who knows where else you would want to go!
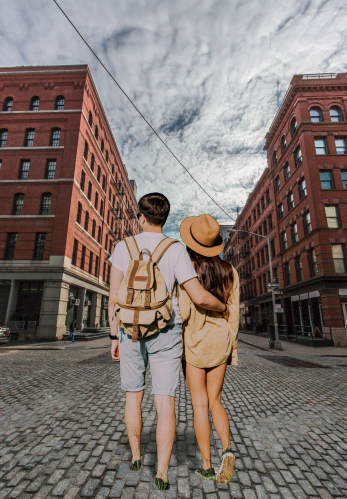
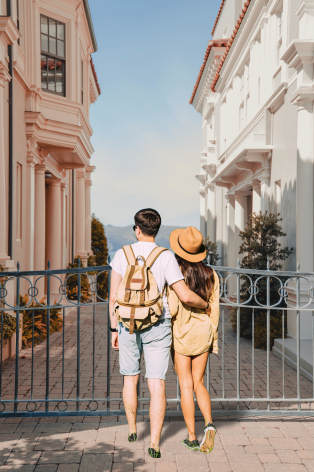
Here are some other examples using the same subject.
Nowhere to stand?
It is possible that some backgrounds don't allow you to put a full-length subject, or that the subject does not have legs or feet in the original image. You can still combine them. You will just have to do offset the subject so the feet or legs are not visible as if the picture was taken only of the upper part of their body. Here is an example.
Now, where will you go, with PaintShop Pro?
Credits:
Photo from Freepik
Photos from Unsplash by Joseph Kelly, Phil Goodwin, Zachary Shakked, Anton Sharov, Carson Smith, Michael Marcagi.


1 thought on “Add me anywhere”
Wow,, love this idea.