

Whether for the holidays, a birthday, or other occasion, greeting cards can be a nice personal touch. You can send that to a friend, relative or co-worker. With PaintShop Pro, design your own greeting cards, and even better, the envelope too, and print everything at home, on your regular printer.
What you need
You can use a simple white piece of paper to create the envelope. You don't want something too thick. For the card itself, you can use regular paper or some card stock. Although you can use white paper/cardstock if you want to add colored designs, you can also use colored bases. Beware that this might distort any color you would have in your design or text.
Of course, you also need a printer, and your favorite graphics program to create your design.
Start with the envelope
It might be a little counterintuitive to start with the envelope but since a standard sheet of paper has size limitations, starting with the card and then making the envelope might end up with a pattern that is too big.
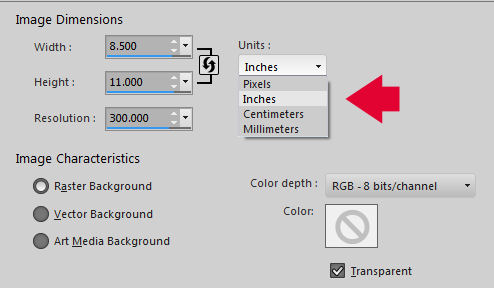
Since most home printers have a limitation of a standard 8.5x11 inches paper, let's open a blank image in PaintShop Pro, using those sizes. Typically, you will have the new image command show you the size in pixels, but you can change that to display in inches. Keep the resolution to 300.
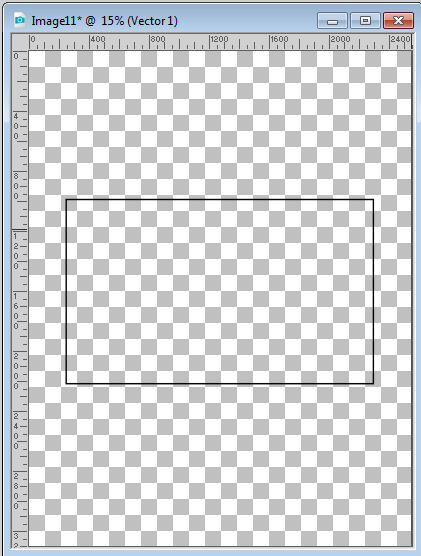
Using the Rectangle shape tool, set the stroke color to black and the fill to none (you can change that later if you want). Draw a rectangle in the center of your page. Keep some distance on the left and right sides. This will be the boday of your envelope.
Convert that layer to a Raster layer by right-clicking on the layer, and selecting Convert to Raster.
To add the side flaps, use the Pen tool, using the same settings of a solid color, black outline, and no fill. In the toolbar, check the Create as Vector and Connect Segments. Draw the three sides of the flap on the left.
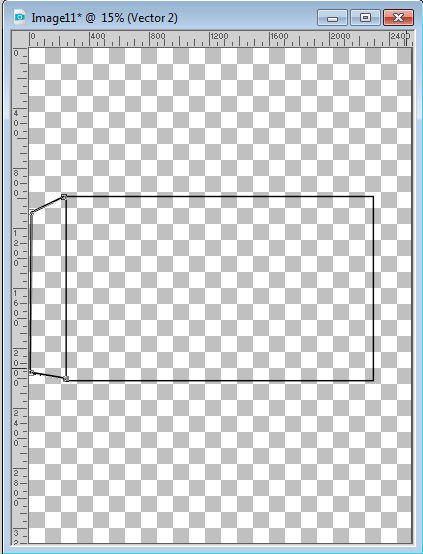
Adjust the nodes if needed. Convert to a Raster. Right-click on the layer and Duplicate. Go to Image > Mirror > Horizontal so you will get an identical flap on the right side. Align the piece if needed.
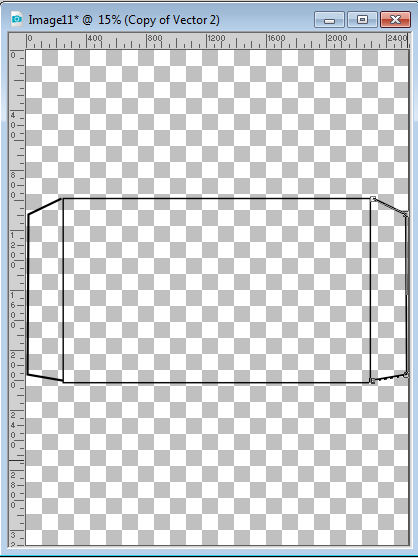
Repeat the process for the bottom flap, however, this time it can be larger. In fact, it should be at least two third of the height of the body of the envelope. You don't need to measure precisely. Just estimate.
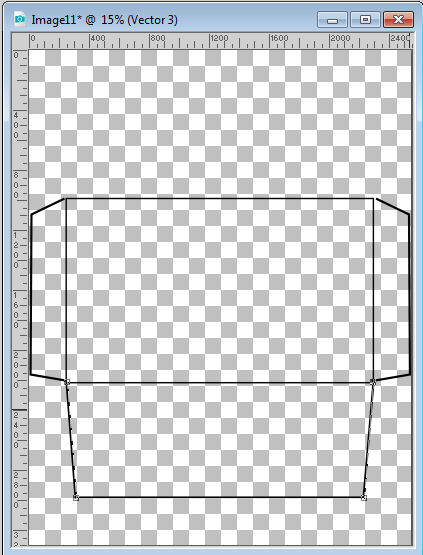
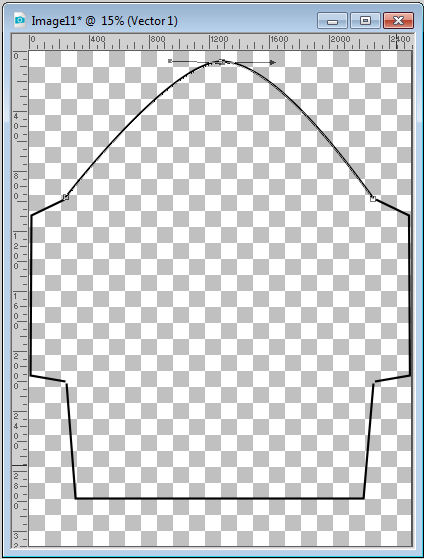
Convert that layer to a Raster also. Now it is time to create the top flap. Start by creating a triangular shape using the Pen tool and only two sides (don't overlap the horizontal edge of the body).
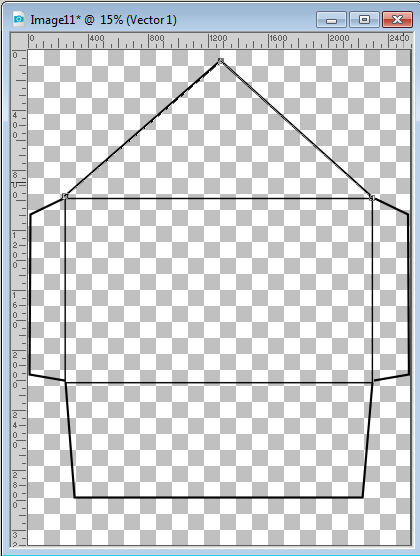
This is where you have a few options. If you want to keep a triangular flap, you can stop here If you want a more rounded triangle, you can right-click on the node on the top of the triangle, Node Type > Symmetric. This will give a rounded tip for the flap.
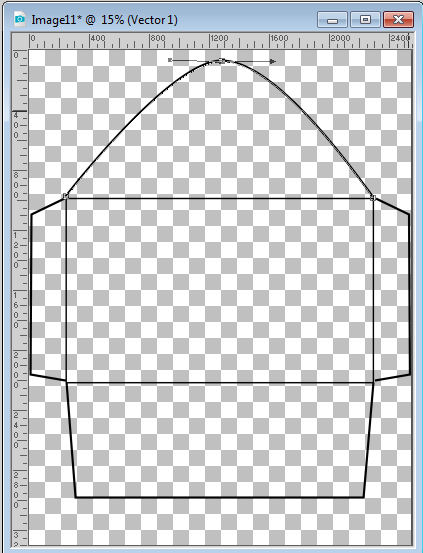
If you want an even rounder flap, you can also edit the nodes on the left and right edges and straighten the handle to be vertical. That will create a more rounded shape on the extremities.
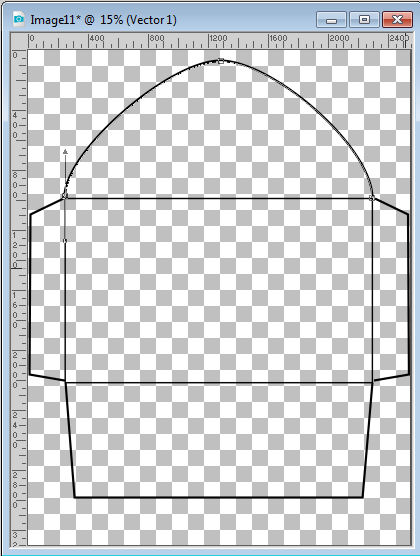
Now, the outline of your envelope is done. If you are to use a patterned paper and simply want the outline, you can hide the body of the envelope (the initial rectangle) and print out the other lines. But maybe your printer does not print up to the edges. Don't worry, you can estimate where to cut, even if the lines on the edges are not printed.
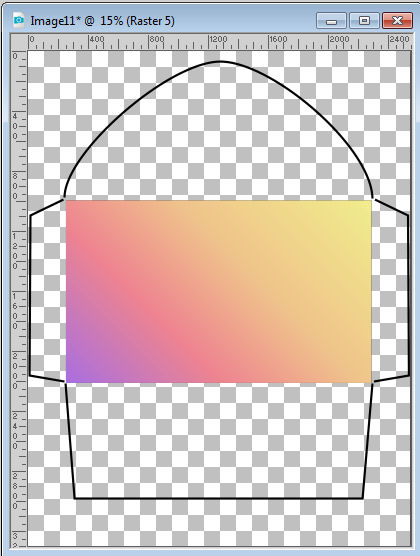
If you want to add a design, pattern, color or gradient to your envelope, it will probably be on the body area. Activate that layer, and using the Magic Wand, set to Opacity, and with the Contiguous box checked, select inside that rectangle. Add a new Raster layer and flood fill with whatever pattern, design or gradient you want. Deselect (Ctrl-D) and hide the initial rectangle (so you won't see the black lines on the edges.
On the other hand, if you want the whole envelope (all the sections) to have a specific color, or pattern or gradient, add a new Raster layer, abd flood fill it. Then, move the layer below all the outline layers. Once you have the whole page printed, you can just cut along the outline.
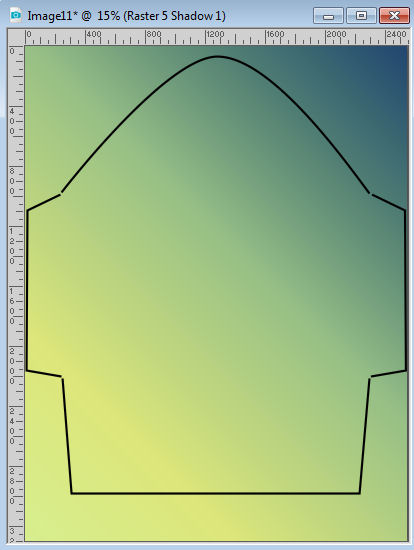
Beware that directional patterns will be flipped once the cut outline will be folded. If you want to add some details on the body of the envelope, you can do that too. That is a great way to personalize your project.

Once you have printed your envelope and cut out the outline, fold the side flaps inward, then the bottom one upward and glue that bottom flap on the side ones. Let dry a bit to make sure everything is ready to add the card.
Creating the card
Now that we have the envelope done, it is time to create the card itself. Since the card will need to be slightly smaller than the body of the envelope, let's activate the layer for the body, copy it (Ctrl-C) and paste it as a new image (Ctrl-Shift-V). Since you want your card to slide easily, let's resize it a tiny bit. Go to Image > Resize, and choose to resize by 95%.
At this point, you need to decide if you want a card that will be horizontal (opening upward) or vertical (opening sideways). If you want your card to be vertical, you need to rotate this canvas by 90 degrees.
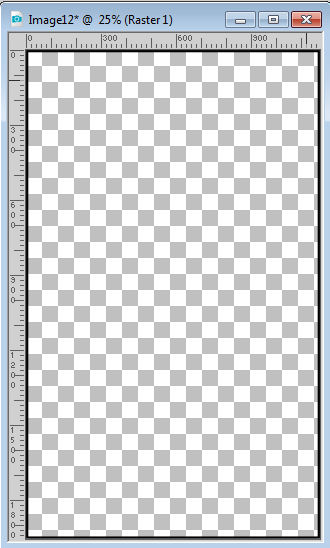
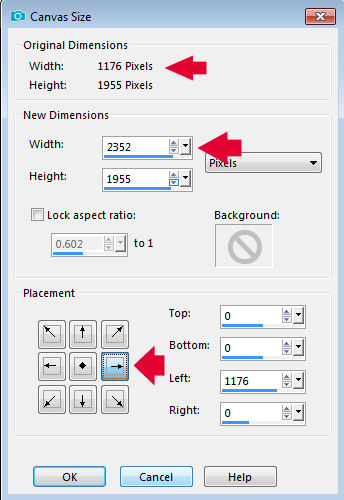
In order to get a nice card that you can fold, let's double the width of this canvas with Image > Canvas Resize and adjust the sizes based on what you have. The height will stay the same, the width will be doubled, and at the bottom, choose the button on the middle right. Your settings might be slightly different than mine.
And now, you have the base for your card.

Using the black frame as a guide, add whatever design, color and text that you want.
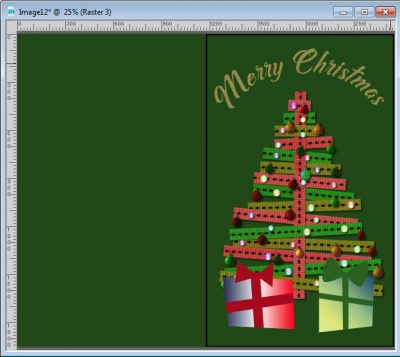
Since you know that the card will be folded in the center, you can even remove that black frame and print your card without it. Once it is printed, you can fold it and it will fit perfectly inside your envelope!
As you can see, the size of the body for the envelope will determine the size of your card. If you wanted to start with a square shape, that would allow you to create a square card. And if you want to create tiny cards, maybe to insert inside something else, you can also do it. The possibilities are endless.
What are you waiting for? It is time to create your own greeting cards.


1 thought on “Project idea – Card and envelope”
Thank you! So many great tutorials!