

The Clone tool has been part of Paintshop Pro for many many versions (I remember using it with version 7) and it has various uses: you can hide some parts or you can add others. Let's have a look at a few tips to use the Clone tool.
The basic use
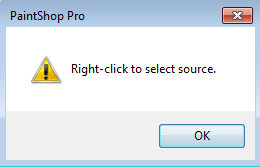
The Clone tool works in 2 steps: the first is to right-click on the starting area that you want to use as the source, and then, left-click where you want that source to be copied. If you forget to set a source, Paintshop Pro will let you know with its annoying popup warning:
Do you know that you can also hold the Shift key and left-click instead of right-clicking? Yes, it does the same.
The Clone tool uses brush tips and you can use the exact same brush tips that you have available for the regular Brush tool. Usually, you will still use the typical round or square tip, but every other one will be available if you choose to use them.
Since the Clone tool uses the same tips as the Brush tool, it also uses similar settings, so you can adjust the size, the hardness, the step, the density and the opacity to get different results.
Tip #1 - You can clone on a separate layer
It is always a good idea to add elements and effects on a separate layer if you can and using the Clone tool is no different. Although you might think that you can only clone from one layer onto the same one, there is an option in the toolbar called "Use all layers". This option is obviously only available if you have more than one layer.
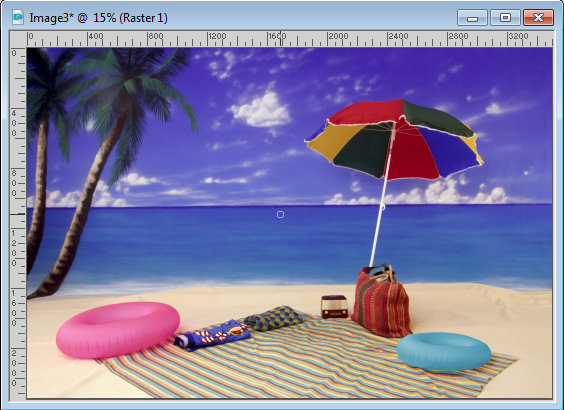
When you check that box, the Clone tool will grab the source that is visible on your project, no matter what layer it is on. This means that you can clone an element from one layer, as long as it is visible, onto a blank layer. This is what I used to clone the inflatable toy on this image, on a separate layer.
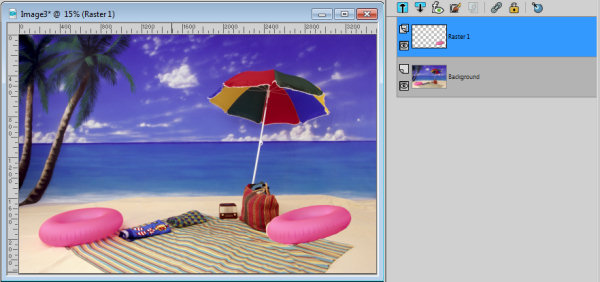
Once it is cloned, you can manipulate it as you wish, tweaking the edges, changing the location, rotating it, colorizing it, etc. In the end, it might not look like a cloned element anymore.
Tip #2 - You can clone the same source at different places
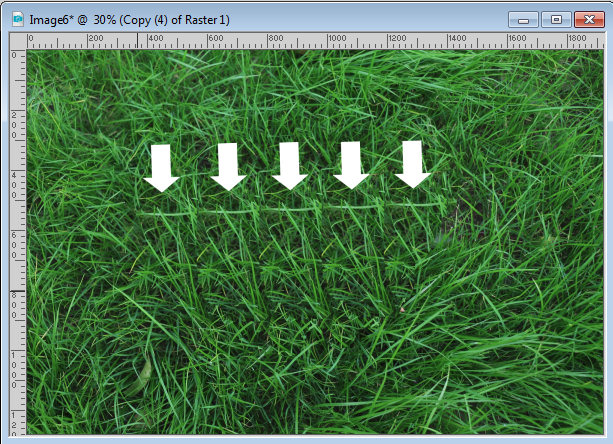
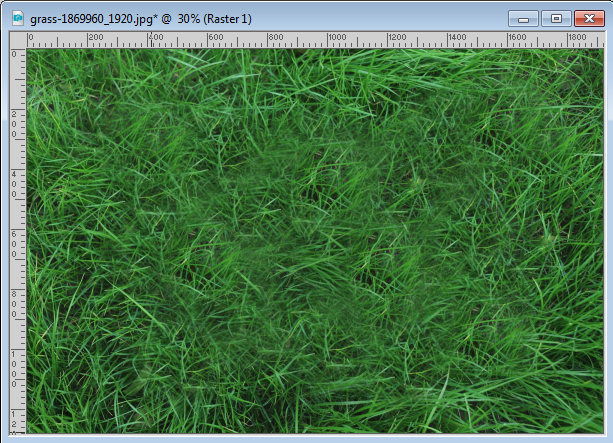
This is quite useful if you want to clone some elements in a random background, like foliage, ground or flowers. Typically, whatever you clone from, will appear as a "parallel" design when you apply it, giving a recognizable "linear pattern", like this:
However, another available setting is called Aligned Mode, and it has a checkmark by default. It means that the source and the target areas will stay aligned no matter where you go, so it is easy to end up using a cloned area as a new "source", which causes that repeated pattern. But if you uncheck the Aligned mode, the source will be the same but you can apply it in different places and it will NOT retain the exact same distance. This allows you to "randomly" add the same section, in multiple places, avoiding that repeated pattern.

Of course, you might still see some repeated pattern but it is no longer in an obvious straight line. And since you can always apply on top of what you already cloned, it makes it look more random. Obviously, if you apply this cloning more than once, using a different source, the effect will be even better.
In a closeup, the cloning is somewhat more visible, but if this was only part of a larger image, nobody would notice.
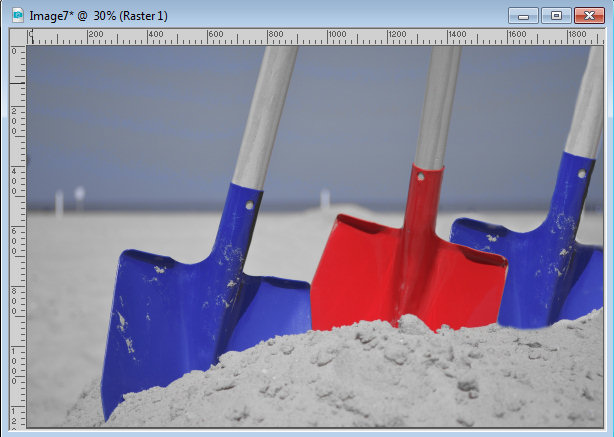
Tip #3 - You can clone up to the edge of an element
This feature called Smart Edge exists since a few versions. It will allow the tool to apply to your image but only up to an obvious edge. This is perfect if you want to clone an element to appear behind another one. This is how I added the blue shovel on the right (it is a clone of the one on the left).
Tip #4 - You can clone from one image onto another
You might have the element you want to use in your original image, but maybe you want to add an element that is NOT there. You can clone from a totally separate image if you want. For this process, however, you have to have the Windows > Tabbed documents UNchecked otherwise, you will have a hard time seeing where you are cloning from. This tip allowed me to add the bird on the right image, by cloning it from the left one.

Now, you are all set to play with this tool and know a bit more how you can use it. Remember to show us your project in our forum.


4 thoughts on “4 Tips to use the Clone Tool in PaintShop Pro”
clone a object the way I do it, is select the object and copy paste as new layer.
another way is duplicate layer and remove background in toplayer.
I use clone quite a bit when I’m trying to blend or cover something. How do you clone the object you want without getting the background, too?
I have not found a way to not clone that background part. My only solution is to use the cloned segment and treat it like an extracted element so you can tweak it separately.
I think that the Smart Clone, added to PSP2020 might just be the answer to your request. Give it a try.