

Although hard drives are getting larger and larger and storage space is getting less expensive, it is a good idea to save space whenever you can. When creating elements, you will usually work on a canvas that is much larger than you need, so here are simple ways to trim this extra space without cutting anything off your element.
Copy and paste
If the element you just created is on a single layer, the fastest way would be to copy (Ctrl-C) and paste as a new image (Ctrl-Shift-V). This will, in fact, copy all the non-transparent pixels from your original image to paste them afterward. This will also ensure that the element will not be cut off since ANY non-transparent pixels, as faint as it can be, will be copied.
Crop
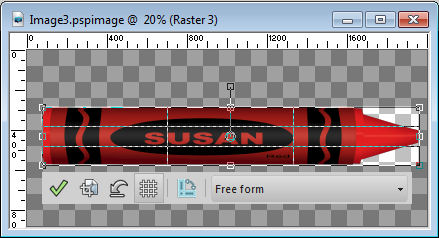
The Crop tool allows you to select an area and trim the excess around it. Unfortunately, by default, it requires you to manually select the area which can result in either some excess space or a cut off element since it is very hard to be extremely accurate on all four sides when adjusting the edge manually.
Once the Crop tool is active, in the toolbar, you will see, on the right side, three icons under the header of "Snap Crop Rectangle to:" The three icons represent three options: Current selection, Layer opaque and Merge opaque. These three options will allow you to determine the crop area more automatically than drawing the rectangle manually.

If your element includes multiple layers, your best and simplest option is to select the Merge opaque. This will, in fact, select an area around any non-transparent pixels, making sure that nothing of the element would be cut off while taking all the layers into account.
Interestingly, the Merge opaque will only take into consideration, the visible layers.
Additional feature
When cropping to the nearest visible pixel, you might find that the new image seems to be much wider than it should be. Remember that the system is looking for ANY non-transparent pixel so if you see some space, it is because there is, in fact, a non-transparent pixel on your image on the edge. This could be a clue that you have stray pixels, away from your element. If that is the case, you will need to clean up your element using the tips in this blog post.
Whether you are creating elements for your own use and want to save them for later, or whether you are creating elements for others (for free or for sale), always consider trimming the excess space on them so it will save a few bytes on everyone's computer.


1 thought on “Trim excess space around your element”
Also, when needing a copy of an element with multiple layers, I use Copy Special/Merged, then Paste as a New Image, so I can also save the original with its layers.