When creating various projects, whether it will be a scrapbook layout or another graphic design, you might want to extract elements from a photo to add it to another one. Maybe it is a flower you want to use to decorate the corner of a photo, or a whole person that you want to place on a different environment. Extracting the element is a technique on its own, but cleaning it is an important additional step.
Unerase
When you are in the process of extracting an element, whatever tool you use, you have the option to add any segment you have accidentally deleted by using the UN-erase function (as long as you are still on your initial image). The UN-eraser function works when you click the right-button on your mouse or stylus and it will make the area reappear. The UN-erase function uses the exact same settings as the Eraser tool, so you can adjust the size, hardness, opacity, etc.
Catching stray pixels
Depending on the technique used to extract an element, it is possible that some stray pixels are left behind. Sometimes, they are easy to see because they are opaque, but sometimes, they are invisible to the naked eye because they have a very low opacity. This means that you cannot rely on what you see, to determine if you have stray pixels or not. You need to take check with PSP.
Using the Magic Wand, set to Opacity, with a tolerance of 0 and the Contiguous box UNchecked, click in any empty area around your element.
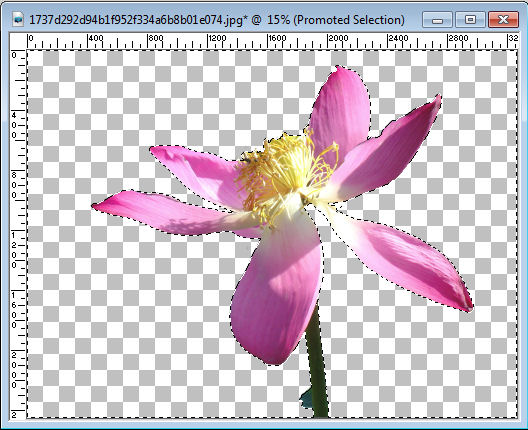
The selection will select all the empty areas, and should show the stray pixels, but if you are using a very large image, like this one, those pixels are pretty small, so we can either zoom in, and check everywhere or we can expand the areas that might have stray pixels.
Invert the selection (Selection > Invert or Ctrl-Shift-i) so that only the non-empty pixels are selected (including the stray pixels), then, expand the selection with Selection > Modify > Expand. You can expand by 5 or 10 pixels, depending on the size of your image. I will expand by 5 pixels in this example. You can already see some areas that seem to not match the edge of the flower.
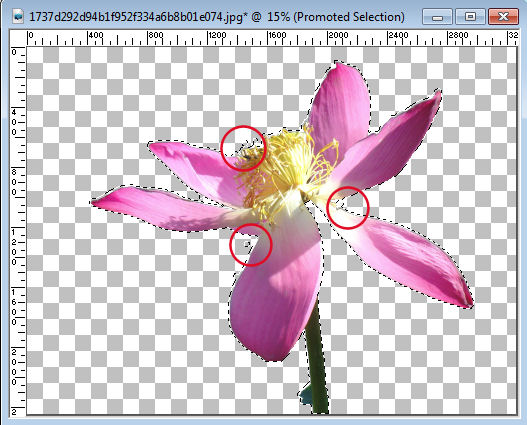
It is time to take a closer look by zooming in. Now we can see that there were some stray pixels that were not even attached to the extracted flower. Sometimes, those pixels are leftovers from the Eraser tool.
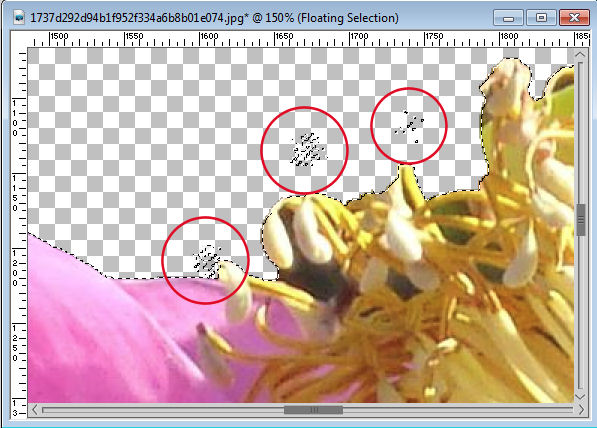
With the Eraser tool, now, it is time to erase inside those selections. Zoom in if needed so you don't erase the element you need to keep. Once you think you are done, deselect and repeat the selection with the Magic Wand, invert, expand, and you will see if you still have some stray pixels or if you got rid of them. If you managed to clean them up, great. If you are still missing some, repeat the process as often as needed.
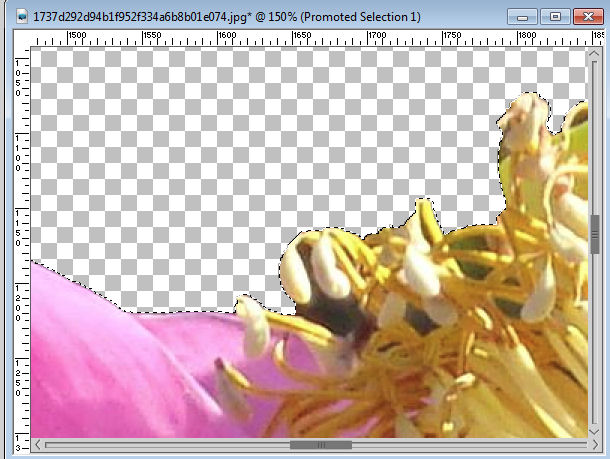
Deselect and you have your extracted element.
Catching holes
Depending on the tool you used to extract your element, it is possible that you have removed some color inside the element itself. To see those holes, the process is similar, but a little bit in reverse order.
With the same settings as mentioned above, click on the element itself. You want to click on an opaque element so that any non-opaque pixel won't be selected. Then instead of expanding the selection, you will contract it, by say, 10 pixels (depending on the size of your image). You will immediately see some areas that are not selected.
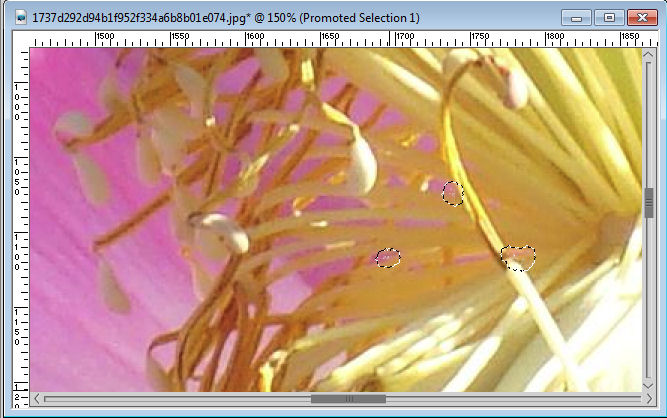
In order to put those pixels back, invert the selection and use the UN-erase function as mentioned above. You will see those holes will disappear. To make sure, repeat the process and now, you will have a section that is completely opaque.
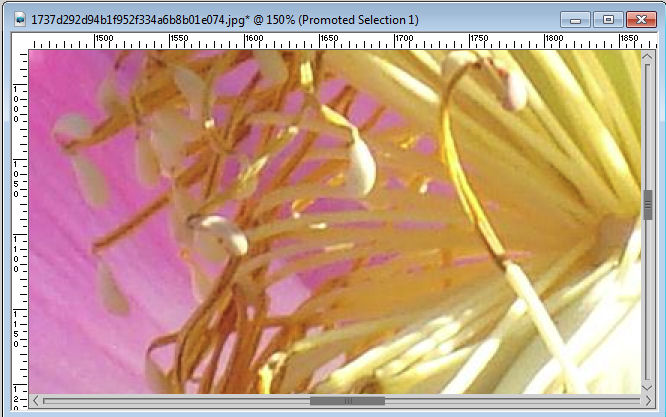
Of course, there are some instances where you actually want some semi-transparent sections. That is fine. In those cases, simply un-erase where you want the sections to be opaque, and ignore those you want to keep as is.
Smoothen the edges
Although there is a command for smoothing the edges, you can also do it manually using the feather command. Use your Magic Wand again, and click on the empty space around your element. Feather your selection by 2-3 pixels (depending on the size of your project). You can find this command under Selections > Modify > Feather. In this example, I am feathering by 3 pixels. Then, hit the Delete key on your keyboard a couple of times. This will give a smoother edge all around your element.
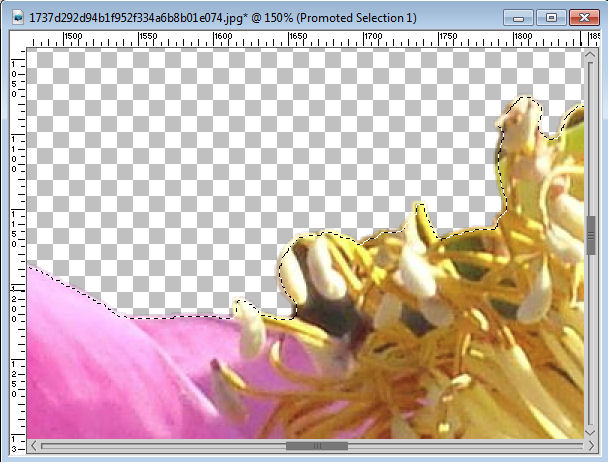
Deselect and you are done with the cleaning.
Save your element
Once you are happy with the extraction of your element, you can copy and paste it on the project you want to use it, but you might also want to save it for future use. It is simpler to save the element as a .png format instead of a tube. A tube format should be selected only if you plan on using this particular element multiple of times on the same project, by clicking often and getting it often on the project. But even then, would you want this image to be repeated 100 times in the exact same orientation, size, etc.?
Do you want more detailed instructions on how to extract simple and complex elements? Check out the Extraction Master Classes bundle.
If you want help in finding those stray pixels and simply make the process faster, you can always use the Stray Pixel Catcher script.


