When we have a great photo, we want to showcase it the best way possible. Framing a photo is one way to help the viewer focus on that important element of a graphic project. Let's look at 4 ways you can frame a love photo.
Masking
There are many masks available. Some are made for PaintShop Pro and have a .pspmask extension, but you can also find other masks made for other programs. Either way, you can usually use them in PSP. Masks are black and white designs. Remember that black will block the image from showing through and the white will let you see it.

If the area you want to show is black, you can always invert the mask data and you can get this result:

If you can't find the perfect mask for your photo, you can easily create it. You just need black, white, and grey areas. Once you save it, you can reuse it over and over again.
*** Get 28 heart preset shapes for your PaintShop Pro. Click HERE to request them, for free.***
Paper frame
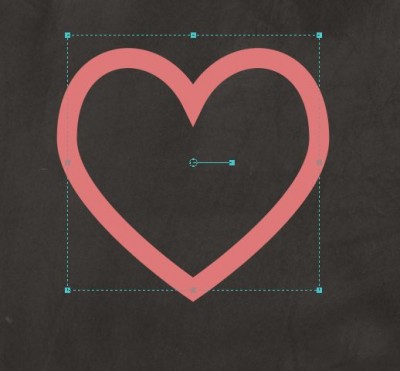
You might have some particular papers that you would want to use, and you can cut them out of paper. Once you have opened the paper you want to use, start with a preset shape (you can find nice heart shapes). Then draw it at least as large as you will need with a thick stroke and no fill (the color of the stroke does not matter).

Then, go to Selection > From vector object (which will create a nice soft edge selection all around that shape), hide the vector layer, and activate the bottom layer (the black in this case).

Then, it is just a matter of copying this selected area and copying it onto your photo.

Who said that you have to have a straight frame? or that the photo has to fit only inside? This is where you can be creative!
*** Get 28 heart preset shapes for your PaintShop Pro. Click HERE to request them, for free. ***
Picture tubes
There are various picture tubes available for PaintShop Pro. There are strings, beads, chains, ropes, beads, and more. You can use many of them to create a shape that will frame your photo or the part of the photo you want to accent. You can place picture tubes freehand, or you can use a preset shape and a script. Let's see how we can simply draw a heart, freehand using some sprinkles.

Photo on photo
Another way to frame a photo would be to use a selection of some kind and adjust the "un-focussed" section to make it less important. This can be done with a number of adjustments, whether it is the color, the sharpness, or any other effect available in PaintShop Pro.
Once you have created a selection, you can invert the selection and remove the color by dropping the color saturation down to 0, and then decrease the brightness to make the rest of the photo darker, giving a bright look to the subject.

Of course, you can also create frames by doodling with your paintbrush tool. You can use a ready-made frame, or cut the photo and placing it on a mat. There are other ways to "frame" a love photo. Those tips can also apply to any other photo. I used the love photos since it was easy to pick a shape for them (the heart) but it is not limited to this theme or this shape either.
When digital scrapbooking with PaintShop Pro, you have so many tools available. Best of all, you can't really make any major mistake: you can always undo and redo something else. Your photos will not be damaged!
Have you used one of those tips to frame a love photo? Share a link in the comments below.
And if you want detailed instructions on how to create these effects and many more, you can check out the Framed with PSP Master Class.

How would you like to add more heart to your next project? Click HERE to download this set of heart preset shapes for your PaintShop Pro.
With these additional preset shapes in your PaintShop Pro, you can use them to place picture tubes, cut papers, or simply have a colorful shape to showcase your photo.


1 thought on “How to Frame a love photo?”
Such good ideas. Thank you!