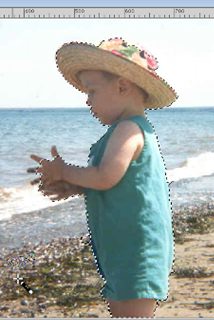
Although silhouettes are often sought by photographers, one has to be at the right place at the right time, with the right lighting. This is not given to everyone. And sometimes you might want to use a silhouette based on an element or person in your photo. Unless you have a subject in front of a very light background and uniform background, you can’t just adjust the brightness to get silhouette in one step. It is fairly easy if you are to use some of the tools in Paintshop Pro. Here is a simple tutorial on how to achieve that result.
1- Open your image and duplicate it by pressing Ctrl-D (you always want to keep your original safe). Activate the Smart Selection Brush and use it to rub on the area of the image you want to keep.

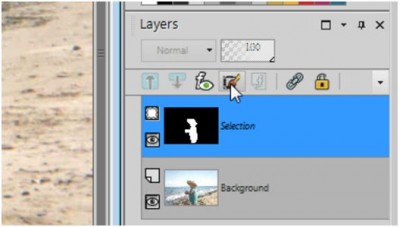
2- If you want to add some selection, hold the Shift key and drag on that area. To remove some, hold the Ctrl key and brush the area you don’t need. Fine tune your selection using the Edit Selection in the Layer Palette to turn your selection into a mask.

3- Using the Paint brush tool, paint the part you want to include in your silhouette with white and paint in black the area you want to exclude. Adjust the areas as necessary and modify brush size if needed.

4- When you’re done and you have an area that looks good, go back to the Layer Palette and click the Edit Selection. You will now have a selection. On a new Raster layer, flood fill that selection with black.

5- You can smooth the edges if you find them a little jaggied or rough, with the Smooth command. Finally, you have a nice silhouette that you can use on any other graphic or scrapbooking project.
Now you have a silhouette that you can copy and paste as a new image to use on your projects.
For a video demonstration of this technique, check it out in the Tips & Tricks section.


1 thought on “Creating a Silhouette with PaintShop Pro”
This is a very good idea, thank you for that tip. Actually, I cannot work on my Paint Shop Pro because my right wrist is broken.