Anita Wyatt
-
Posts
309 -
Joined
-
Last visited
-
Days Won
2
Content Type
Profiles
Gallery
Forums
Everything posted by Anita Wyatt
-
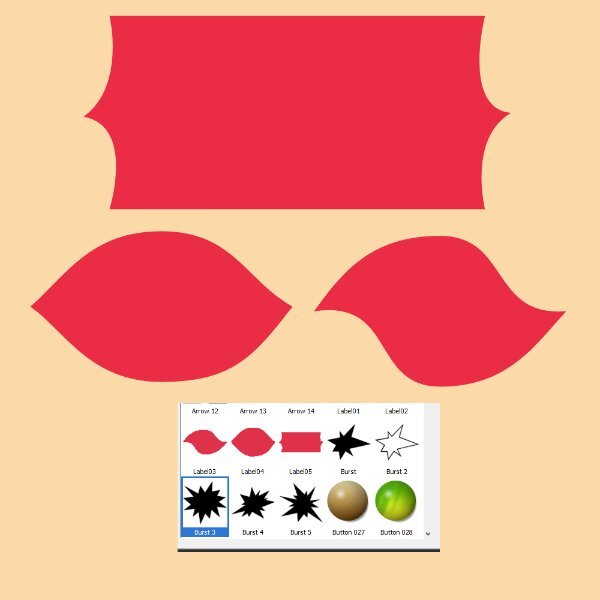
More on Lesson 2 with Labels 03-04-05. I am almost done with Lesson 2, just have to play and create a few labels, using what I learned in Lesson 2. It will have to wait though until tomorrow afternoon, it is getting late and I am tired. I will probably dream about vectors.

- 714 replies
-
- 13
-

-

-
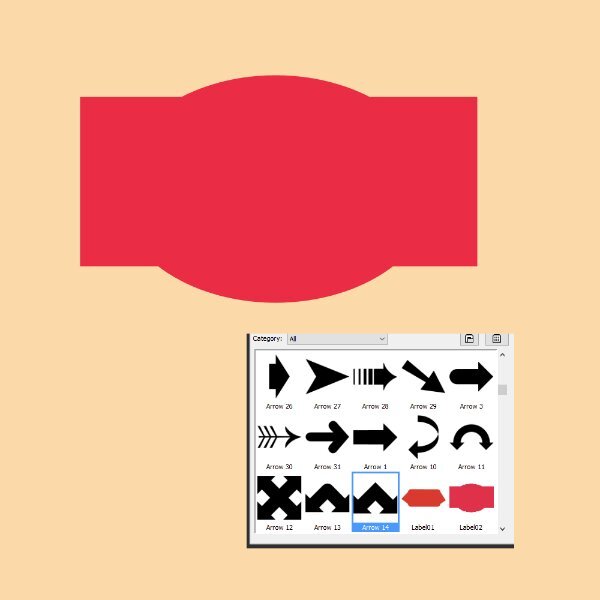
Continuing with more of Lesson 2. I am beginning to like and understand vectors a bit more than when I first started. My goal is to finish the class, it might take me a bit longer, but I will stick with it. Thank you for all your help, Carole, and thanks to everyone here in the forum. Your tips and input help a lot also.
- 714 replies
-
- 16
-
-
-
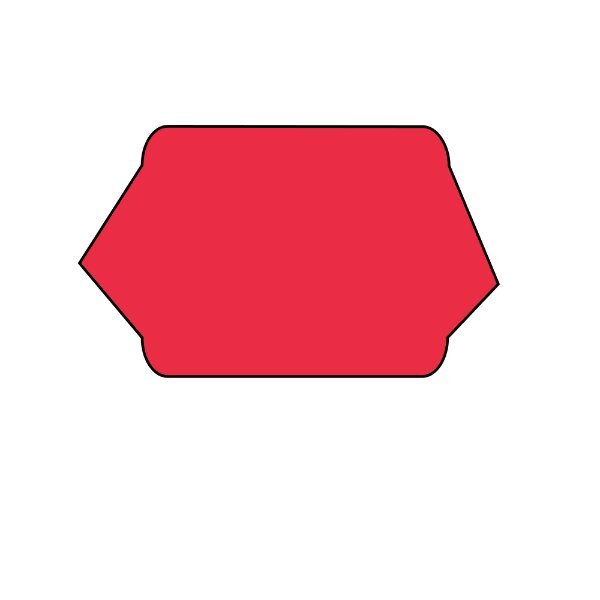
Thank you Carole for your help with working around the glitches in PSP23 Ult. That helped me a lot. I also appreciate the cheer--up messages in the forum to keep me going. I really want to be able to get to know the vexing vectors. I may not finish the workshop in time, but I will keep trying.. Carole showed me a neat trick: if you place a stroke (border) around your object, you will be able to see the nodes better. So that is what I did. I managed to export the shape and realized it still had the stroke, but it can removed easily when one uses the shape. I felt happy to be able to export it without any problems.
- 714 replies
-
- 13
-
-
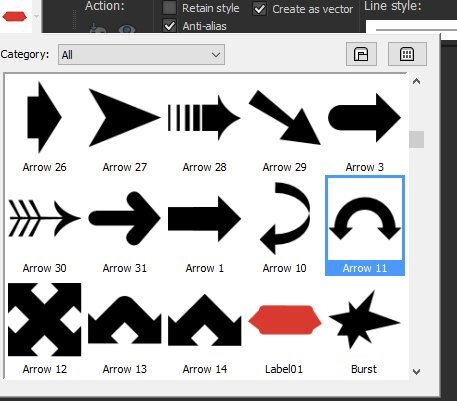
I am still having problems with Lesson 2. I follow all the steps from the video, get the rounded corners on the rectangle, click on apply, then activate the pen tool. make sure I am in edit mode, if not I click on it, and make sure I have both of my object layers selected then right click - convert to path. Still in edit mode I add a new node, but then I cannot see where I can extend that node. It does not give me that small icon that looks like the move tool. It shows up on the other nodes where I rounded the corners. Now sometimes I get a new layer titled New Path. Somehow I must be missing something. Adding to above message on 7-21-23: I am thinking of giving up on the vectors. After several days and many hours re-watching the video and re-reading the Guide Book, I still cannot manage to extend that node on the side of the rectangle to create a new shape. I must be doing something wrong. When I add a new node I do not get the arms to extend it. I can think of several nice shapes I could make, but I guess if I cannot finish Lesson 2, I probably will have a hard time with the other lessons. Also, every time I open a new rectangle I have to set the horizontal and vertical to 0.00. it has been frustrating. Carole you mentioned you set those to default as there is a glitch in PSP 23. How would I set these to default? It sure would save time so that I do not have to do it manually each time after I rounded the corners of the rectangle.
-
Sorry I am running behind. I am having a difficult time with lesson 2. I spent the last 5 hours on it and I am tired. I will try again tomorrow. I get the rectangle and the rounded corners OK, but I am having trouble with extending the extra nodes once I added them. Also, when I keep opening a new image after not being able to continue with what I have, I keep getting a rounded rectangle now when I want to draw a regular rectangle preset. So I shut my computer down and open it again and that sometimes works. I follow all the steps from the video. I will read the PDF Guide tomorrow after I get home from work. I also have trouble sometimes when clicking on the Edit option after activating the pen tool. Sometimes it does not give me the option to convert to path even though I have both layers selected. Thanks for any advice.
-
I tried it again and and when I got the the 2 nodes I moved the cursor and clicked again in the transparent area next to the rectangle and the extra node disappeared. That only happened on the right side of the rectangle. I am using PSP 23 Ultimate.
-
Here is my Vector Lesson 1. I had a bit of a problem with the arrow. When I added the first extra node on the rectangle, it kept giving me 2 nodes, one right under the other. The rest of the added nodes worked OK and added one node where I wanted it. I just ignored the extra node and kept on going. I learned a lot about nodes and how you can use them to change a shape.
- 714 replies
-
- 20
-
-
-
I am in too and looking forward to this workshop.
-
Thank You!
-
Thank you Susan!
-
Thank you Mary. I enjoy playing with Spark also.
-

-
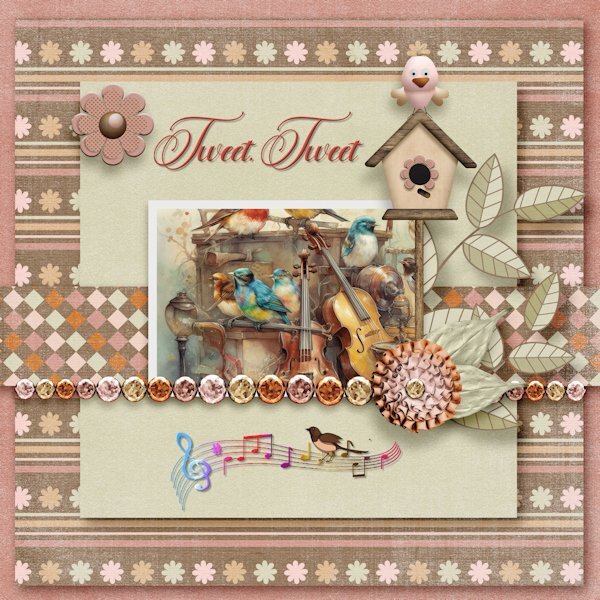
Here is my Non-Scrap project from Day 5 - The Greeting card I used the Creative Spark feature for the cat picture, I love to play with that option. The font is Birthday from Creative Fabrica. I used the method Carole showed us how to keep text aligned in the center by using the selection tool and drawing a rectangle, etc.and adding the text. Carole, you asked which elements I used on Day 8 to add to the template. The large picture with the musical cats is from Creative Fabrica and so is the little birdie on top of the musical notes. The musical notes are from my stash from years ago and I don't remember where I got them..
-

-
Here is my QP-Day 8. I looked at the QP Kits at Digital Scrapbooking and selected one called Love Birds from Gina Jones. Added other graphics from Creative Fabrica and my stash. The Font is Fadilla and I applied an Inner Bevel and drop shadows. This was such a fun-filled workshop and I always learn something new.
- 382 replies
-
- 14
-
-
-
-
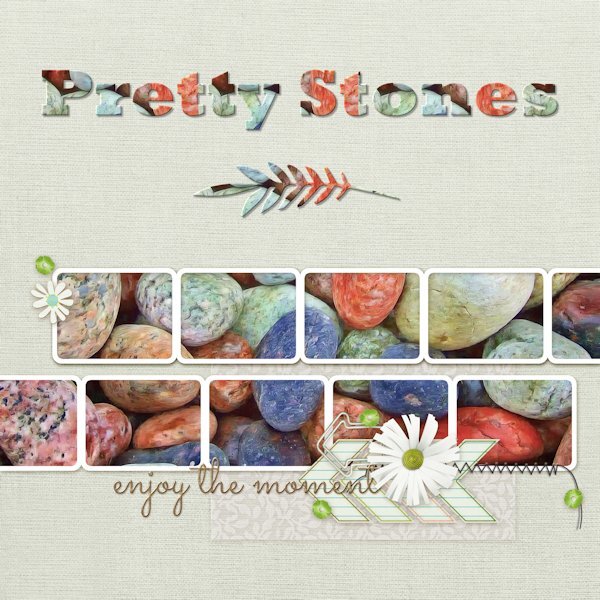
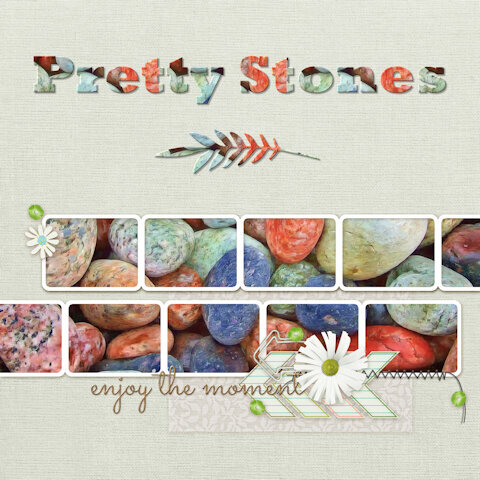
Here is my QP-Day 7 I picked some pretty stones from Pixabay to fill all the frames at once. Font is Rockwell Extra Bold and the decorative leaf below is from Salmon Queen. Added Inner Bevel and drop shadow to both. Thank you Carole and everyone here for a fun-filled workshop. You have all inspired me with your beautiful pages. I will continue to work on the extra and Non-Scrap pages.
- 382 replies
-
- 16
-
-
-

-
-
Here is my QP-6 again, I changed the background on the merged jpg a bit with Hue and Saturation and it brightened up everything. I like the way that one came oui too.
- 382 replies
-
- 15
-
-
-
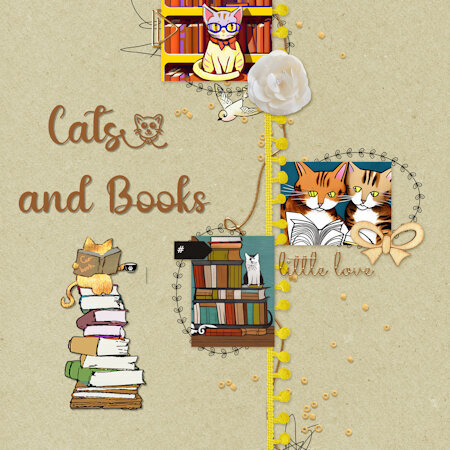
Here is my QP Workshop Day 6: It took me a while to figure out what images to use for this one. Images are from Creative Fabrica. Font is Reading and Little Kitty glyph also from Creative Fabrica. Will try and work some more on the Extra Pages and Non-Scrap layouts.
- 382 replies
-
- 17
-
-
-
-
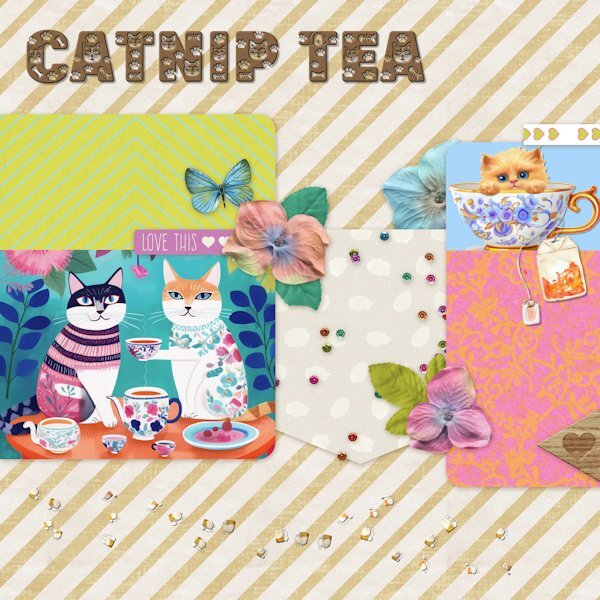
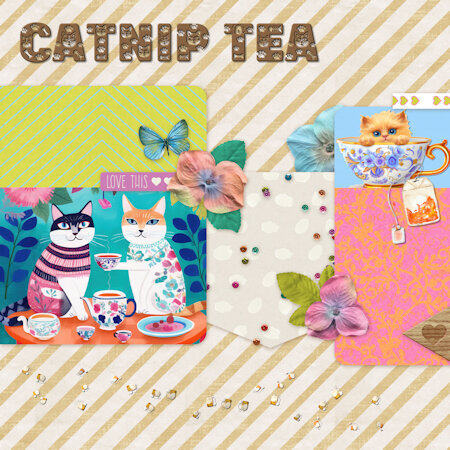
Here is my QP Workshop- Day5 It took me a while to come up with a theme for day 5. How about a Tea party, I thought for Cats. So all I had to do was to find the graphics and font to start with. After some digging, I found them at Creative Fabrica. The font is Paw Cad (that is the way CF spells it). I used Inner Bevel and drop shadow on the font and drop shadows on kitten in cup and teabag.Then I used Carole's custom confetti script with 2 of the teabags and sprinkled those on the bottom of the page.
- 382 replies
-
- 15
-
-
-

-

-
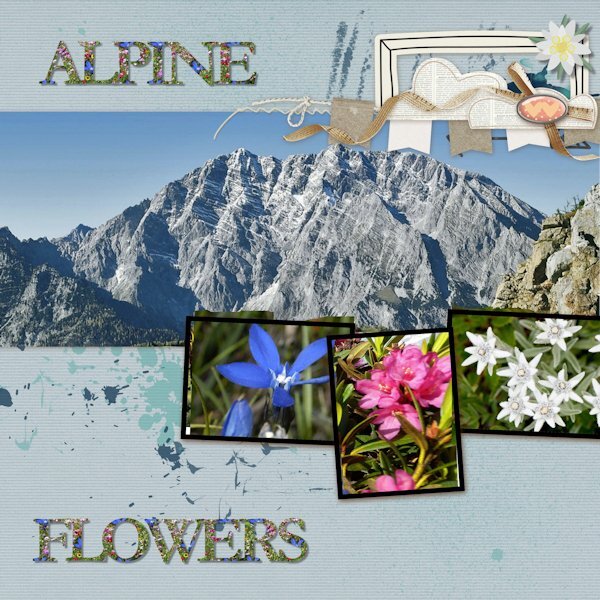
Here is my QP - Day 4 I selected an Alpine Mountain photo and Alpine Wildflowers for Day 4. Photos are from Pixabay and Creative Fabrica. The font is Garamond and I it took me a while to find a photo of a meadow filled with Alpine wildflowers.The one I found did not have the blue Gentian (Enzian) so I copied the one I had and added it to the meadow. The other 2 flowers are Alpine Rose (also called Rhododendron) and the Edelweiss. Instead of color for the font, I used the pattern and chose the meadow, then added drop shadows.
- 382 replies
-
- 15
-
-
-