Forum Replies Created
-
AuthorPosts
-
I = isolated shower
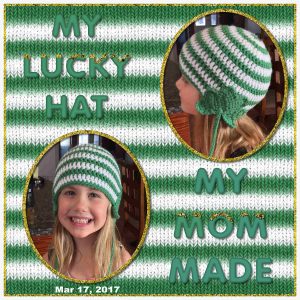
I enjoyed this tut/tech. I found a pattern with knit for the background. Then I made green and white stripes on a layer over the knit did an overlay blend. Then I applied a blur, it really blended everything. I really like the effect, it really matched the hat. Added glitter border to the paper and frames. I liked the gold spill over, the drop shadow on it really makes it stand out. For the text I added the bevel in the layer, first time I did that and I like it too.
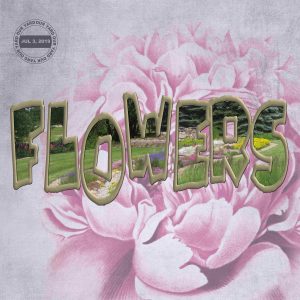
Day 7 – I had such a hard time with this one. Yet everyone has done such a good job. I must have had a mental block ….. Maybe I should have moved my font a bit more ….. I started about 5 pages. I really wanted to do a jeeping one but I could not come up with anything. Then my mom, cause I thought mom was a small word and do something with it …. but again not happy with results. Then did a sunset, no good either. So my final result is ok but not overly pleased. I really enjoyed the challenge and look forward to the next one. Everyone take care and stay healthy and PLEASE keep inspiring me with your projects.
Mrs. Doubtfire tooooo FUNNY.
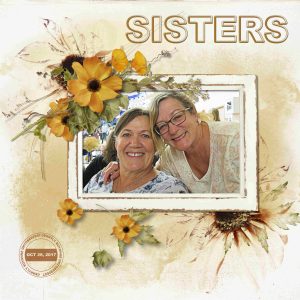
Day 6, Sue I found the third one ……. great job. I used a purchased scrap kit for this one. We went to Oktoberfest in a local small town. I tried many colours in my font but no fill looked the best. I used the metal tube and recoloured to gold, autumn color. Added drop shadows using Cass Shadow placer, a great time saver. Added my date stamp Cass Date Stamp 2. Really enjoyed this technique thanks Carole.
GREAT inspiration, I really enjoy looking at everyone’s projects. Thanks for sharing.
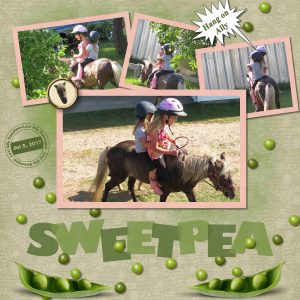
Day 5, once again I learned a lot. Did not know how to separate the text by such a simple click. Sweetpea was our minature pony, she died last year. But the girls had lots of fun riding her. They were riding around the yard and Ally was slowly loosing her balance as they went. Green paper and peas from a purchased kit. When I was done it did not appeal to me. So added a layer and applied the airbrush with a bit darker green. The picture with Ally leaning was to the right and did not work with frame position I wanted. So I duplicated the picture and moved the wall to the left, it worked out good. I have a brad template and added Sweetpea’s head to it, that did not turn out to good, it is ok. I tried putting designed paper behind the text to pull in the colours but it did not look good. I ended up leaving the text on the main paper and I really like the effect. Thanks Carole a great way to show off our work in the TITLE.
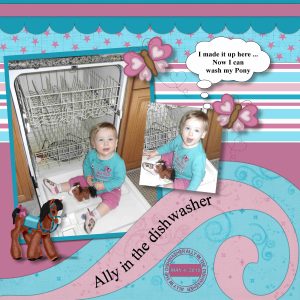
I so enjoy looking at all the work. Gerry the tornado is really good, I was looking at it and then “it’s a tornado!!!”. Ally loved to climb on the dishwasher, I think she thought she was helping. Had to always make sure the door was shut. Had a bit of trouble with the curve, but after watching the video at least 5 times it turned out okay. A basic page with lots of papers that I made. Used Cass quick scallops, I made a few templates with the script, stripe template and doodle template for the other papers. Added the butterfly and horse, they are element scripts I purchased. I can then colour them to match my project. Added Cass Date Stamp and shadows.
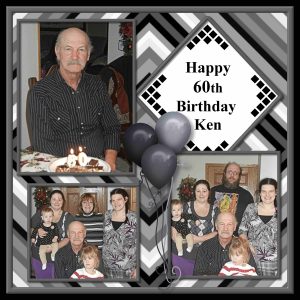
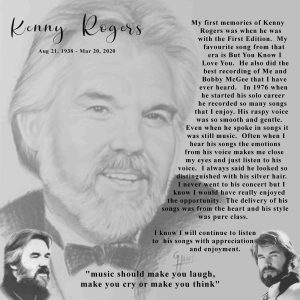
Great inspiration. I did the tribute to Kenny Rogers and made the selection and typed my thoughts. Every time I would go back into the PSP file the words were gone. I did it three times. When I save as the JPG to place in the forum the words were there. I went back into the file and POOOFFF the words were gone. When I watched Carole’s video today I realized my mistake. So I went back into the 4th time and retyped it and saved as explained by Carole …. THANKS. My page is very simple, I made the paper awhile ago and do not remember how I did it I think I used the kaleidoscope effect, or maybe just squares and rotated, but I could not find it. I have learned to note in my psp image files the effects and settings I use because I do not remember too well. It seems everyone was wearing black at Ken’s birthday …… So I went with shades of black and white. I made the frames and added a small bevel. I used Cass Corner punch on the tag. When I first selected the tag I left the sharp corners and as Carole mentioned it did not work well. I ended up with an octagon shape for the text. It really does not look like I followed a shape but it was there. Added some not so colourful balloons to match. I certainly learned a lot of valuable information from this challenge.
Kenny Rogers was one of favourite singers. I enjoy listening to his voice, when I hear it I close my eyes and just listen ….. not sure if it is the raspy voice or the smoothness, but full of expression to me.
Hi Mary, thanks for the diligence to figure it out. I had the same problem but was not able to figure it out. I just used another font and maybe did not turn on bold……. Thanks
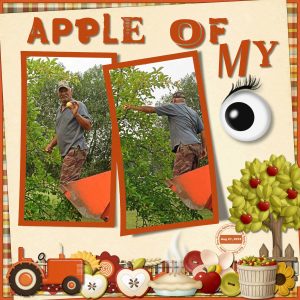
Day 2 challenge I had lots of fun with this one too. I made the lifted photo frames, used Cass Clip To it to clip the pictures. Then added a texture to the frame. Added a texture to the Font. Used Cass Strip Cluster Maker to make the cluster at the bottom of the page. Then used Cass Shadow Placer for all the shadows in the cluster. The eye was from a kit and the eyelash was a brush. Recoloured the tractor, it was red, to match our orange tractor. Added date stamp used Cass Date Stamp 2. The elements came from a purchased kit.
The day 2 link is not working. If you go to your day 1 link and click it. The following will appear in bar https://scrapbookcampus.com/promo/wise-words/wise-words-day-1/ simply delete the 1 and type 2. It will work then.
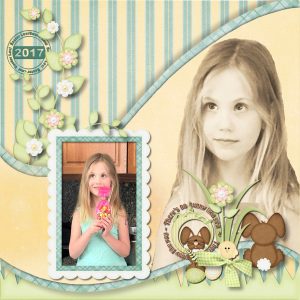
Such great inspiration, love looking at all the ideas. This is Easter in 2017, that is how far behind I am. I made the curve shape by combining several curve shapes to get the one I wanted. Added some grunge to the paper and curve. I selected just Lexi face and played with some layer blends until I got the look I wanted. Turned the picture to black and white normal layer opacity of 52. Then duplicated the layer to hard light opacity of 75. Made my own stripes to match her dress. The elements are from a purchased kit. I made a scallop edge frame with mat template that I usually use when I want a scallop frame. Added drop shadows and a date stamp.
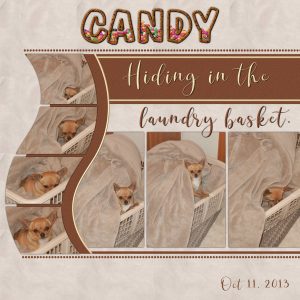
Wow!!!! What great work. Enjoyed each one. I took a basic template and the clip to it script. The background is the pattern from the blanket, added texture to the brown rectangles. Added some lines to give it a bit more colour, against the brown rectangle and curve, and added a small bevel. Dogs eyes do not photograph well, so had to add a layer and with the paint brush added brown circles to hide the light. As our dog’s name is Candy I filled the text with candy. Thanks Carole another interesting lesson.
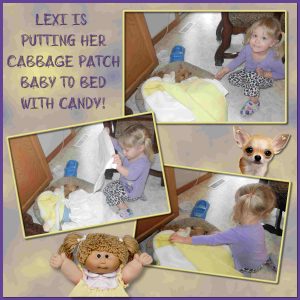
Lovely work ladies. I used Cass airbrush script to make the background paper, made my own frames and added a small bevel. I got the cabbage patch from the internet and erased the background. The chihuahua is from a purchased kit, it looks very much like our little chihuahua. The font is Go Around The Book, a free font, I like to use it on kid stuff. Lexi our granddaughter was trying to put her Cabbage Patch, actually it was her mother’s doll, into Candy’s dog bed. Candy did not really want to share her bed. The pastels just came from the picture the yellow doll blanket and the purple from Lexi’s shirt.
Thank you for your comments. Jnet I love the technique you used on yours. To have the film strip crisp and the other areas not so crisp. Great.
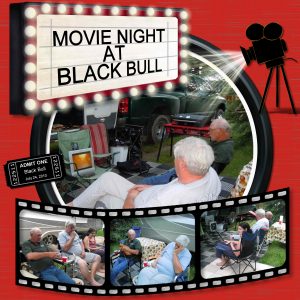
We were camping and having a lazy day, put the TV outside and watched a movie. I do not remember which movie. For the background I used red and used “creating a canvas texture” from the lab, I made my own round frame and added a bevel. My elements came from a purchased kit. I used the pick tool on perspective to angle the text on the sign. I added drop shadows based on Cassel’s notes. I used Cassels free movie film strip template. I only had 3 pictures so i erased the part of the film strip I did not need. I used “creating a ticket” from the lab.
A = Aladdin
I watched the original with my daughters and now I have watched it and its sequels with my grandchildren
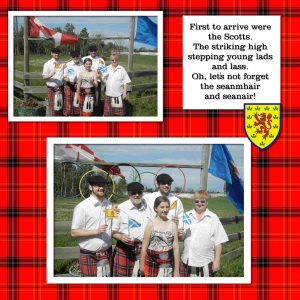
I was inspired by the Olympic Rings, as mentioned previously that was the theme for one of our annual birthday parties. My sister hosted it and placed the Olympic Rings at the front of her driveway where we took pictures. My brothers family represented the “Scotts” I made the plaid pattern with Cass-plaid script, added a simple paper frame, found the crest on the internet.
Hi Hurklecat, you did an excellent creation. Hope to see you again.
Great job ladies. Annie both your projects are very calming and so different. Sue the purple doily really stands out. When I read the challenge and saw plaid right away I thought of the picture I wanted to scrapbook. My doily is not very fancy as I tried one and it did not match the theme. So just went with one hole and filled in the center. I enjoyed making the beads again I used plaid. Had lots of fun.
L = leeches
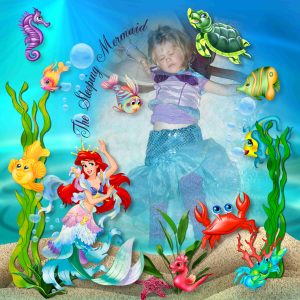
Lovely work, great ideas!!!! I do not have an “underwater” shot. But my granddaughter was little mermaid for Halloween. I tried to make it look like she was sleeping underwater water added a blue layer, above the picture, with a low opacity to give the picture a blue tinge. I used Cass mask maker to create a mask for her body. I had some Little Mermaid clip art. I used a water paper and added some sand on the bottom with a few bubbles. I followed Cass text to path on an oval around Lexi. Added drop shadows per Cass’s guide. I set them up as defaults what a time saver. Overall I was pleased I think I got the effects I was looking for.
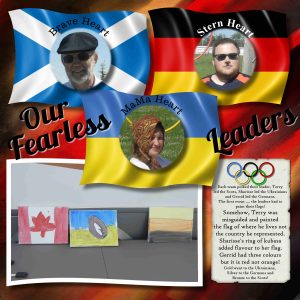
Great inspirations. I was inspired by the Olympic Rings. Annually we have a birthday party the theme for the 2014 birthday party was the Olympic Games. My sister’s family represented Germans, my borther’s family represented Scots and our family represented Ukrainians. I used Flag World_flags_Mockup which was free. I looked on their web site and could not find it but they have a variety of flags in layed format. I picked a flamboyant background page picking the colors of the countries. I drew the rings added a small bevel and shadow. We picked leaders of our teams, we had a great time. I will post a few more of our Olympic Birthday Games.
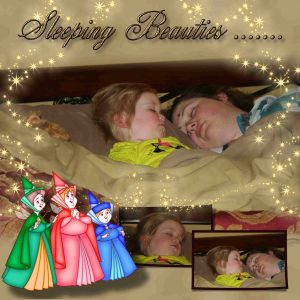
My daughter and granddaughter were really tired. I matched the background paper to the sheets on the bed. Added a small bevel edge to black frames. I erased the wall on the picture to the headboard. Had the clipart of Sleeping Beauty Flora, Fuana and Merryweather. Added some stars with a glow/white shadow.
G = grommet. My mom loved to put them on her sewing crafts. She even had a grommet tool and gave it to me
Thank you for the comments. Annie and Cassel your pages are very inspiring. I really enjoy looking at the work of other scrapbookers.
My mom was a seamstress and she taught me how to sew. I then taught my daughter how to sew.
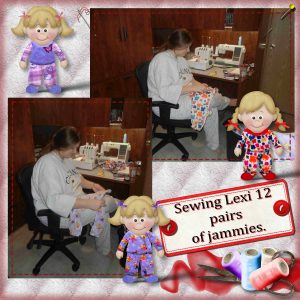
My daughter and I sewed my granddaughter 12 pairs of PJs. I took a girl from the kit LLiella PJ Kids. With the freehand tool, point to point, I went around her body, arms and legs and filled with actual pictures of the fabric we used for the PJs we made. I added a bevel to make it more realistic. Then I selected the hair bows and slippers and changed the color. I used cass-ColoredEdge for the red around the edge. I used a quilt paper. It sure took a long time to finish, but overall I was pleased.
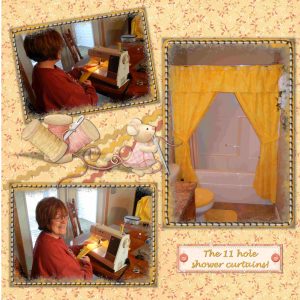
Great work. Our youngest daughter wanted her bathroom to be yellow. We could not find yellow shower curtains so I said I would make them. Well, I folded the material in half and I ended up with 11 holes not the regular 12. But, the funniest was, I did not notice it until I hung them up. I had one extra hook, I thought that was great in case one broke. Then I did a bit more looking and realized what I had done.
N = Notions
Day 4 on a roll now.
-
AuthorPosts


