Home of the Scrapbook Campus › Forums › Showroom › What are you working on (in January)?
Tagged: January, Scrapbook Page
- This topic has 77 replies, 9 voices, and was last updated 6 years, 10 months ago by
Michele.
-
AuthorPosts
-
January 1, 2018 at 5:54 pm #16512
Show off what you are working on in January, be it a scrapbook page, a tutorial, or anything else you want!
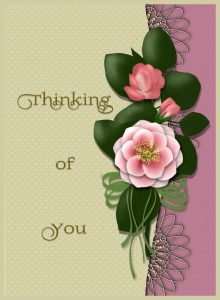
We are curious and want to see, and get inspired.January 1, 2018 at 7:51 pm #16515Here is another card I have made to send in an email. The rose is a digital stamp from a collection I purchased but is no longer available. I printed it out coloured it up with prisma coloured pencils and then scanned it back into the computer. used a leaf brush for some soft effects and also the rose to add some extra roses and softly blended them into the background. The texture paper I used in the paper is a free one from the coffee shop blog called artesenal textures 2. the filigrane heart created using Cassel’s Filigrane script. the sentiment I made up and the font is Prida02Calt.
best wishes to everyone,
Dawn
January 2, 2018 at 11:31 am #16519Dawn, your card is so cute! I am sure whoever is going to receive it, will be very happy. You did an amazing work coloring the rose, and these corner punches are beautiful. Lovely card!
January 2, 2018 at 7:56 pm #16523Lovely,lovely card Dawn. When I did Parchment craft I used polychromas pencils which blended well and are my favs. These days I use the same principals for colouring but do it with PSP instead.
Sheila x
January 3, 2018 at 4:20 am #16524Cristina, Thank you for your comments on my card….. about the corner punch, this particular corner punch is in another software that I have called craft artist 2. I wanted to use it on this card so I made a plain coloured paper in that program to use the corner punch and then saved it as a jpg and then opened it in psp where I did everything else. I do a lot of colouring on cards as well in my hobbies these days as I enjoy it and the finished cards I give to family and friends.
Sheila, Thank you also for leaving me a comment. … parchment craftwork is beautiful I have never done that.. but I also have polychromas in my collection of pencils, they are great to use.
Dawn.
January 5, 2018 at 5:56 pm #16557The flower on this card was created using Cassel’s Petal Tube. on the open flower I chose a petal tube with no shadow and did one petal, duplicated , positioned and rotated around to get one layer. then duplicated that layer twice, resized, positioned so the petals looked ok to form a flower…. the 2 smaller flowers I still used the one petal and played with the perspective tools to get the effect you see… once the flower was done I changed the colour…. the green sepals on the bud were done with the petal shape also and with the perspective tool to shape …. the stamens were create a while back from and old line art drawing I have…. the green leaves are a free brush that I coloured and textured up…. there is room for improvement in my flower but I thought I would show it anyway because it might give someone else an idea of what can be achieved using Cassel’s petal tube. ……. I also used Cassel’s Waving script and Circle Doodle script (to create the spirograph) to make the light coloured paper….. the thin ribbon created using Cassel’s bow 3 script.
Dawn.
January 6, 2018 at 9:45 am #16563Exquisite cards April. The effect you achieved with the flower on the second card is very realistic. Love the silver lace effect too. All round cracking job!
January 6, 2018 at 2:17 pm #16566Dawn, your card is amazing! The flowers that you started with just a petal, the bud, the stamens… I also love the silver lace and the beautiful paper you created. Great work!
January 7, 2018 at 1:59 am #16576Hello Sue and Cristina ! …….. Thank You both for taking the time to comment on my cards …. I appreciate it very much….
best wishes to you both,
Dawn.
January 7, 2018 at 7:21 am #16578Beautiful cards, Dawn. Do you only do personal projects or do you do commercial, too?
January 7, 2018 at 8:06 am #16581Now I know this is not “scrapbooky” at all, but it fit my gaming group’s theme today. I’m sharing it because I never would have been able to create it without the techniques I’ve learned here. I used one technique from Cassel’s Christmas 3 Tutorial to make triangular selections of equal size using different glitter patterns. I added an inner bevel on each triangle using opposing angles. Flood filled the transparent background with a metallic gold pattern and buttonized the pic. I used the glitter patterns to add borders around the pic of the woman and copied/pasted her on as a new layer. After adding a large black border I wrote the text with the Beauty Script font using the the same metallic gold pattern for my fill and applied an inner bevel to the text. Finally, on a new layer I used one of Cassel’s corner punches as a brush to create the corner flourish with a metallic silver pattern. Applied an inner bevel to that, then duplicated and mirrored it into each of the other corners. Then I ran out of time so I declared it finished. LOL
January 7, 2018 at 8:15 am #16582Lovely result Micfin (what is your name by the way?) this page is for anything you do.
Sheila x
January 7, 2018 at 8:17 am #16583Thanks, Sheila. My name is Michele Fineron so I combined it to get Micfin. Not Irish at all. 😀
January 7, 2018 at 9:24 am #16584That is one beautiful composition Michele!
January 7, 2018 at 6:27 pm #16585hello micfin, your gold and silver glamour page looks great ! ….. well done!
Michele, thank you for your comment on my cards… I appreciate it very much….. in answer to your question all the projects I do are for personal use. I enjoy doing cards whether they are printed or sent as a greeting via email or done the traditional way by hand. it is a hobby I enjoy doing and especially giving them away as gifts. …… best wishes to you,
Dawn.
January 8, 2018 at 3:29 am #16595Thanks, ladies <3
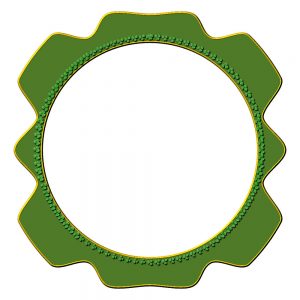
January 8, 2018 at 9:56 am #16598Who watched Cassel’s live presentation Framing 101? I’ve already watched it again and I can assure you that I will watch the edited version when it’s posted. I can’t begin to tell you how much I learned. Here’s what I made with the second project in the class. I usually copy Cass’s steps as closely as I can (lots of pausing and rewinding involved), but I didn’t have any sequin picture tubes. Since the frame was green, I used shamrocks instead. I couldn’t quite get a very uniform look, but I guess it’s a matter of playing with it and figuring out which settings work for which tubes. This was the first time I made my own shape for a frame. Ever the OCD gal, I tried to get it perfectly symmetrical…maybe next time. LOL
January 8, 2018 at 1:02 pm #16599Michele, both layouts are beautiful. I watched the live presentation and it was really good. I have to watch it again before trying anything.
January 8, 2018 at 10:09 pm #16604hello Michele, your frame is lovely! well done! and I guess you will be making more….. I look forward to viewing the Framing 101 master class when Cassel makes it available…. frames are always handy to have in our collection especially when we have made them ourselves.
Dawn.
January 9, 2018 at 9:29 am #16607You did a lovely job, making the frame. The first of many no doubt!
January 9, 2018 at 9:35 am #16608Thanks, everyone. I am definitely making more of my own frames as opposed to transparencies I have gotten from various sources. (I just love freebies.) I can’t wait to see what you ladies come up with after viewing the master class. I get so many ideas from you.
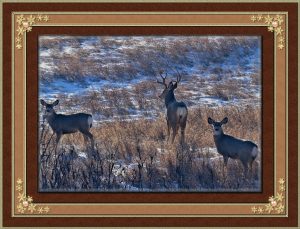
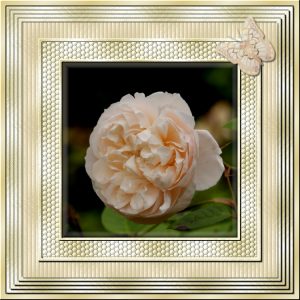
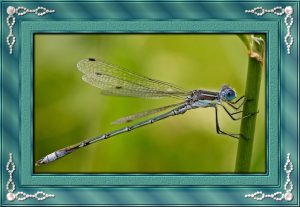
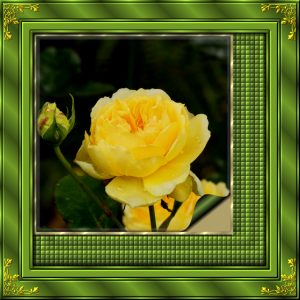
January 9, 2018 at 10:09 am #16614Here are some of the frames I’ve been working on this winter, using photos taken throughout the summer. The first one is a blank birthday frame, using Cassel’s techniques she used in her framing class. I add them to cards, letters, post them on FB to add a touch of elegance to some of my pics. To make them more interesting to those looking at them. As I’m not a proper scrapbooker.
January 9, 2018 at 10:48 am #16615Love ’em, Sue!!!!!
January 9, 2018 at 12:18 pm #16617Sue, all of them are beautiful
January 9, 2018 at 11:23 pm #16618hello Sue, your frames are beautiful! I especially love the effect of the frame on the Oct-rose ….. well done !
Dawn.
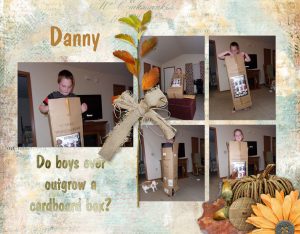
January 10, 2018 at 12:52 am #16621I am working on my 2017 Photo Book. Here’s one of my pages.
January 11, 2018 at 2:15 pm #16627
I’ve been working with the lab 8.1. Making plaid paper, paper cutouts and woodburning. Used a color on the wood instead of burning. Great fun to make these papers. I also used the plaid tile to make the word Garden and the #
January 13, 2018 at 8:54 am #16630DeLoris, it looks like the cat wants the box back – giggles. Eileen, I like all the different techniques you used.
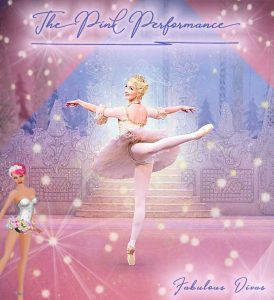
I found this wonderful picture for my group’s theme today. The image in the lower left corner is my avatar from the game.
In order to create the corners, I used the pen tool to make diagonal lines so I could have triangles in the three corners. I used the magic wand to select them and promoted them to a new layer. After hiding the background, I added my desired colors to the promoted layer using the flood fill in each of the three selections. With the vector layer containing the pen lines hidden, I reactivated the background and changed the transparency on the promoted layer. After watching a tutorial on ParticleShop recently, I realized that I don’t use it often enough so I used it to add the bokeh and laser effects. It’s such a useful plugin.
If anyone could tell me an easier way to have created the triangles, I’m all ears. My first instinct was to use the selection tool with the triangle type, but I couldn’t figure out how to rotate the triangle.
January 13, 2018 at 2:36 pm #16635Michele, to create a triangle, you can use the Selection tool set to the Point-to-point, like you probably did, or you can also create your own preset shape which can be sized as you wish, without distortion. One trick, if you want to create an even triangular selection though would be this:
- create a SQUARE selection
- change to the point to point selection mode
- hold the CTRL key (to remove) and select from one corner to the opposite and then all around the part you want gone
Now, your selection should be exactly what you wanted. And then, using the Edit selection command, you can flip and mirror your selection to either apply an effect or fill with a color to be replaced later (as a placeholder).
This might become a tip in the Tips and Tricks section!
January 13, 2018 at 5:55 pm #16643And the Framing 101 video is now uploaded. You can watch it here:
(just make sure you are logged in)
-
AuthorPosts
- The forum ‘Showroom’ is closed to new topics and replies.


