Home of the Scrapbook Campus › Forums › Showroom › What are you working on in February 2020?
- This topic has 160 replies, 14 voices, and was last updated 4 years, 6 months ago by
Annie Tobin.
-
AuthorPosts
-
February 7, 2020 at 7:00 pm #38626
James, you did very well with this. I found it a difficult tutorial in that I think it would be hard to get satisfying results. I agree with you that the rgb rendered the preferred result. Well done my friend.
February 7, 2020 at 7:02 pm #38627Thanks Trish! I found it a fascinatingly simple bit of photography and just had to do something with it. <3
February 7, 2020 at 7:07 pm #38629James, I agree that the yellow channel was not the best to add snow, but remember that since it is made into a mask, you can brush the snow where you want and it does not have to be all over. In addition, you CAN repeat the process with the green channel too. You definitely have “permission” to use masks twice! 😉
February 7, 2020 at 8:58 pm #38636Revised copy
February 8, 2020 at 3:23 am #38647Hi Sweet Teacher
Here is this lesson “How can you change the color of those alpha beads?”
Inside them is a Love You from your love text paper And your other paper 🙂 just showing love and thanks
going to bed now, had to try to upload some work I am working reading and stuff… thank you
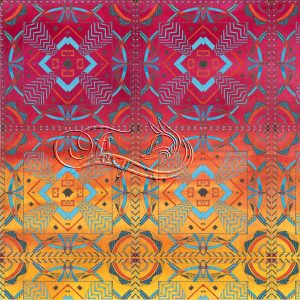
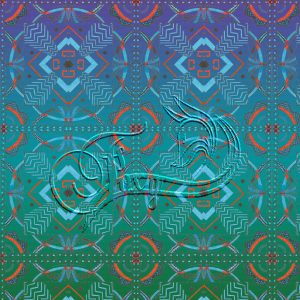
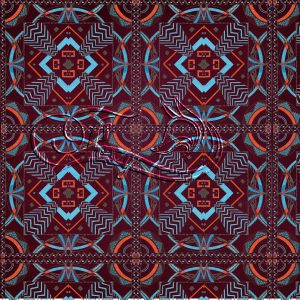
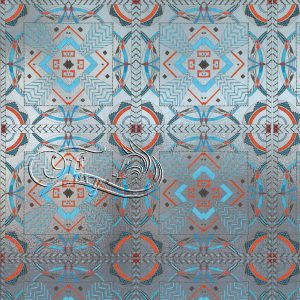
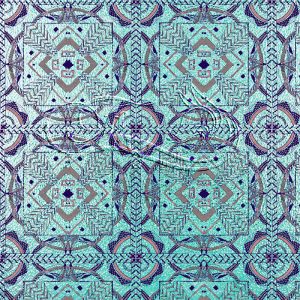
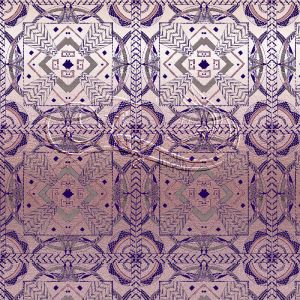
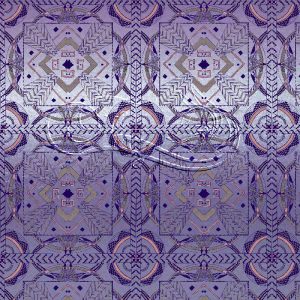
February 8, 2020 at 8:15 am #38659some papers I made this morning from a design I made. Turned it into a template to make an overlay, Still needs a bit of tweeking, I am having trouble with papers slipping and the ruler overlaps my images, Anyone know how to solve duplicating please, I copied from my original but the sizes changed , mirror image I though should cure that but it did the same. Any suggestions greatfully recieved Thank yo xx
xx
February 8, 2020 at 11:00 am #38660Trish, I am not sure what you mean with the ruler overlapping or the paper slipping. Could you clarify?
February 8, 2020 at 12:27 pm #38664This is the overlay now made into a psp 3 layers , These are more my colours
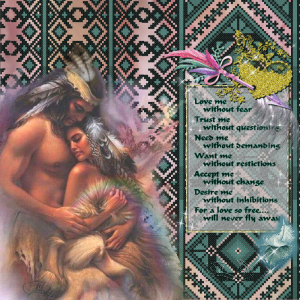
February 8, 2020 at 1:05 pm #38665Trish, I’m a newbie and we have never met but I wanted to tell you how much I love your Good Luck masterpiece. I wish it were mine. I saw a splash something like that on Pixel Scrapper and wondered how it could be used, this is a wonderful example. Thanks for posting.
Hugs,
Diana Craft, aka PandorasHatBox
February 8, 2020 at 2:50 pm #38687Good Morning! I wanted to show everyone my blunder. Cassel very gently informed me (in Cassel’s usual kind manner) that I had gotten ahead of myself by making a “Love-ish Challenge” that missed the mark. As I am wont to do, I jumped ahead working on a project that was completely wrong. Cassel suggested I post it here to show what I have been doing lately anyway, thinking you might be as interested in seeing my attempts as I am in seeing all of yours. You are all so much farther along than I, but what I lack in skill I make up in enthusiasm. As usual, I do go on for a bit and I hope you will bear with me.
I started out with one idea and it quickly morphed into another unrecognizable form. Unlike most of you here, I do more physical scrapbooking than virtual. I have a lot of time on my hands since I only sleep an average of 2 to 3 hours a night, with the wonderful opportunity to catnap whenever I wish, leaving me with lots of time to dabble in a variety of creative activities.
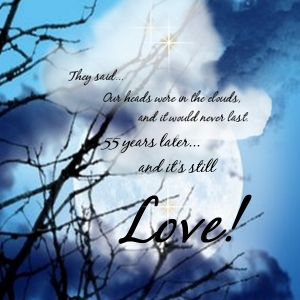
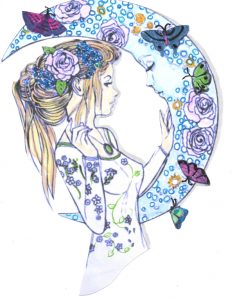
Since it is the 200th anniversary of Jane Austen’s works I have been making several journals of hand bound papers filled with images, small pockets for tags and other embellishments and hang dangles of relating charms to the hand-made covers. I do a lot of coloring with Copic Markers and then cut the elements out and adhere them with mounting tapes creating a “Diana Original” in mixed media. The idea I had for my love story is in the first image below. I found this image on one of the sites offering free coloring pages. The girl with the moon sliver immediately made me think of “Once in a Blue Moon” saying, something I was reminded of by my Mother when I broke with tradition and married a divorced man. Once in a blue moon. was the chance of my having a good marriage with the man of my choice. My Mother and friends were wrong! Their tears at my decision was misplaced and after 55 years together I can say that with confidence. In the second image, is the great night sky background that I ended up using in a much different way than I had planned.
Then, remembering I was told my head was in the clouds which led to my adding the image of us floating amoung those self-same clouds, blissfully happy after 55 years together and that is “My Story of Love” that may not be right for the exercise perhaps, but was too much work to just set aside. It really does happen once in a blue moon, I’m very fortunate and wanted to share.
I’ll try to do better and read the instructions next time. (S)
hugs,
Diana, aka PandorasHatBox
February 9, 2020 at 1:40 am #38715Diana welcome to the group and thank you for your compliment, you are welcome to use it if you wish. love your posts, well done, especially the bluemoon lady xx
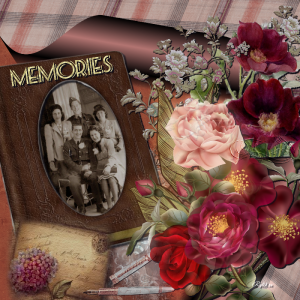
February 9, 2020 at 11:03 am #38725Thank you for your lovely greeting Trish and your special compliments. Then you went and posted this one, WOW! That is so romantic it made my heart pump faster. What a beauty! I love the way you snuggled the fan, roses and memory album under the page roll. I’ve used a page roll before but I’d never seen it utilized so nicely. Is that family in the grouping? Very handsome. XX
Diana
February 9, 2020 at 12:23 pm #38728Thank you Diana, yes my mum and dad with my 2 nan, I never knew the best man . xx
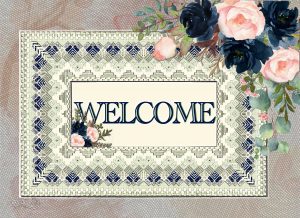
February 9, 2020 at 3:45 pm #38732Another pattern I create, I then cut it down into several layer to create an overlay, recoloured each lay.
the pattern is a corner, so duplicate and mirror images to make a frame, added various drop shadows on all most layer before merging, added another drop shadow and chiseled after putting a back paper which I added welcome after cutting it from another paper, duplicated the word to make a double shadow. Added some flower as accent. Merged all Then added a backing paper and a top layer of topography for effect.February 9, 2020 at 5:53 pm #38733Wow Trish, you have been busy! Love your work my friend. The geometric papers are great but I am a little biased as I love geometric patterns. Your memories page is delightful and your welcome page is indeed very welcoming! Well done Hon. <3
February 9, 2020 at 5:55 pm #38734Hi Diana, and welcome to the group. You are off to a good start so keep it up and I look forward to perusing more of your delights. <3
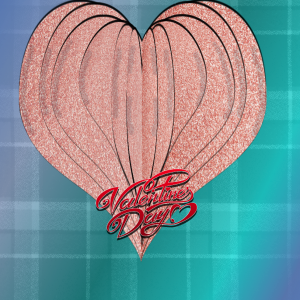
February 11, 2020 at 3:40 pm #38781Sue Mcquire ask Carole how would you make a heart, I was intriqued and this is my first try at it, Please Carole tell me what I should have done.
February 11, 2020 at 3:42 pm #38783found this old kit today and thought I would resurect it.
February 11, 2020 at 4:29 pm #38784Trish, that first heart you made is beautiful. Did you duplicate the layer and resized the shape? Whatever you did is very effective!
February 11, 2020 at 7:15 pm #38787Hi Carole, I miss calculated Sues one, instead of 6 leaves I made 6 layers , 3 layers would have been much easier, but it only took ten minutes to do from an old tut I learnt from a more difficult problem years ago. It was more difficult to do it now than it was on 7 but still simple. The longest part was the calculations.
1 x heart / duplicate 6 times / place guides either side and 1 in the middle/ calc between 1st and middle guides and divide by amount of layers you are using / starting with top layer using the pick tool, chose perspective / grab top node and bring across to next node, both side will come in evenly / repeat on bottom node/ go to next layer and repeat till all layers are folded in. /add drop shadow to each layer.I was only trying to see if it worked so didnt take it any further, bringing in the bottom layer i did vary it to form the shape, also I bought the top of each layer down, as I thought it formed a heart , but Sues’s one didnt making it more a 3D look. Be interesting to do it again, any suggestion to improve it. Actuallly I though it made a nice sweetheart leaf.
What I couldnt do was to put a drop shadow all round it to define the layers better,
February 11, 2020 at 8:00 pm #38788I think it would need a “custom shadowing”, like making the center areas darker than the left/right sections for each “layer”.
February 11, 2020 at 8:21 pm #38790the heart was shaded dark half and half, but it didnt show, so should be darker Carole.
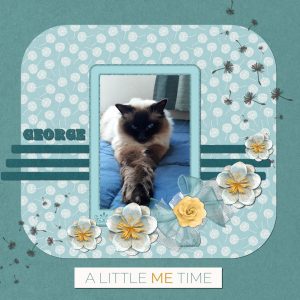
February 12, 2020 at 1:34 am #38793I received this frame as a freebie and I thought it would nice to frame my beautiful George. I have used papers and elements from KB-Tranquillity which was a freebie I downloaded for one of Carole’s boot camp projects
February 12, 2020 at 3:26 am #38795Shirley this is a beautiful page and George is a gorgeous cat. Is he a rag doll or a birman cat? My sister used to breed rag doll cats and they were so beautiful. Anyways, well done my friend.
February 12, 2020 at 1:06 pm #38805Hi Everyone!
Your layouts all look great! 🙂
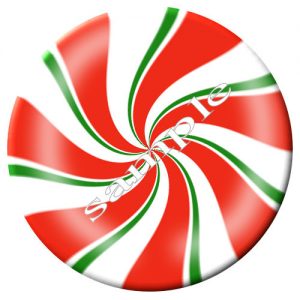
After the bootcamp, I started making my own things for scrapbooking. I only have a few, but I wanted to get some practice on papers. Also, I found a Photoshop tutorial for making peppermint candies. Since I LOVE Christmas, I had to do it right now. 🙂 There was a step or two in the tutorial that I couldn’t do, because I didn’t know how to find it in PSP, so that will be my question at the end of this post.
Anyway, I tweaked a couple things and made these 2 mint candies. I really like how they turned out, but want the opinions of others.
Do you like them? Would you use them? Is there something else I should do?
As for my question, one of the steps was to add an adjustment layer>Bevel and Emboss. I can’t find that option in PSP. Is it located somewhere else, or do I just need to do it as a regular layer and then add the effects of bevel & emboss?
Oh also, when making elements for scrapbooking, what size should I use? I used a 500×500 canvas for these, but I’m thinking I should make them larger, so that they can be reduced in size, if someone wants to do that.
One last thing, for Cassel, I got behind on the emails that are sent out, so I’m not sure if the Basic Scrap Course was mentioned in one of those? Is there a place I can sign up for the next one?
February 12, 2020 at 1:09 pm #38808Trish, the papers you made are beautiful! Overlays is something I don’t understand yet – I haven’t even looked into them yet – so I’m hoping that will be something I can pick up easily.
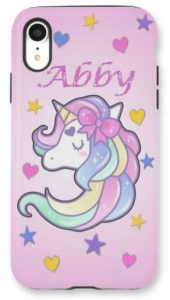
February 12, 2020 at 1:17 pm #38812Oh, another thing I just finished and received back. My niece got a cell phone for Christmas and I promised her I would make a phone case for her, so I did. 🙂
I found this unicorn clipart on a royalty free site, that allowed me to use it for my own personal use, as long as I wasn’t going to sell it on places like CafePress. I figured Snapfish would be ok to upload to, since it doesn’t get sold to anyone except me. Anyway, I used that clipart, did a gradient for the background color, added her name, and then some stars & hearts. I just received the phone case a couple days ago and I think it looks really cute! This pic is what was uploaded, but the finished product turned out much brighter, which I’m very happy about. 🙂
February 12, 2020 at 1:40 pm #38815Hi Colleen thank you for your comment, an overlay is a paper that is transparent, is most times a png but can sometimes be a psp’s. they are usually a transparent pattern or an effect like adding smoke perhaps. If a pattern place it as a new layer over your chosen background layer, as an effect, place it over the element or sometimes under you are wanting the effect to show. It could be say lightening, which case you may need to place it several layers on top, so it enhances the picture in a larger area. Hope this explains it. ask if you need further info .
The bevel edge , which is what I think you are asking, is under Effects/3D/inner or outer bevel. emboss is on the side panel/ light and darken brush/ embossFebruary 12, 2020 at 1:46 pm #38816Thanks Trish, that makes sense about the overlay.
Yes, I did a slight inner bevel through the Effects dropdown. But in the Photoshop tutorial, it had Bevel & Emboss listed in the options for a new adjustment layer.
As for the emboss, I know there is an option for it in the Texture effects, but where specifically are you talking about? When you say the side panel, are you saying where the main toolbar is on the left side?
I’m only asking because what the tutorial said to do with the Bevel & Emboss Adjustment Layer, I wasn’t able to duplicate through the Effects options.
February 12, 2020 at 1:54 pm #38817Sorry Colleen didnt answer you peppermints, they are great, you made a good job or them, well done.x
The cell is also great, your niece should be please with that, to darken it, go to Adjustment/ brightness ans contrast, and tweak the sliders just a tad. x
Shirley that cat picture is so cute, nice work x
Carole Thank you, yes I agree, but it was a fun thing to do and has open up all sorts of possibilities.
Annie Thank you for your remark, always nice to read and cheers me on , Thank you xx
-
AuthorPosts
- The forum ‘Showroom’ is closed to new topics and replies.


