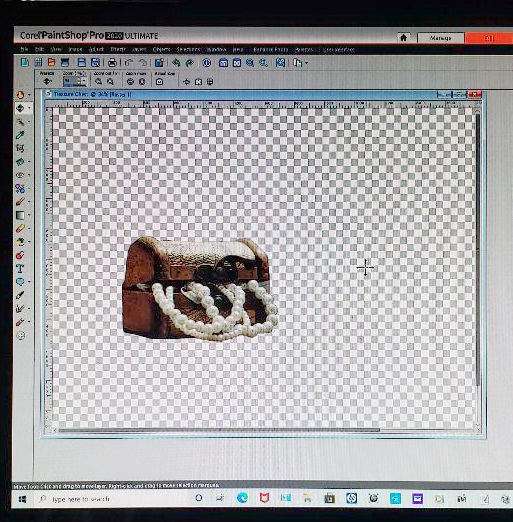
I like using the eraser, it takes much more time. The magic wand sometimes doesn’t get it all or takes to much. Maybe I don’t know how to use it properly.
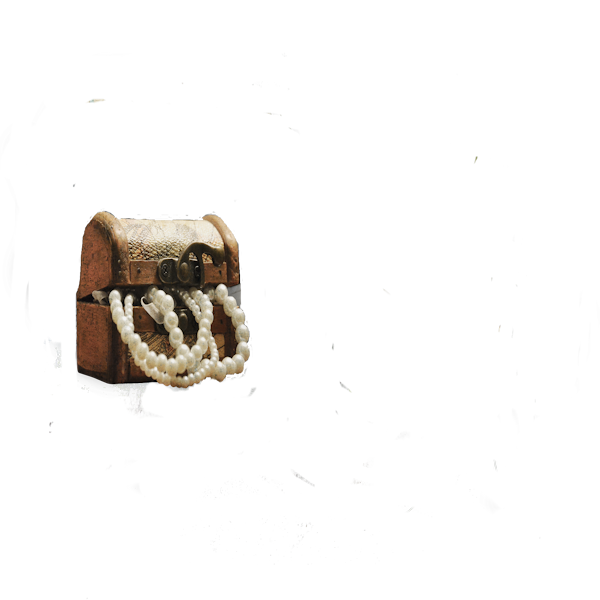
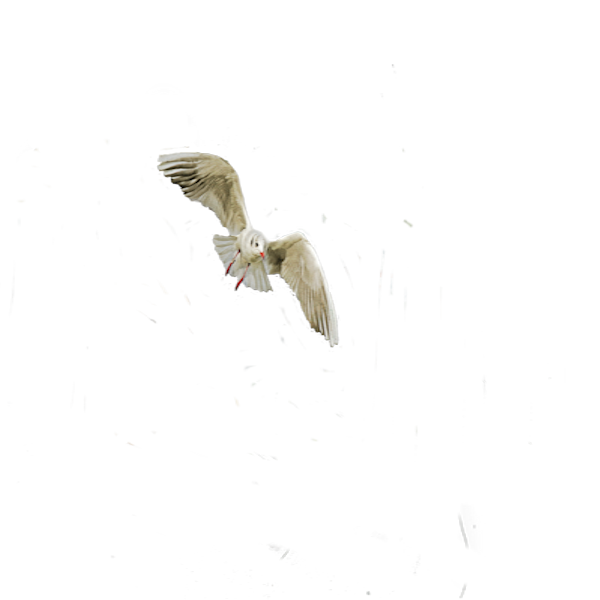
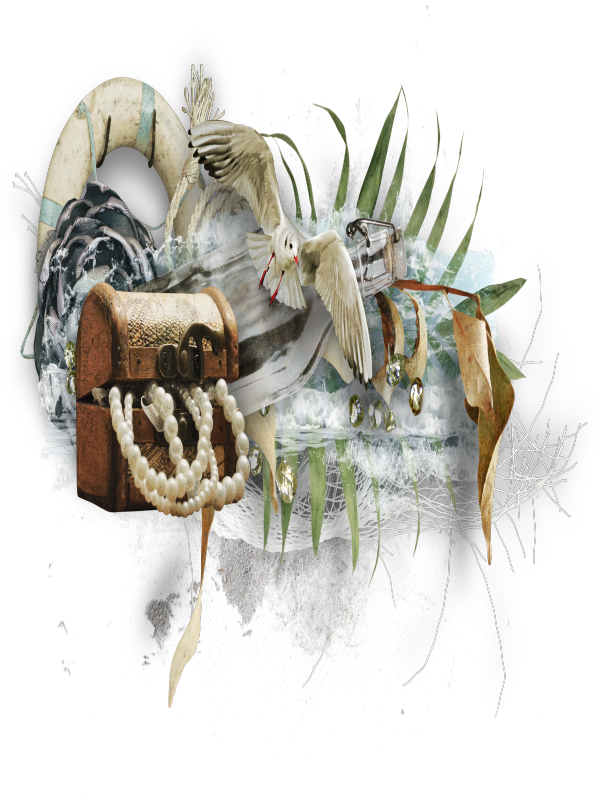
I do have a question on this. The PNG file with the treasure chest, seagull and other sea stuff is a pre purchased. I wanted the treasure chest and seagull separately. So I did made copies and used the easier tool on the chest and seagull.
I was left with a lot of area of white and grey squares.
How do I lose some of the back gound and keeping the chest and seagull the same size?
Oh, I see. That checkerboard pattern means it is transparent. That is not part of the image. If you want to remove the extra space, you can simply Copy (Ctrl-C) and Paste as a new image (Ctrl-Shift-V). That would crop to the nearest non-transparent pixel. If that still leaves some empty spaces, it would be because there is at least one pixel left. If that is the case, use your Eraser tool to erase around the edges, and repeat the process.
Author
Posts
Viewing 5 posts - 1 through 5 (of 5 total)
The forum ‘PSP stuff’ is closed to new topics and replies.
.