Home of the Scrapbook Campus › Forums › Showroom › Masks Workshop 2022
Tagged: Day 2 Mask Workshop
- This topic has 562 replies, 61 voices, and was last updated 2 years, 1 month ago by
Lesley Maple.
-
AuthorPosts
-
February 21, 2022 at 7:08 pm #72083
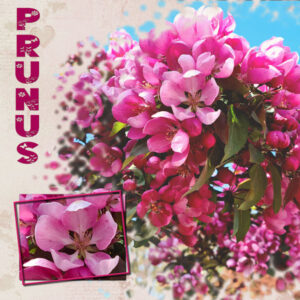
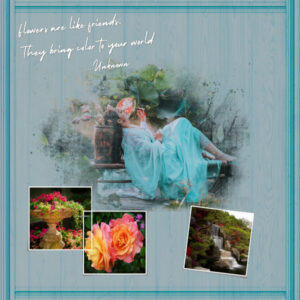
I did the then called Love Challenge last year and since then I often use masks. This time round I’m going to use the Extra’s and my theme – I like a theme – will be blossomming trees. I have used my flower photos on many projects and this is my first entry. The font is Floryn
February 21, 2022 at 7:12 pm #72085Lesson 1
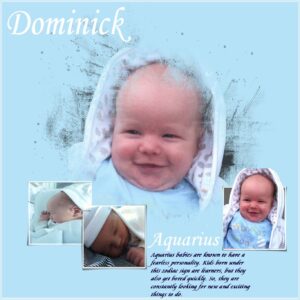
My nephew (once removed), who has just turned 5 years old-
This reply was modified 2 years, 10 months ago by
Lyn Lou.
February 21, 2022 at 7:43 pm #72089Oh blessings on your head, Sue Thomas! I was feeling so lost…..
February 21, 2022 at 8:03 pm #72091I loved this template the moment I saw it! I really needed this refresher. Thank you, Carole.
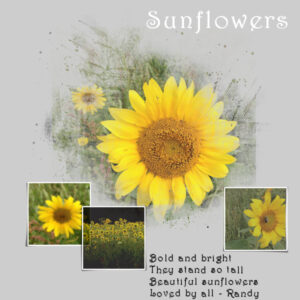
February 21, 2022 at 9:09 pm #72097Masks project 1 – Here goes. I really like the effect that the mask had on the flower that is in the centre. That is something I will want to do again. I think that I will try to capture the steps in a script and see how that works.
February 21, 2022 at 9:31 pm #72098Here is mine, using pictures from FT. Morgan Colorado…..I love masks and this is GREAT learning how to do this!!! Thank you Carole–My results are below!
 February 21, 2022 at 9:43 pm #72101
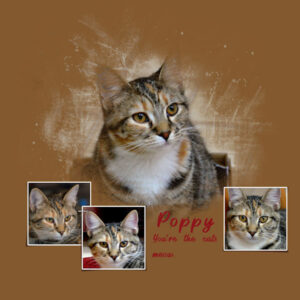
“It is in their eyes that their magic resides.”
Rudy is my blue-eyed cat. He is blind in his right eye which has never slowed him down.
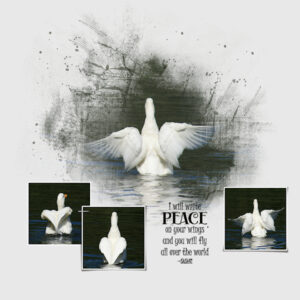
February 21, 2022 at 10:27 pm #72107My first time using a mask. I really like them. Photo’s are mine as usual. T+he word Peace is Christmas Kindness (Creative Fabrica) and the other words are Juice ITC (not sure where that is from). I lightened the background slightly. I enjoy all the layouts, especially the cat ones! I’m working on my “crazy cat lady” degree, I have two. I was going to use them as subjects but I felt homesick for where these photo’s were taken.
-
This reply was modified 2 years, 10 months ago by
Susan Ewart. Reason: forgot some words
February 21, 2022 at 10:41 pm #72112Well it looks like everyone has been busy.
Here is my result for Day 1.
Font used is called Holiday and images used from Pixabay.
Lois
-
This reply was modified 2 years, 10 months ago by
Lois Duckworth.
February 21, 2022 at 11:12 pm #72116February 21, 2022 at 11:22 pm #72117Marie-Claire, Love what you did with this lesson. Are these your photos, they are lovely.
Lynda
February 21, 2022 at 11:26 pm #72118Everyone is doing a great job on these masks. Thanks for sharing.
February 22, 2022 at 12:08 am #72121Elsa, (#71998) looking forward to your projects. Check your email about your account that seemed to have been stuck in the spam.
Monique, (#71999) refreshers are always good and so many projects give the opportunity for repetition.
Lyn, (#72003) happy to show new ways to do things. (#72085) That is quite a smile he has!!! Definitely worth a layout.
Nel, (#72009) there was a mistake and that one link should not have been there. It was not necessary for the lesson. The other link should still work properly.
Sharon, (#72011) I think you are re-registered and things are settled. Let me know if you still don’t get anything.
Sharie, (#72014) that tongue is a real signature for your dog.
Hank, (#72028) yes, there will be lessons on how to create them. I start with using existing ones so that everyone understands how they work. Be patient! 🙂 Be careful in resizing your photos. It looks like they are a little stretched. Make sure you ONLY use a corner handle when using the Pick tool in the Scale mode. If the photo ends up in a different format (too tall or too wide), just let the extra not show. It will give a more realistic result.
Louyse, (#72030) beautiful photos. Perfect for February! 🙂
Sue, (#72033) glad to see more of your photos. Interesting twist that you changed the format from square to rectangular.
Fiona, (#72037) you are correct; by deselecting, it will also defloat at the same time. Following the tutorials “to the letter” is a first step in practicing, and afterward, even in the same lesson, you can see how to tweak something here and there. With more practice, you will get more comfortable with them.
Sandra, (#72042) you might want to add names and a date. You would be surprised how easy it is to forget who is on a photo, especially if it is looked at by someone else.
Connie, (#72047) as mentioned above, going “to the letter” at first is a good strategy. With time and practice, you will gradually move to something more custom.
Lavada, (#72052) glad that you found the “negative image” setting. I keep forgetting that other uses still use older versions of PSP that have some settings in different locations. I love how you showcase her hand with rocks; we tend to always focus on the faces, while other parts can be just as interesting in telling the story.
Frans, (#72055) those photos are a great tribute to great athletes!
Julie, (#72056) as Sue mentioned, scroll down and you will be able to hear my “soothing” voice (LOL, I didn’t realize my voice had that much impact!)
Valstar, (#72060) are those butterflies from your environment?
Lynda, (#72062) shhh… that script will be mentioned later! 😉
Jacques, (#72063) the videos cannot be downloaded or saved, however, DIAMOND members will keep access to them while they are members.
Ann, (#72065) what trouble did you have with those sections? They should have behaved the exact same way as the large mask area.
Royanne, (#72071) that is how we customize templates!
Marie-Claire, (#72079) that is a beautiful background. It really makes the photos stand out.
Joyce, (#72081) aren’t you glad that you can now use those .psd files? There are several other supplies that are typically used for Photoshop that PaintShop Pro can use.
Corrie, (#72083) glad to see someone use the extra supplies. You are the first one!
Bonnie, (#72091) that is why I see so many returning participants to those workshops.
Fran, (#72093) I am a bit puzzled. Did you use masks for those layouts?
Randy (#72097) you will see, there is already a script for that (although you are also welcome to record your own if you want).
Ellen, (#72098) for the small photos, are they resized correctly? It might be just because of the size and the angle the photos are taken. I might be wrong though.
Gerry, (#72101) those are really blue eyes!!! Beautiful cat.
Susan, (#72107) those photos with dark “backgrounds” look fantastic with that large “fuzzy” mask.
Lois, (#72112) yes, everyone is busy, including you!
Liz, (#72116) congratulations on your first mask! You will see, masks can become addictive!
I want to encourage everyone else to join in the conversation. Post your projects. If you are stuck, don’t hesitate to ask questions. If you are really too shy, come and add comments to the thread.
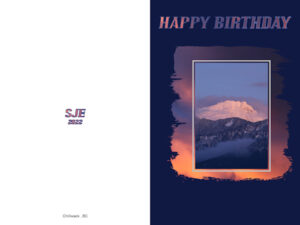
February 22, 2022 at 12:44 am #72129So cool! I tried this card. I could see doing this often. I used a sunset photo (looking out my back window) and the mountain is from a photo out my front window (when I lived in Chilliwack). Our main living level was on the second story and I had screens that came out of the windows easily so I had a good vantage point of the mountains with no houses in the way. Chilliwack is in the province of British Columbia, about 1 hour east of Vancouver, in the Fraser Valley. Where I lived it was surrounded by mountain views 360 degrees. I am in a prairie province now, equally (almost) beautiful with expansive skies.
February 22, 2022 at 12:54 am #72133This is my day 1 project.
February 22, 2022 at 1:15 am #72136Day 1 – After several frustrating tries trying to áctivate’ the smaller masks following the steps I finally realised I was working on the wrong layer – amazing how it worked on the correct one!
There are beautiful and interesting creations being made with the masks. It is a pleasure to scroll through.
February 22, 2022 at 2:07 am #72140Okay here we go…first day. I think I am getting the idea of these masks. At least as long as I follow the instructions. Is it possible to have the instructions in a printable format. I would like to add them to my “Tips and Tricks for Paintshop Pro” book that I bought from Carole.
Thanks Carole.
February 22, 2022 at 2:38 am #72141Bill, (#72140) the written tutorial is not in a printable/downloadable format. However, you can always select the text and copy/paste it into a separate document.
February 22, 2022 at 4:51 am #72142Hi, thank you Carole for the first lesson and for the resources. I made a muck up to start with as I didn’t realise there was a video but later discovered it. If I had started with that it would have been easier to understand. I got very stuck on the little squares and had to go back to the original template to start them again. Having the written tutorial however did help me work out for myself where I had gone wrong so all good.
Loved the varied designs and subjects that people have come up with which makes the study more interesting. Thanks all again.
February 22, 2022 at 6:12 am #72145Wow, this Mask Workshop is really a hit! Nice to see already so many entries. Great work, Everyone!
After more than a year or so of not working with layouts, here is what I’ve created for Lesson 1. I rotate the photo/frame layer to fit the photo I had, and I merged the photo and stroke layers to create the mask.
Credits:
Photo from Pixabay — Background Paper (freebie from Kristin Aagard -Bunny Trail 2021) — String/Flowers (freebie from Palvinka-SpringTime Addon) — Alpha (freebie from Cassel – Licorice1 Tube)
-
This reply was modified 2 years, 10 months ago by
Cristina.
February 22, 2022 at 8:36 am #72147Cristina: Gesundheit! 😀
February 22, 2022 at 8:49 am #72148Ann, thank you! 😀 … I sure need it! Lol
February 22, 2022 at 9:20 am #72150Wow! Masks are truly weird… They look like they might be fun but I found this quite hard – three attempts before I got there.
February 22, 2022 at 10:24 am #72151Day 2 project. I decided to prepare for my Earth Day post 🙂
 February 22, 2022 at 12:06 pm #72157
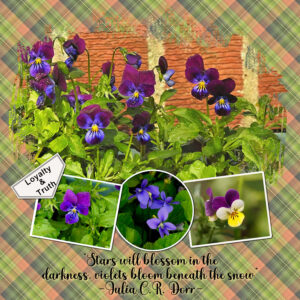
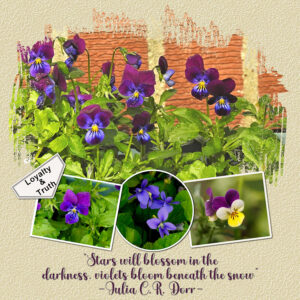
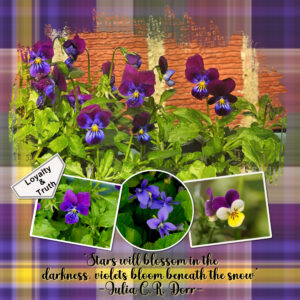
Mask Workshop Day 2
I have two because I wanted to follow the plaid instruction but I think it’s to busy.
I also added another frame.
I made another plaid background. Maybe it’s less intrusive.
-
This reply was modified 2 years, 10 months ago by
Lynda DiGregor.
-
This reply was modified 2 years, 10 months ago by
Lynda DiGregor.
February 22, 2022 at 12:53 pm #72159Hi Cassel
I’m Greg, taking my second workshop this year.
I like the idea of making a plaid design but I don’t have a plaid pattern in my materials.
Do you have a lesson on how to make a new pattern and then put it into materials, please?
Thanks
Greg
February 22, 2022 at 1:09 pm #72162Here is my Extra 1 page
February 22, 2022 at 1:10 pm #72164Thanks, to the tips I got I nearly finished my first mask. But I don’t know how to get the others photos in its frame.
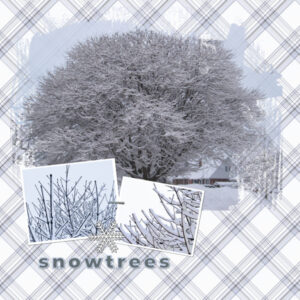
February 22, 2022 at 1:38 pm #72173Plaid snow! That was fun.
February 22, 2022 at 1:52 pm #72174Gregory, (#72159) you don’t have to have a plaid. The tutorial shows how to create as many as you want, from any photo you have. As to saving the patterns, you would simply have to create the plaid, then save the file as jpg in the Patterns folder that should be here: C:\Users\User\Documents\Corel PaintShop Pro\2022\Patterns (depending on your version, the “2022” could be something else). Does that help?
-
This reply was modified 2 years, 10 months ago by
-
AuthorPosts
- The forum ‘Showroom’ is closed to new topics and replies.


