Home of the Scrapbook Campus › Forums › Let’s talk › PSP stuff › I should remember how to do this, but I don’t
- This topic has 29 replies, 6 voices, and was last updated 2 years, 4 months ago by
Rene Marker.
-
AuthorPosts
-
August 9, 2022 at 11:40 pm #80683
I thought this was Kaleidoscope, but I cant get it to work out!
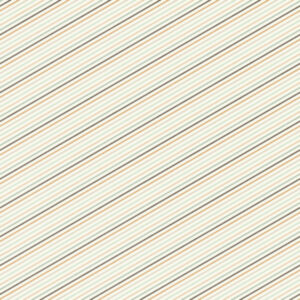
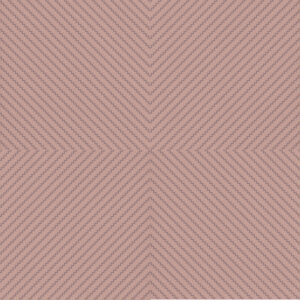
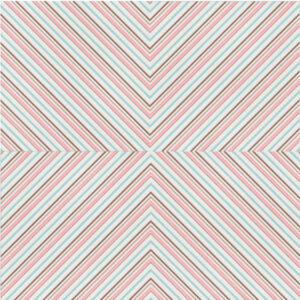
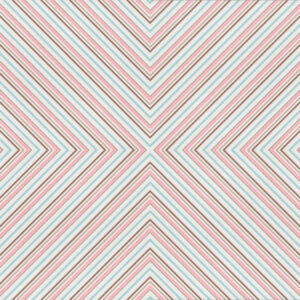
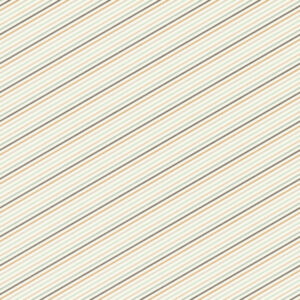
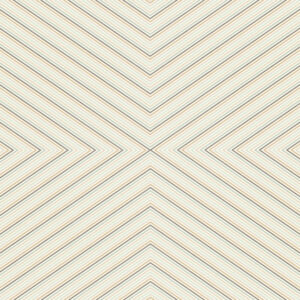
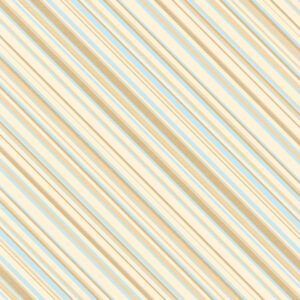
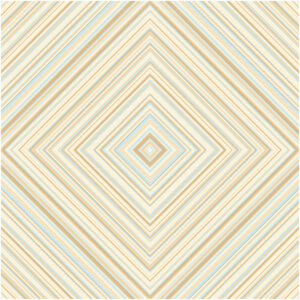
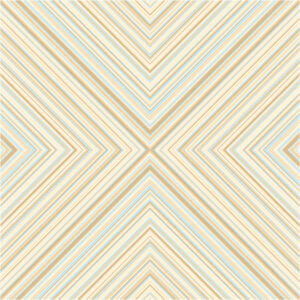
I have a striped paper…and I want to get to the more interesting paper next to it. It looks like it has been quartered, but I tried that and I couldn’t get the pieces to fit with arrows in the middle. I can ask on the forum where I found the LO, but you know they’ll answer in Photoshop-speak
One thing to note is that the stripes in the LO are approximately 50% of the size of the paper in the kit…you can see it.
I just know the answer is in Effects –> Reflection Effects, but I’ve spent an hour on it and that’s my limit on floundering around. :))
Suzy
August 10, 2022 at 12:05 am #80689Possibly the Rotating Mirror?
August 10, 2022 at 12:22 am #80691Anonymous
- 335

- Enthusiast
perhapse this one?
August 10, 2022 at 12:35 am #80692You’re both right, I’m sure, except I can”t get the “arrows” to point in on all 4 sides. Mine looks like Pirkko’s. (And I’m sure it’s the Rotating Mirror, which is actually what I meant when I said Kaleidoscope, but now I’m also pretty sure there are 4 layers and you remove 3/4 of a layer from each layer. This from memory, though, of a long time ago.)
Our power went out so it will have to wait for the morning now. I’m on an iPad, so I can send this, but not test any more ideas.
thanks!
-
This reply was modified 2 years, 4 months ago by
Suzy.
August 10, 2022 at 10:53 am #80703I just looked at the original layout and it looks to me like she shrunk the 12×12 paper to 4×4 (edit should be 6×6) and placed it in the 4 quadrants of the page, flipping each layer to line up the middle. I say this because another layout shown using the kit shows the stripes on the paper as being a wider than on her layout.
I could be totally wrong but that is what it looks like to me.
-
This reply was modified 2 years, 4 months ago by
Rene Marker.
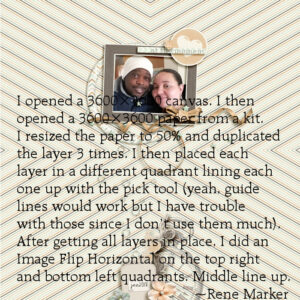
August 10, 2022 at 5:33 pm #80734I just tried this. I opened a 3600×3600 canvas. I then opened a 3600×3600 paper from a kit. I resized the paper to 50% and duplicated the layer 3 times. I then placed each layer in a different quadrant lining each one up with the pick tool (yeah, guide lines would work but I have trouble with those since I don’t use them much). After getting all layers in place, I did an Image Flip Horizontal on the top right and bottom left quadrants. Middle line up.
August 10, 2022 at 6:42 pm #80738That is perfect, Rene!! I have an image of how I tried that – more or less – but I’m embarrassed to post it. So I won’t.
Once you get the hard part finished — the resizing and lining up — After getting all layers in place,
I did an Image Flip Horizontal on the top right and bottom left quadrants. Middle line up.
I think that’s where the Rotating Mirror comes in. But really, after you do all the hard part, what’s a little flip, right?
Thank you so much for doing this! I need to put it in a document.
August 10, 2022 at 8:02 pm #80739I did not use Rotating Mirror at all. I used Flip Horizontal under the Image menu. Ctrl-M is the shortcut.
FWIW, I tried it with Rotating Mirror and could not get it to do what you wanted.
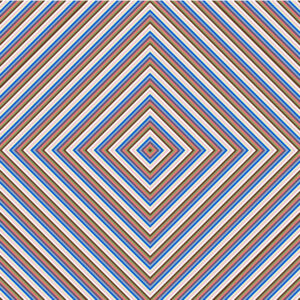
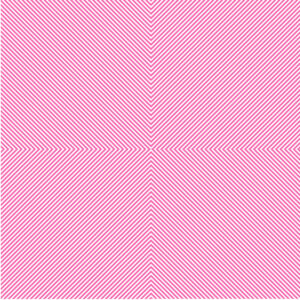
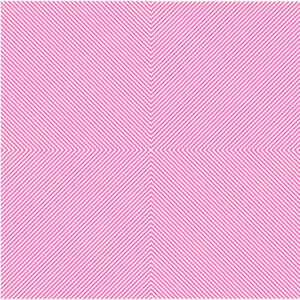
August 14, 2022 at 12:42 pm #80914I couldn’t find the same choices under rotating mirror that Pirkko has shown – I think it is from another package. I worked it out using the method described above about reducing the first 45 angle of the striped paper and then putting it in the upper right quadrant of a new paper and then duplicating it and putting the duplicates mirrored or flipped in the other 3 quadrants. I came up with 2 different bulls eye papers as shown below.
August 14, 2022 at 12:53 pm #80915Mary,
These look useful, but they are both “pointing” out, not in. Rene’s test1 (Reply #80734) is the only one that is exactly as the example. I find it interesting that there can be so many variations for essentially the same thing, and that I only want one of them, LOL! I’m not usually so picky! And she’s right on the resizing. The paper in this kit is so bland, but when it is resized down and with the piecing I think it has more personality.
Suzy
August 14, 2022 at 1:06 pm #80918Pirkko, What would happen if you merged the quadrants in Reply #80691 and then cut in half vertically and reversed right side and left side?
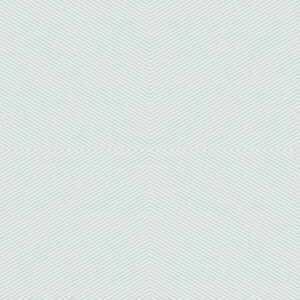
August 14, 2022 at 1:57 pm #80926The first photo is what I came up with using Rene’s directions. It doesn’t quite match up
The second photo is what I came up with starting over and then somewhere in there using Rotating Mirror, Wrap, 90 degrees. Don’t know whether I could replicate it, or not, tho LOL!
If anybody wants one of these full size, let me know. The original came from Marisa Lehin @ pixelscrapper, CU, so it’s been changed enough to be passed around without violating the TOU.
August 14, 2022 at 3:10 pm #80938I’m curious as to what the original paper looked like. I’ve searched her stuff and can’t find one that looks like it would match.
August 14, 2022 at 3:32 pm #80941Okay, so I’m editing this because I got my threads mixed up. I clicked a link from email and thought I knew what he topic was.
And then I got my designers mixed up at Pixel scrapper. I just meant they all came from Marissa’s Store, my bad. Here’s the link for the above https://www.digitalscrapbook.com/sharon-dewi-stolp/designs/for-the-love-of-chocolate-paper-stripes-diagonal-graphic-pattern-blue. To be honest I just picked one I thought was namby-pamby (for non-native English speakers, it means “meh” or “dull and boring”. LOL!)
But The ORIGINAL from the OTHER Thread came from here.
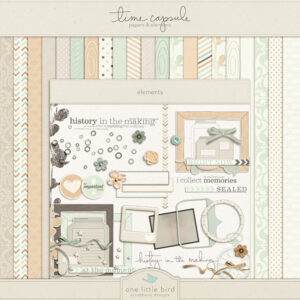
I would link to the kit, but I’m not sure i can do that here, so I’ll add the preview pic. :))
See how it isn’t exactly 45 degrees? My first attempt was to make it a 45 degree stripe – DISASTER!
August 14, 2022 at 3:59 pm #80946Yeah, that is probably the problem. I just tried it with a different paper that has thin and thick stripes. The thick stripes have wording on them and I was curious how it would look. The stripes are the right degree (bottom left to top right). The top 2 quadrants were fine but the bottom 2 didn’t line up at all. So I really think that to do this needs the right paper. In other words, not every paper will work for this technique.
August 14, 2022 at 7:12 pm #80954I tried it the way Rene did.
August 14, 2022 at 7:44 pm #80959OK – did it Rene’s way and this is what I came up.
August 14, 2022 at 9:59 pm #80987Perfect, Mary! Yes, Rene’s way is perfect as long as the stripes are all the same thickness.
It needs a different method if the stripes have different thicknesses, or are different in any way except color – one more step, I guess you’d say. The last step is to merge the layers and do the Mirror rotate, 90 degrees.
I changed horses mid-stream and accidentally chose a stripe with different thicknesses, well, it wasn’t an accident, I just didn’t notice and didn’t know it would end up being important.
I recorded a script to do all this, and I was moving right along, with GUIDES and everything!!! But I don’t know where the script text went! I started, did my thing, and then stopped it. I went to look at the script to admire my handiwork and all that came up was the last script I used, which was one of Carole’s! Clearly I am not yet ready for Prime Time!
August 14, 2022 at 10:15 pm #80991Well, Suzy – yes you are right! this is the one I did above, but I did do rotating mirror and set it to 90 degrees. I compared it to the one I had done before and there is a definite difference – a finishing touch. Thanks.
August 15, 2022 at 12:28 pm #81026As always there is more than one way to achieve any effect in PSP. Once you understand the principles of rotating, flipping and mirror it is easy. I always use guides, snap to guides, they are very accurate when moving elements papers etc, and easy to use. Worth, getting used to using them or the grid. Resize the original paper, using the guides, you’ll see 2 corners will change to red, which means that it is snapped, duplicate, move to the top right, free rotate 90 degrees to the right, merge them both. Duplicate, mirror vertical, you may have to use the guides to align them precisely. And there you have it. I sometimes feel that some over think, making a simple process more difficult than it really is. Using different thickness of lines in the pattern will not make any difference when using the technique I have given here.
Pirkko used a filter, which I believe she would have obtained from an outside source.
August 15, 2022 at 3:24 pm #81043Yes, Sue, that’s really great.
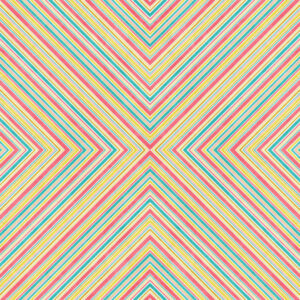
I’m looking for a slightly different pattern as shown in Mary’s #80959 Reply or my #80926 Reply. It looks like arrows all pointing in for lack of better description as opposed to a square middle of yours where the arrows point out. (not a great description, but take a look)
Maybe if you mirrored the two panels on the right and switched them with the left side it would all point in? I’m probably over complicating it.
August 15, 2022 at 4:11 pm #81046August 15, 2022 at 4:34 pm #81049Same striped paper, different direction. Resize the page to fit in the top left corner, using the guides to be accurate. duplicate, mirror vertical. Free rotate 180 degrees right. Merge down. Duplicate. Mirror horizontal.
Sounds good Carole. Once you know what tools to use, and work out in what order to use the free rotate, mirror,and flip, you can create several different patterns from the one striped paper.
August 15, 2022 at 4:54 pm #81059Carole, I’m curious to know what tools you used in the script, did you use the rotating mirror, or something similar to my way?
August 15, 2022 at 4:57 pm #81061No, I didn’t use the Rotating Mirror (because I have something else in mind too), so I just used the regular Rotate command, with the Flip and Mirror too.
August 15, 2022 at 5:30 pm #81067Yay Carole! (except I don’t need it anymore!) But if you do, just make sure that one of the choices includes the stripes on the paper being 1/2 the size of the original. But you could do what? 4 choices? That would make a nice, useful script!!!
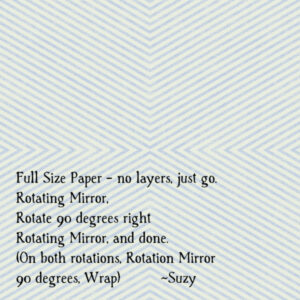
Otherwise we can all go in and do Rotating Mirror, rotate right 90 degrees, Rotating Mirror again, and done. (On both rotations, Rotation Mirror 90 degrees, Wrap) —> This yields a full size page, with identical strips as the master image. They are not the smaller stripes.
To get smaller stripes, go back to Rene’s paste 4x and put each in its own quadrant (no rotating necessary) using Sue’s snap to guides. THEN merge. Now do the Rotating Mirror, rotate right 90 degrees, Rotating Mirror again.
-
This reply was modified 2 years, 4 months ago by
Suzy.
August 15, 2022 at 5:33 pm #81069Oops, we must have posted at the same time. My bad. As Sue said, there are many ways to do the same thing in PSP
August 17, 2022 at 12:25 am #81122I contacted the original maker of the layout since she is a regular poster at another forum I frequent. Basically, she did what I did.
Her words:
Looking at my page and knowing myself I took the easiest route. lol
Most likely I created 4 quadrants and shrunk the paper down. Then just duplicated, flipped and rotated each one to line up.
IMO, some times it really is simple!
August 17, 2022 at 9:38 am #81135OMG! It’s hilarious that you contacted her! Thank you!! That was really nice!
Looks like we all have our really simple ways of doing it. 🙂
Next up is Polar Coordinates. I even have tutorial I wrote, but apparently I missed a step or two because it’s not working. 🙁
August 17, 2022 at 10:37 am #81140I know who she is from the 2 main shops that I buy from. Super nice gal. She readily admits that she goes for the easiest way to do things.
-
AuthorPosts
- The forum ‘PSP stuff’ is closed to new topics and replies.


