Step 1. Log in. You won’t be able to upload anything if you are not logged in.
Step 2. Select the category you want. Depending on the category, you might have sub-categories to select. Putting your projects into the correct category (and sub-category) will make them easier to find and make the whole gallery better organized.
Step 3. Once you are viewing the correct category/sub-category, click the red “Add images” button, on the top right.

Step 4. You will see a large window open and a big PLUS sign in the center. Click on it.
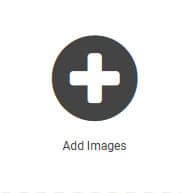
This will allow you to navigate to your computer and select the project(s) you want to upload to the gallery. You can select more than one. They will then all display in that popup window.
Step 5. If you want to edit the information on your image, click on it. On the right side, a panel will open, allowing you to edit the title (which you might want different than the file name), and add some description about the project, the photos, the context in which you created the project or the supplies you used.
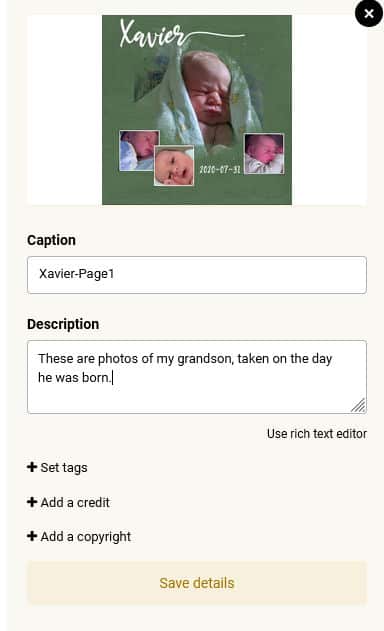
You can add tags, credits, and copyright information but that is all optional.
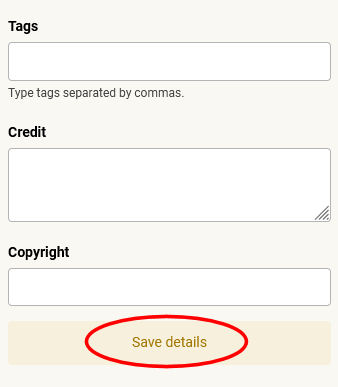
When you are done editing the information on the particular image, click “Save details“. You can repeat the process for multiple images if you have several on that window.
Step 6. Click on the “Submit all images” button, on the bottom right of that window.

Now, your project(s) should appear in the gallery, where you selected to upload it(them).
.


