Home of the Scrapbook Campus › Forums › Showroom › DIAMOND Scrap Challenge – April 2019
- This topic has 136 replies, 29 voices, and was last updated 5 years, 7 months ago by
Shannon Cooper.
-
AuthorPosts
-
April 19, 2019 at 1:40 pm #27941
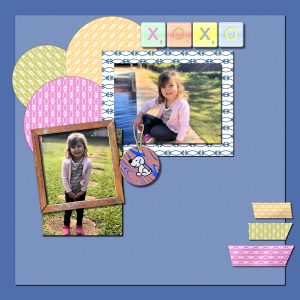
This is the layout I am working on (until day 4)… The template I used is from the Lab6-Module 03… Instead of wood, I made the tiles of acrylic (Creative Scrap>Texture>Acrylic)… I added some adhesive tapes (Cassel’s Adhesive Tape Script).
April 19, 2019 at 2:00 pm #27942Lovely work Cristina, my friend. My work always seems to be a bit more on the serious side. Maybe that is because I don’t have any grandchildren. I will have to lighten up I think! Thanks, Cristina, inspiration again, 🙂 <3
April 19, 2019 at 2:02 pm #27944Hi Scrapbook Campers. This is the result of my work to date. Thanks for takin a peek. <3
April 19, 2019 at 2:07 pm #27945Nice job, Annie!
April 19, 2019 at 2:10 pm #27946Dear Annie, thank you so much for your kind comment. <3 … I don’t think that your work tends to the serious side, and I have seen quite a few… I love your layout with Cubit… I even thought that he looks like a lord in this photo! …I love it! I am sure he left wonderful memories. <3
And I also don’t have any grandchildren as we don’t have children. 🙂
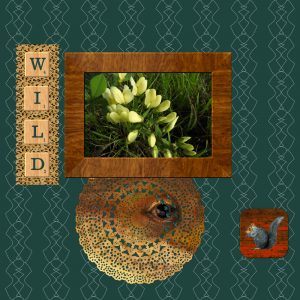
April 19, 2019 at 2:11 pm #27948Day 6 – I used a leopard print for my ribbon pattern. It seems to go well with my theme!
Cassel – Thanks for the suggestion. I tried a lot of different solid colors with the doily but never felt like any were right for it. After adding the leopard print ribbon under my tiles, it seems to complement the lizard doily, which is starting to grow on me 🙂
April 19, 2019 at 6:36 pm #27950Diamond Scrap Day 6 Scallops
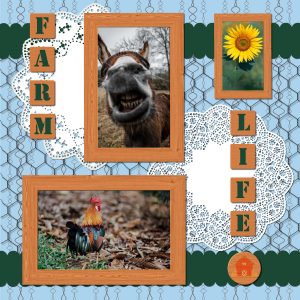
April 19, 2019 at 8:41 pm #27954I am so impressed with all these projects! Everyone has a completely different compilation of the various elements. All of you are so inspiring. I even managed to create a scalloped ribbon and I only had to watch the video twice. Here’s my Day 6 progress (minus the doily). I’m going to revisit that tonight. I did incorporate a chicken wire tube that Carole made. I thought it would fit mine better than the doily.
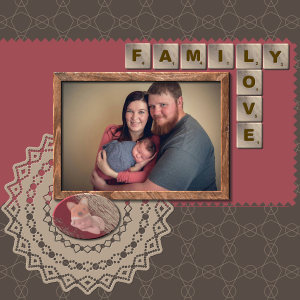
April 19, 2019 at 9:10 pm #27956Day 6: I just used a simple pinking shears edging on the background mat.
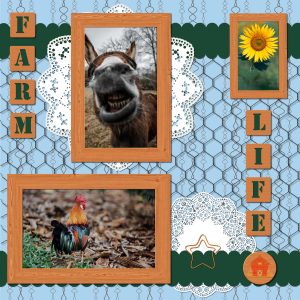
April 19, 2019 at 11:17 pm #27959Never let it be said that we aren’t dainty on the farm! I finally created a doily!
April 20, 2019 at 12:26 am #27960Thanks for your lovely comment shutterpixi and I wish to compliment you on your project as it is really delightful. You have blended your colours well. <3
April 20, 2019 at 12:30 am #27961Lovely work Teri and your doily is a simplified delight. You have inspired me as I now see mine as over-cluttered. I am off to see what I can create taking a simpler direction. <3
April 20, 2019 at 12:32 am #27962The delights of farm life Sharon … wonderful, great work my friend. <3
April 20, 2019 at 9:22 am #27963I am so impressed with everybody’s work. My wrist is bothering me, so I’m going to be late finishing up. I can’t wait.
~ Michele
April 20, 2019 at 1:10 pm #27965Wow, everyone’s creations are amazing! I am behind so I will try to get caught up this evening!
April 20, 2019 at 1:34 pm #27967I really enjoy seeing everyone’s unique applications of the techniques we’re learning! I’m still behind, but I’m liking my page better with every addition.
April 20, 2019 at 6:04 pm #27975I’ve spent all day playing with this, when I should be outside working in the yard – Spring has arrived in full bloom, and it’s beautiful here! Fortunately, I have a window. My final layout is way more cluttered than is usually my style, but I don’t care. I have learned so much! Thank you all.
April 20, 2019 at 6:57 pm #27977Alicia yours is beautiful! I spent all day on and off on mine but it’s rainy here so I couldn’t work outside. I tried to declutter mine but I don’t think I did too well. This has definitely been a challenge! I have learned so much. Now if I can just remember it all after I sleep…..
April 20, 2019 at 7:55 pm #27979Day 7: had some issues learning the tools and moving the nodes, but finally got it. This has been a lot of fun!!
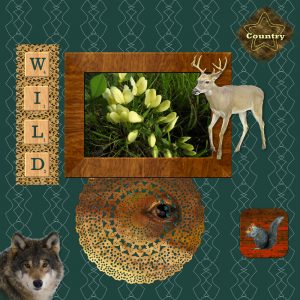
April 20, 2019 at 10:48 pm #27984Day 7 – I did something a little different with the clip to fit my theme. I also added a couple more tubes, a wolf I masked from Pixabay and a tube of one of my photos of a whitetail buck from our ranch. FYI, the flowering plant in the frame is a Longbract Wild Indigo.
April 20, 2019 at 10:52 pm #27988Cassel I know I should be able to figure this out and I’m feeling like an idiot but I cannot get my wood design as I want it. Am I supposed to put my design on my wooden element first or after I make the scratches? When I try to add one afterwards, I used the different blend modes but nothing I try looks right. Even using something white is not blending in well. Help!
April 20, 2019 at 11:46 pm #28033Sharon, if you want your design to be scratched, keep it on a separate layer. Once you have the selection done with the scratches “shapes”, activate your design layer, and delete there. No blend is necessary. So instead of scratching a “full layer of paint”, just scratch the design that is painted on its own layer.
April 21, 2019 at 12:31 am #28047Thank you, Cassel. I think I’ve got it 🙂
April 21, 2019 at 12:35 am #28048Here is what I have so far – my email has been having issues so I do not have lesson 5
 April 21, 2019 at 1:21 am #28053
Lynda DiGregor – You wanted to know how I did my background pages – well because lots problems with previous attempts so these are the steps I took –
Hopeless try 3 or 4 duplications then to blur several times and seamless tile led to 3rd image using tile then just added Notre Dame image on top and lowered opacity until it was ghostly and colourized more grey.
Sorry Cassell and everybody have been struggling for days just to do tile and doily and just cannot do it so think it best to retire. You are all way ahead of me and doing such great work.
All the best hugs Marie
April 21, 2019 at 9:50 am #28055Marie, don’t give up. What is the effect you want to achieve? We can help you.
April 21, 2019 at 2:13 pm #28116<span style=”vertical-align: inherit;”><span style=”vertical-align: inherit;”>Ma page terminée</span></span>
April 21, 2019 at 5:41 pm #28124My days 6 & 7. Day 6 I made some ribbon and gave it some texture using blinds tool. I also used brightness and contrast tool to give some ripples and shading technique as taught by Cassel. Day 7 I made a paperclip using a preset shape. I used the Sculpture tool to make it metal looking. I used Cassels interlacing technique to clip it to the doily. Loved doing this challenge. Thank you Cassel.
Sheila x
April 21, 2019 at 6:57 pm #28126Final layout: I added texture to the matt behind the picture and the doily as well as all my shadows
April 21, 2019 at 8:42 pm #28130Here is my completed layout. I had a lot of fun learning these things!
Everyone has done a wonderful job and seeing everyone’s creations was as much fun as creating!

-
AuthorPosts
- The forum ‘Showroom’ is closed to new topics and replies.


