Home of the Scrapbook Campus › Forums › Showroom › BOOTCAMP November 2020
Tagged: project 5
- This topic has 172 replies, 18 voices, and was last updated 4 years ago by
Jacques.
-
AuthorPosts
-
November 25, 2020 at 5:37 pm #49782
Day #9 = I used a kit called “Lovely Fall” designed by Andrea Gold.
November 25, 2020 at 6:44 pm #49789 November 25, 2020 at 6:45 pm #49790
I had fun playing around with this after watching the Day 8 tutorial–using the grid and text tools….Thanks.
November 25, 2020 at 7:09 pm #49792Day 9 Project 4
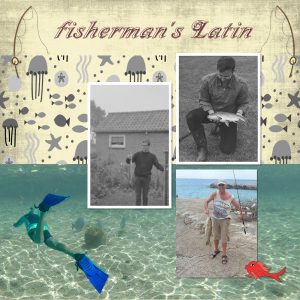
For this project I used a few old and a more recent photo. I made a border around the black and white photo, but a serrated edge was not beautiful.
I also took a selection from a photo for the bottom background that I took underwater with my GoPro.
I have added a few elements to that.
Here too I left out the serrated edge, I tried it first but was not satisfied.
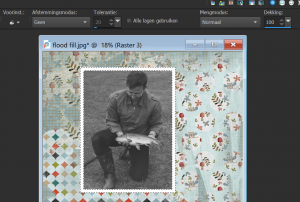
At the top I kept it simple, downloaded a few elements from Pixelscrapper and finally a nice title.I also had problems with the “flood fill” but your response in Scrapbook Campus solved the problem.
Caren, thank you for your quick response and I downloaded the PDF to review later.
When you are 76 you need a lot of reference work because memorization is getting more and more difficult.
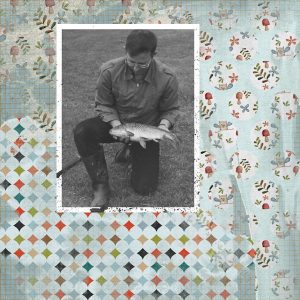
But I enjoy every new case.November 25, 2020 at 8:01 pm #49799example of incorrect flood fill and after changing the setting the correct flood fill
November 26, 2020 at 2:58 am #49811I got behind this week. Here is Project 3. I really need to get more papers and decorative pieces so I can make my photos show up better. Carole, this is the first time I have really used PSP. I’ve had it since 2018 but just got frustrated with it and left it alone. I have however used drop shadows a lot in CorelDraw so that was probably the easiest part of this exercise for me.
November 26, 2020 at 1:15 pm #49815Here is the Day7 Project#3 layout.
Again I used the “Winter Fun” kit by DiHiller (PS 2017Feb) and Flakes Elements from the “Sweater & Hot Cocoa” kit by DiHiller (PS 2020Jan).
Font: Caneletter Script
November 26, 2020 at 2:37 pm #49820Carole, thanks for the excellent video again. I’m sure all of us know we could not come close to completing these projects without them.
November 26, 2020 at 7:12 pm #49825Day 11, project 5
 November 26, 2020 at 10:30 pm #49828
Page 4
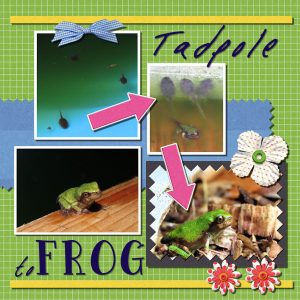
For this page I used some new photos that I took this summer, when the days were warmer!
I watched some tadpoles turn into frogs and hop away. It was fun to check them each day and see their progress.
Carole, I really like having 2 days for each project. That gives me some time to think of what photos I want to use. And to plan when I will have time to sit down and work on it.
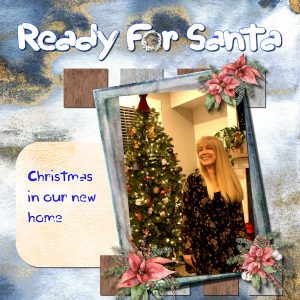
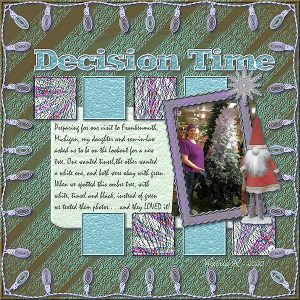
November 27, 2020 at 12:00 am #49831For Day 11, Project 5, I used a kit I made in December, 2015. When my daughter, Becky, and I saw this tree on clearance at Bronner’s, in Frankenmuth, we really thought Sarah and Joel would think we had lost our minds. They wanted a new tree but could not get their heads together on just what. Joel wanted tinsel, for his retro mood, Sarah thought she wanted white, but if we saw a green one for their space, that was okay too. We found an ombre tree – tinsel, white . . . and, BLACK. Tongue-in-cheek we texted the photos – and they both fell in love with it – more so because it is actually, white, gray and black . . . the colors of their favorite basketball team – the San Antonio Spurs! Bronners shipped it out to them and when we got home two days later, it was already up and decorated. Five years later, it is still their favorite tree and really looks great!
Journal font is Mistral. I took the photo of my daughter, Becky, posing for her sister.
November 27, 2020 at 12:10 am #49832Grrr… my post of yesterday got eaten AGAIN!
Raymond, for the serrated edge, it is great to see the variety you can get by changing the angle. I am glad you liked the video tutorials. I always try to make them as clear as possible (although sometimes, I forget to specify some details, like with the Fill tool!)
Vicki, I agree that a multicolored title would not fit that theme on the page, so it is a good choice. I hope you can use that serrated edge tip in future projects.
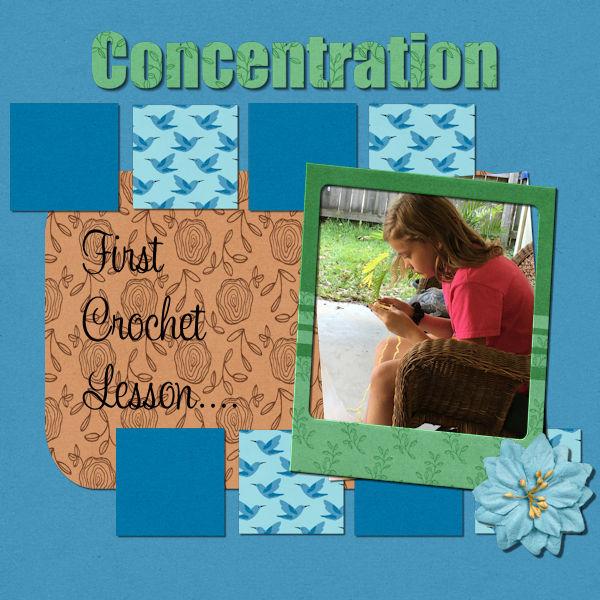
Shirley, that Fill tool issue was common, which is why I added that article. I am glad it was helpful to you. For that Concentration layout, you found a really perfect photo!
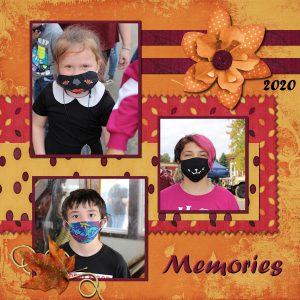
Sandra, it looks like you are getting comfortable with shadows. Make sure you keep that 2020 Memories layout as it might become a theme late in December!
Alice, those pandas are lovely!!! Did you make this layout following one of the lessons? If I could give you a suggestion, it would be to add shadows to your photos and papers to give them more “dimension”.
Jacques, are you in all those photos? I am glad you are reading the comments for others as you obviously benefited from that with the Fill tool.
Margo, I am happy that this Bootcamp is helping you get more comfortable with PSP. I didn’t know CorelDraw could add shadows! (see, I barely know anything about CD!) If you want more supplies, have a peek at the Resources page in the Campus. A few sites are listed for free supplies, which could be a good way to get started until you can make your own supplies.
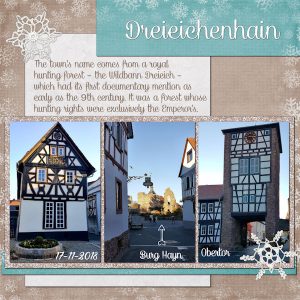
Cristina, that is lovely. Is that a place you visited or a place close to where you live?
Linda, I am glad those extra days were useful. Initially, the Bootcamp was 7 consecutive days of tutorials, even if participants didn’t HAVE to finish every day, but they often commented (especially for the very beginners) that they felt too rushed. Your Tadpole to frog layout is fun!! Such a simple activity, yet very interesting for the curious mind.
November 27, 2020 at 12:11 am #49833Day 11 _Project 5

With this scrapbook page I tried to capture a sense of pool-side fun with a feeling of bubbles and buoyancy.
November 27, 2020 at 5:53 am #49834Carole, thank you!
Yes, we visited this historic old part of the city, which has two gates on each end, and the ruins of a castle next to the pond. There would be a Christmas Market at this time of the year, with stands on the main street and around the castle, selling handicraft ornaments and food, but this year all Christmas Markets were canceled… so waiting for next year!
November 27, 2020 at 12:58 pm #49843Yes, this is me in the photos, the black and white photos from the 60s in my hometown, where I still live.
The other photo was taken a few years ago on Curacao when I was visiting family there.
I am the glued-in snorkeler too, from a video that my daughter made when she was on holiday with me in Bonaire this spring.
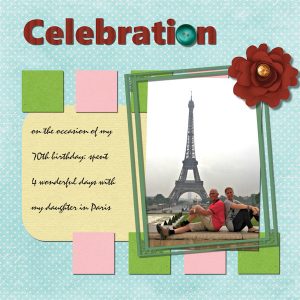
In recent years I have been on Bonaire in the winter and in the Netherlands in the summerNovember 27, 2020 at 5:29 pm #49848on the occasion of my 70th birthday: spent 4 wonderful days with my daughter in Paris
But I still had a small problem.
After I saved my image as a PSPimage and then as a JPEG, my text disappeared when I tried to reduce the size to 600.
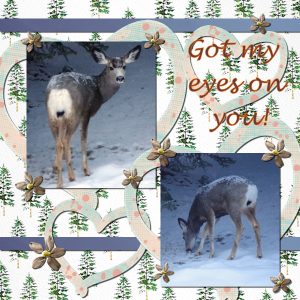
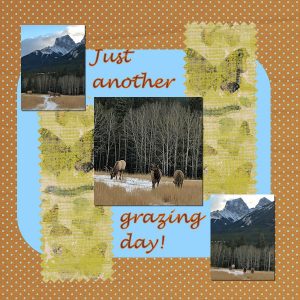
Workaround: I reopened my JPEG and then resized it to 600.November 27, 2020 at 8:57 pm #49863Hi again. I forgot to do the drop shadows on my panda project but I remembered today when working with two deer pictures. I used the Christmas kit paper as background but the strips of blue I made from a picture I had of a sunset since I wanted to match the tone of the bluish snow in the pictures.
I didn’t frame the pictures this time other than using the heart shape from M Lerin’s welcome kit.
I need to review the tutorial where you made the frames look like they had been cut with pinking sheers.
Like someone else when I went to upload the image the first time, I was unable to see the text. I took a long time trying to correct the problem, but obviously don’t understand what worked in the end.
Thanks again for a fun course!
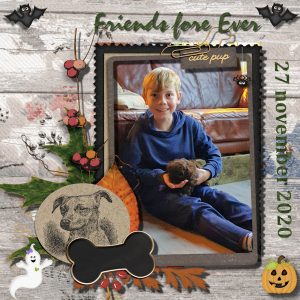
November 27, 2020 at 9:31 pm #49865I like it so much that I quickly made another one from my grandson Guido with his puppy Bobbie.
Haloween has been there, but I have added a few ornaments.
The ghost has no shadow, of course.
Cassel: Thank you for all the attention and sweet comments.
I have learned a lot during these 2 weeks.November 28, 2020 at 12:34 am #49867Priscilla, that is a great action photo you have!!!
Jacques, what you experienced with the “disappearing text” is a little “oddity” of PSP. When you create text wrapped inside a selection, it stays based on the selection which stays “in the memory of the image”. When you resize your image, say to 600 pixels, your selection will not resize and will still stay where it was originally set, so if the selection started at 800 pixels in height or width from the edge, it will stay there, but if the new size is 600, then the selection ends up “outside” of the image, and so is the text. So your text is not visible in the 600 pixels of the new dimensions, but it is still there. This is a situation where you should duplicate the text layer, and convert it to a raster before resizing. It looks like Guido will get a few scrapbook pages!
Alice, adding the shadows definitely makes a difference, don’t you think?
Remember that even though the individual projects are all “out”, you still have the weekend to complete 4 out of the 5 projects in order to be entered in the random draw! You still have time to catch up!
November 28, 2020 at 2:03 pm #49879My final project.
November 28, 2020 at 11:51 pm #49885November 29, 2020 at 12:16 am #49886Anne L, that is fun to see you used triangles instead of squares. I assume you used the same technique as in the tutorial, which I hope you will be using again in the future.
Cindy, you didn’t get a picture of your shorter hair yet? I thought it would be the photo for today! 🙂
November 29, 2020 at 1:38 am #49891I used some features of different Bootcamp days. Thanks to everyone for the ideas seeing your work.
November 29, 2020 at 2:01 am #49893November 29, 2020 at 4:11 am #49898I am finally getting caught up. Just finished Project 4.
November 29, 2020 at 7:30 pm #49908I was able to make a *.png image using Christmas balls 2 script and the Seamless Script that I purchased in the store today. It took me a long time to figure out you must save it in png format or probably jpg to be able to copy it to the clipboard and be able to paste it into your project. Carole, thank you for all your help regarding the “Store” today.
November 30, 2020 at 10:47 am #49921Well I got stuck when trying to put a drop shadow on the blue rounded rectangle because somehow a selection box kept being highlighted around it. I eventually got out of that and was then able to drop shadow the pictures. I worked with some papers from Marissa Lerin. I wanted to try the pinking sheer effect and decided that I didn’t want to clutter this with other elements.
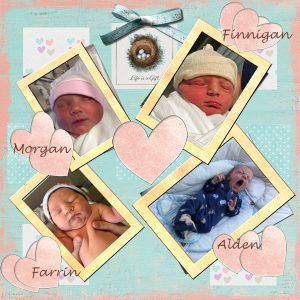
November 30, 2020 at 6:09 pm #49927For this project I found a frame to use around the pictures of my four grandkids from soon after they were each born, adding a subtle inner bevel to the frames. I used papers to create squares and played around with their alignment and some drop shadows with a few hearts and a bow. This was a lot of fun. Thanks for this excellent bootcamp.
November 30, 2020 at 7:05 pm #49932Raymond, I am glad to see you use the techniques in different projects. And yes, typically, you will want to save images as png if they have a transparent section, or jpg if they are completely rectangular. However, you could copy and paste a layer even if the image was not saved yet.
Hi Cindy! 🙂
Margo, you are doing great with catching up! Did you happen to stretch the scattered elements? They look a little “flat”.
Alice, was your shape a vector one? If so, you cannot add a shadow to a vector (not with the Drop shadow command); you would have to convert it to a raster layer first, or it will try to “float” it or behave differently for you. I don’t know if you had some shadows on the pinked edge pieces. If you did, you can probably set it a bit wider to be more visible. Those babies are so sweet! That is a great page to showcase them.
November 30, 2020 at 8:22 pm #49934Hi I have to cut it again but its getting there, only few more inches.
I couldn’t some things to work for me, and my customize the pallets is all messed up again Trying to figure it out
-
AuthorPosts
- The topic ‘BOOTCAMP November 2020’ is closed to new replies.


