-
Posts
236 -
Joined
-
Last visited
Content Type
Profiles
Gallery
Forums
Everything posted by Linda J Walker
-
Raymond, can you turn off the layer the border is on? And then do it again with different settings?
-
Project 5 - This one only took me a day, but a good part of the day. There were a few glitches where I thought I knew what was done....but then had to rewatch and undo...and even then there was some more undo's needed. There may be a few steps I could repeat again without the video, maybe. Will there be written directions at some point? I sure have alot of 'background' layers. I used a kit by Janet Kemp called 'Woodland Winter'. I think everything I used was in that kit. Carole, I have to give you alot of credit for learning and then teaching us a new program! Some things are similar, but many are different from PSP.
- 440 replies
-
- 12
-

-

-
Project 4--This has given me a bit of frustration. I like adding the borders to the photos, but it is a negative that you can't link the layers easily. Feels like it would be easier to add the borders in PSP, it would be easy to resize them. I don't yet have the hang of the color picker tool. For me, it also defaults to red. I wanted to make the 2023 text dark grey or black, but I was not able. As I was playing with the color picker, somehow the top photo became gray scale, which was not my intent! I was not able to undo it. So I have left it that way. I am finished. My patience is exhaused for today. New day tomorrow. Maybe fewer challenges....
- 440 replies
-
- 15
-

-

-
The power of DNA! I love to hear stories like this! I have done DNA, my mom also tested several years ago. I hope to find my 5th g.grandmother someday thru the power of DNA 😀
-
Carole, Project 4--added the white border to my photos....but the border is on a new layer. That is okay but I am going to need to move my photos and maybe change the size some. I can change the size of the photo, but the border doesn't change--how do I make them change together???
-
Are you adding the new raster layer?
-
I was working on Project #3 last night. When I was finished, I saw that Carole had already posted her comments for the day in the forum, so I decided I would wait and take another look at my project today...usually I can see typos and things to change if I step away for a bit. Today I did see some things to adjust, and I'm sure tomorrow I will see more 😆 But posting now anyway! I don't remember who made the comment, but I will agree, Affinity has not crashed on me yet! That is a plus. PSP has made me learn to save often, sometimes every time I added or changed something. It doesn't really seem to matter which version I am working with, it will often just close down. If I have not saved the file, I am starting over. Affinity has not done that for me...I fear I am getting lazy about saving...
- 440 replies
-
- 16
-

-

-
Project #2, using Affinity Photo2 I have been challenged using the color picker to change the text color. I explored some of the photo editing tools, and added a bunch of additional layers. After I had done all my saving and exporting and resizing, I find I can turn each editing layer off! That I kinda like. When I went to add shadows, the blend was set to 'multiply', and I had to do lots of 'undoing' to fix what I did. Now that I am trying to post the 600 pixel image, it is telling me it is too large. Sorry, but I opened PSPX9, resized the jpg image to 600, and there I could change the quality and KNOW what the image size would be....is that cheating 😞 I learned a few things today, but it has been a frustrating evening.
- 440 replies
-
- 14
-

-

-
That looks like milkweed to me!
-
There is a 'quick start' page online - https://affinity.serif.com/en-us/learn/photo/desktop/quickstart/
-
Uploading my basic 'sandwich' here. No bread, or pickles, with extra bacon and tomatoes. No frills, no tablecloth, no napkin, no fancy cut sandwich, nothing to drink, just the basic lesson. Affinity is pretty different from PSP. I assume 'Photo' is for working with photos. However I don't see how to do that. It is does not wwork the way PSP and PhotoShop work.
-
Susan I agree--the instructions for installing are not very clear! I don't feel dumb about computers....usually 😆
-
Project 1--Affinity is different. I considered adding a white border to the photo, but I could not figure out how to do that. And it seemed like cheating to do it in PaintShop, so I just didn't. The first time I resized and exported the file, it was too large to upload, I had to redo it and lower the quality. Can you link layers in Affinity? I don't know how to upload to the gallery, I don't think I have done that before. When I clicked the link for directions, it said 'page not found'. Not sure if it was the gremlins, or if it is really not there. Please point me to the directions. I found this photo in one of my mom's old photo albums. Kennywood Park is an amusement park in the Pittsburgh, Pennsylvania area. My dad rarely wore a suit and tie. I would say it must have been a big outing that he got so dressed up! On May 20, 1950, dad would have been 18, mom was 17. In a few months, my parents would elope. According to Wikipedia "May 20, 1950 (Saturday) Armed Forces Day was observed for the first time in the United States, following the proclamation by President Truman. "
- 440 replies
-
- 11
-

-

-
I'm working on Day 3. The layout I am doing is tabbed. But when I open an element, it is a floating window. If I minimize it, where does it go? How do I get it back? I have just been going to file-open again but that is just double work. So where is a minimized file? I got an email from Affinity Customer Support this morning. He said to sign out, then sign back in with the code, to get the 90 day trial. After doing it a couple of times, and it not working, I signed out and closed the program. The opened it again. That time when I put the code in, I got the 90 day trial. So that is what worked for me.
-
I have missed several days. Had some time this evening to play with the vector script from Day 6. It took a good deal of 'playing' to get something I liked, and PSP2019 was playing tricks on me too 😞 This week we will have Thanksgiving, so that was my word for the day. Maybe I will use it in a layout when I am done cooking. PS--This workshop is overlapping the 'Black Friday Event'....how do I add another 5-8 hours to my day...???😂🤣😂
-
Day 2 - I played with different fonts/size/colors. It seems that the baseline actually changes with different fonts, without changing the size of the text. Interesting experiment! I just love fonts 🙂
- 339 replies
-
- 11
-

-

-
Day 1 and already behind.... When I filled the text with green, it didn't fill to the full width of all the letters. I am using 2019. When I selected inside each letter, I could select the full width. But I didn't like any of the tubes I tried, I think I was agrivated/frustrated by the fill not being as I expected it...so I stopped.
- 339 replies
-
- 14
-

-

-
I am pretty sure I have done this workshop before, but I always need refreshed. Hope I will have time to keep up with this workshop, since I really never got started on the last one I signed up for a couple of months ago.
-
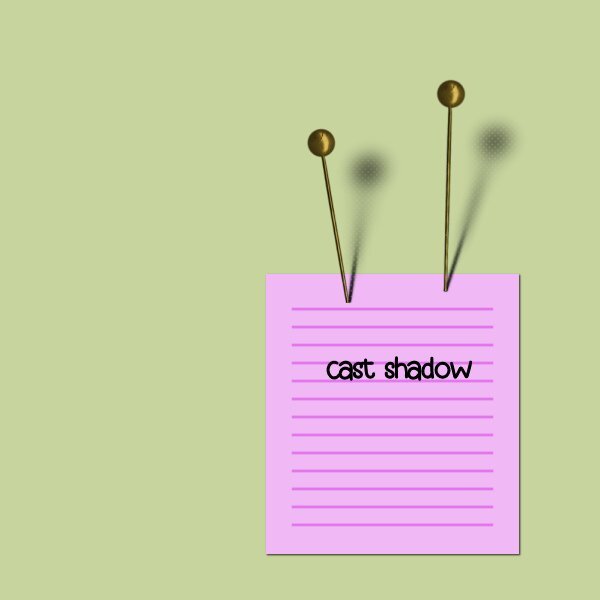
Lesson 7 - Cast shadow When I use the eraser, I seem to get a pattern. I'm not sure if it will be noticable when I post it.
-
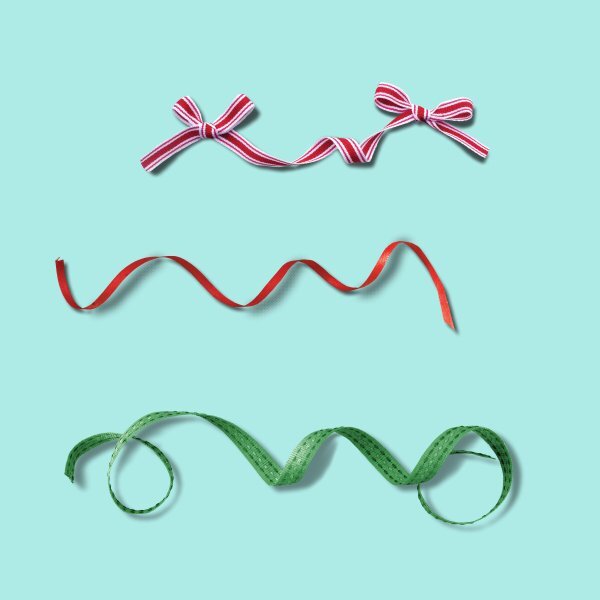
I think I got all the steps here, don't think I missed any. I would not be able to do it again without the video. And personally, I feel 'tricky and tedious' may be an understatement.
- 262 replies
-
- 10
-

-

-
I'm with Susan on this one! I watched the video, had to stop a few times and rewatch sections. I need an uninterrupted period to try it and not miss a step! And I'm with Rene too -- not sure I am seeing the difference.
-
I am certain I will NEVER use a curly ribbon! 😆 If I find I have any, I may just have to delete them to save my sanity!
- 262 replies
-
- 10
-

-

-

-
I was planning to work on this early today, but I got distracted and pulled into something else....sigh...
-
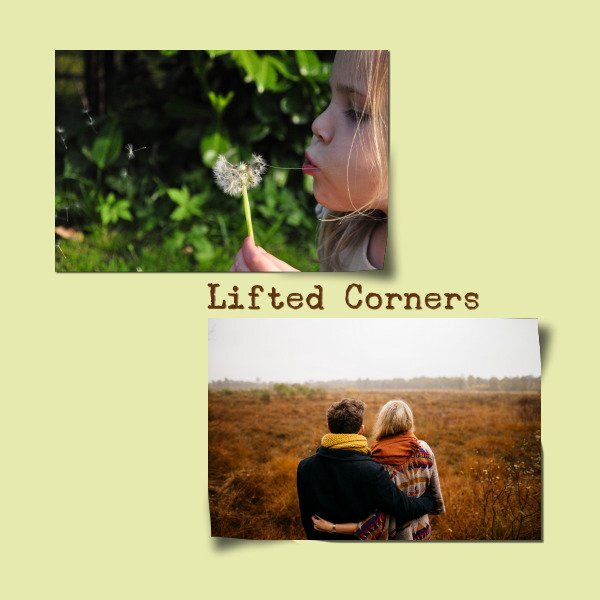
Lesson 3 - I don't think I have tried to do lifted corners before. And I don't have the script. Nor do I know how to save presets on the drop shadows...is there a blog article???
- 262 replies
-
- 10
-

-


