Sheila Hogg
-
Posts
541 -
Joined
-
Last visited
Everything posted by Sheila Hogg
-
Wishing everyone a very Happy New year. Hope it will be a good one for all. A special thank you to Carole for all she does so that we can enjoy and get the best out of PSP.
-
Merry Christmas everyone, hope Santa brought you lots of goodies..

-
Thank you Corrie, I do hope so too.
-
Thank you Michele. I know in the scheme of things it is nothing compared to what some poor folk are going through but it is so debilitating and restrictive. Hope next year will be better for everyone. All good Christmas wishes to you and yours.
-
This year has been quite challenging for me. I think I mentioned on here before that I had developed a horrible bout of Vertigo just after the New Year. The dizziness, spinning and double vision subsided by mid March but left me with a fairly common but nasty side effect of feeling wobbly and unstable. There were times I did not want to do anything with PSP, especially if it involved me having to concentrate more than usual. Lately, I am doing more things even if it's quite challenging and giving me a bit of brain fog too. An MRI was clear, my eye health is fine and awaiting an ENT appointment. Sitting down is fine, it is the walking that I am unsteady. Anyway, I did not mean this to be a moan fest, just to say why I have not been as involved with here and PSP in general. However, I have really enjoyed this challenge of changing a dingbat font into a shape (using a script by Susie Shook) and then colouring them in and using all sorts of techniques, as taught by Carole and a fur plugin on the cat. I have put them onto one layer and will use them to compose a Christmas greeting for those friends and family I don't see through out the year. I notice I have used a different Dingbat font than the one Carole suggests. Told you I had brain fog. Anyway, hope you like them. x Forgot to say the Dingbat font was called Fox Christmas Doodle.
-
Wahay...I got 15/15. Well done everybody, awesome work for quite a challenging workshop. Thanks to the wondrous Carole for all her teaching, generosity and dedication to keeping PSP alive.
-
My Number 7. Used a cork texture for the background and some text, 2Peas Champagne on the paper.
-
Lesson 6. It was a bit tricky and if I did it again I would label each layer for better reference. Interesting to do depth shadowing this way though.
- 262 replies
-
- 10
-

-

-
Ok, number 5 and it's the best I can do after many goes at it and deleting several times. Shadows are definitely not easy. Didn't really enjoy this one.
- 262 replies
-
- 10
-
-
-
My result for lesson 4. Making me think a bit...
- 262 replies
-
- 10
-
-
-
I really struggled with this one, mainly because my warp brush was a bit wayward and making balloons with the shadows so, gave up with that tool and used the pick tool instead which gave me more control and no bad behaving!! I put a texture on the background. I find shadows can be a bit of a challenge and can vary from time to time dependant on luck rather than judgement to make them look plausible. Could do better with more practice...
- 262 replies
-
- 10
-
-
-
My result for lesson 2. I gave the elements some texture.
- 262 replies
-
- 12
-
-
-
I thought about giving the rope shadow some more dimention but I guess that may be another lesson tut so didn't want to jump ahead if that is the case so just gave it a basic shadow that was pleasing to my eye.
- 262 replies
-
- 11
-
-
-
I am in too but when I accessed the first lesson page with the link, there is no attached lesson. Has anybody else got the lesson?
-
Thanks Julie. I just flipped the page to the left and right because I couldn't get the font to work as I needed it too and it worked out for me ok.
-
Had a go at this but nothing like the idea I had in mind. However, mine is side to side and quite vibrant which is out of my comfort zone. I used Carole's Admission & Laser Doily Scripts and a font called Bahnschrift SemiBold. The dog rose is from one of my photo's I extracted many moons ago. Other images are PSP tubes but unknown creators. I used some texture on the backgrounds to simulate fabric and tried to make some stitching effect. TFL.
-
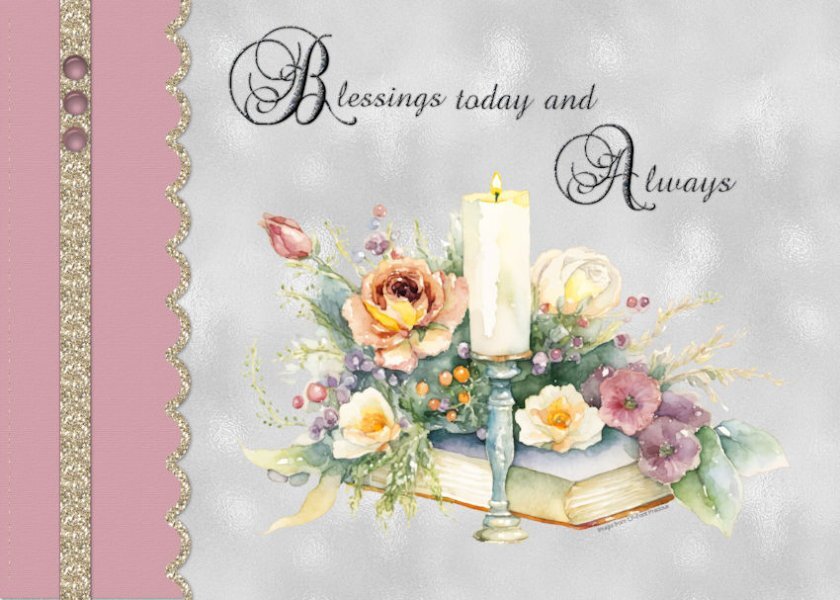
Number 7. Last one. Great challenge and wonderful results by everybody. Well done to you all and thank you Carole for exceding fabulous vids and ideas to stimulate the creative juices. Just a simple one to finish. I used a lovely image from Graphic Fairy and 41.TTF font from CF. TFL.
- 356 replies
-
- 17
-
-
-
Thanks Sue. Another group I used to belong to a long time ago now had a tut on how to make a lace strip using this lovely font and that oval was just begging me to put something frilly on it. A single layer was a bit skimpy so I duplicated and mirrored it to fluff it up a bit.
-
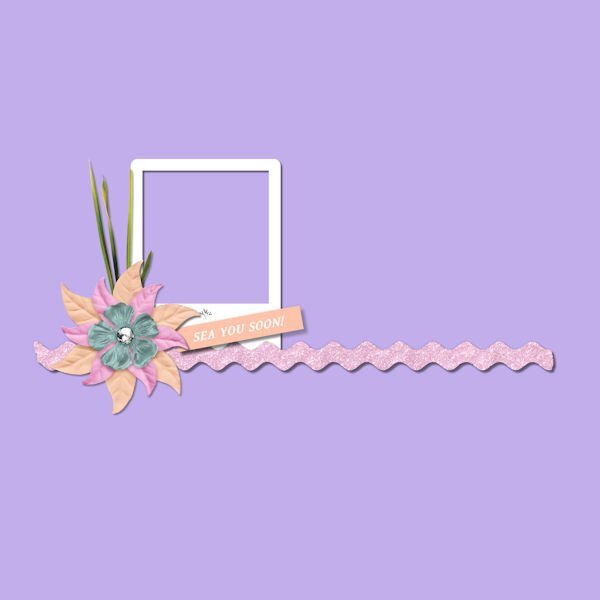
Number 6. Took a while to get going but came up with this one. I made a vector shape from the oval and used the Vector tube script by SS to make the frilly edge using a font called Ruritania. I duplicated and mirrored one to make it look a bit fuller. Another image from CF. I made a ric rac ribbon to see if I could and I did. The wording font is called Wedding Samantha from CF. I used the Primus plugin from Flamming Pear on the font. TFL
- 356 replies
-
- 16
-
-
-
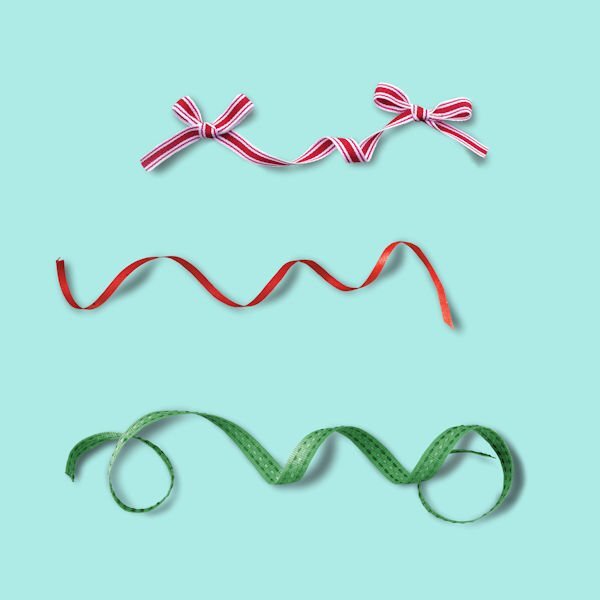
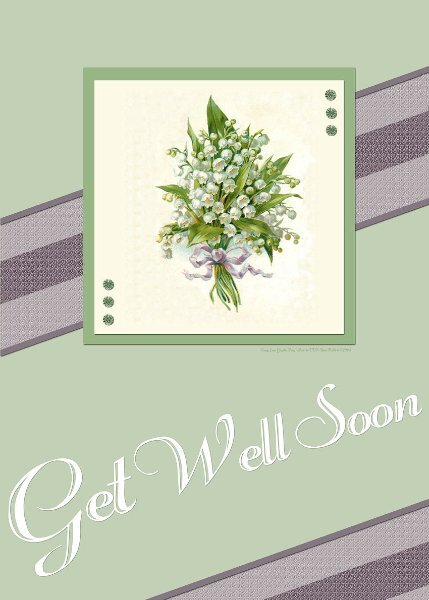
My number 5. I used a line art image from CF and coloured it in. I used some ribbon elements I have made some other time and recoloured to fit. I used some dotty texture at different sizes. The font from CF is called Christmas Love. TFL.
- 356 replies
-
- 16
-
-
-
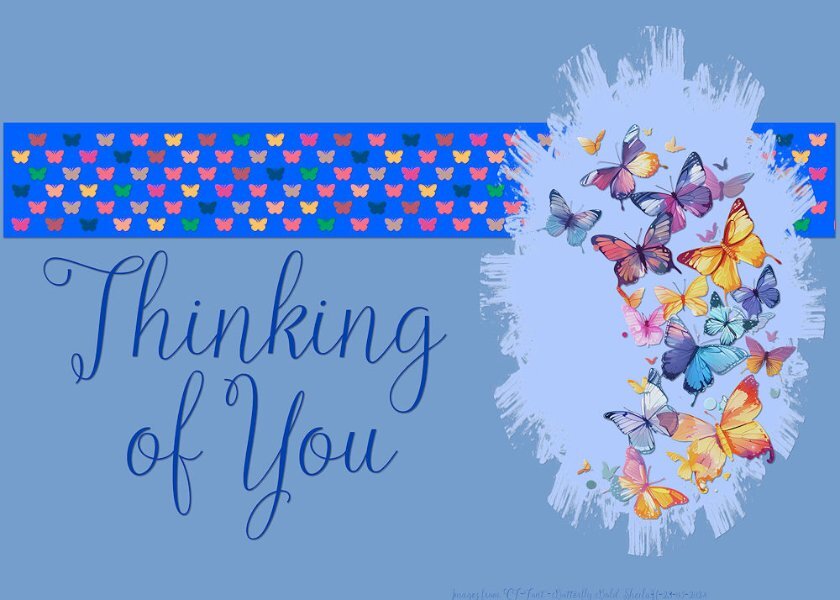
Card number 4. Another CF image used. I used a mask but forgot to take note of whose. I used the technique that Carol demonstrated for the band which worked so easily. However, I coloured hap hazardly and used a font called Butterfly Bold. TFL.
- 356 replies
-
- 17
-
-
-
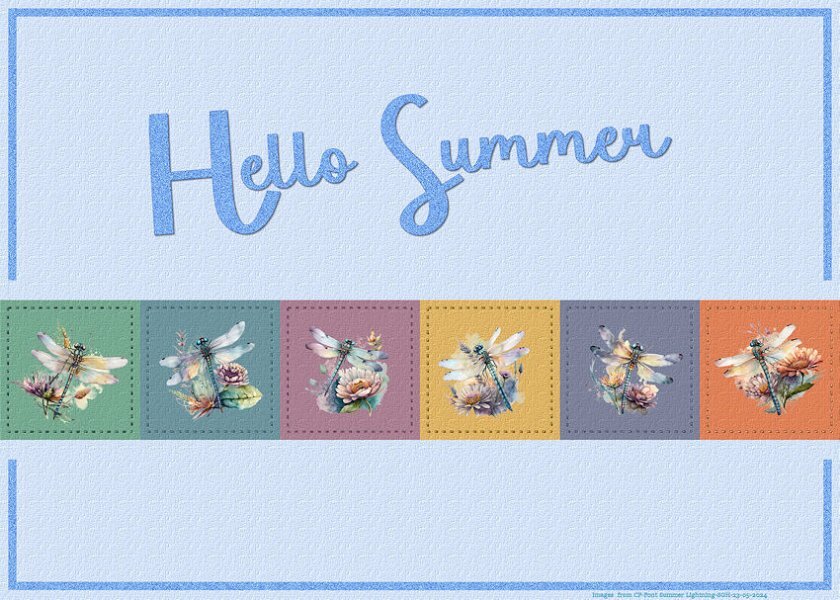
Number 3. Using images from Creative Fabrica. Have saved so many of their beautiful images so finally putting them to good use. The font is called Summer Lightening. Tried a bit of stitching after giving the squares a fabric texture. TFL
- 356 replies
-
- 16
-
-
-
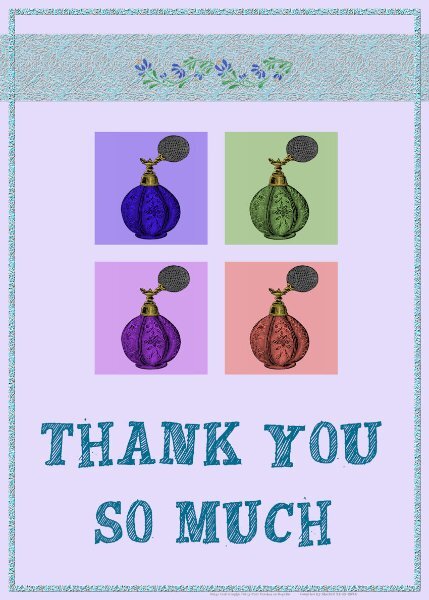
My Card 2. Not sure I liked the outcome of this one but I did learn a new technique so that's a good thing. I needed to re outline the image before colouring as the original outline was a bit bitty after I had made it a transparent image using the plugin Cybia Alphaworks. I used a font called Peaches en Regalia. TFL
- 356 replies
-
- 21
-
-
-
My first one done and I used an image from the many freebies I have saved from Creative Fabrica. I used a font called Precious but the creator is unknown.
- 356 replies
-
- 17
-
-
-
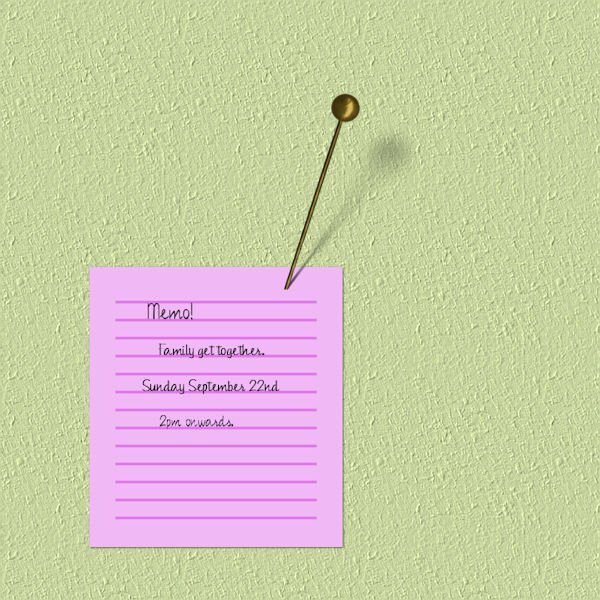
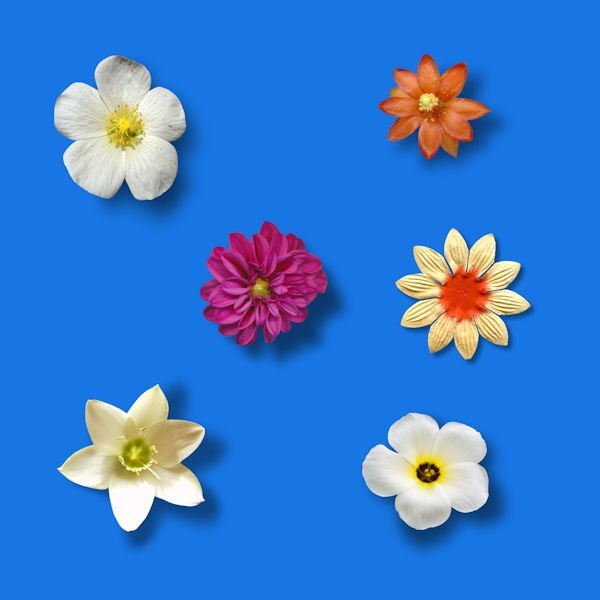
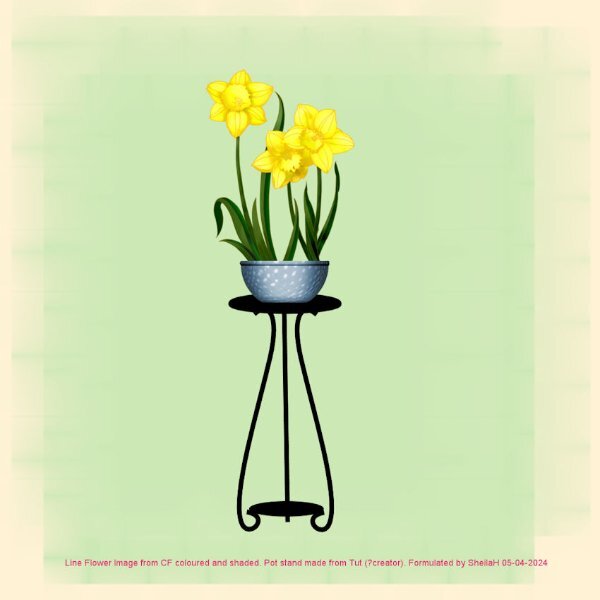
Hope you all had a fab Easter. My PC slowly died over the last couple of weeks but now have a new fast one. I am still suffering from the effects of Vertigo and have to ride it out as there are no meds for allieviating my symptoms. However, I do think it is gradually going but very slowly. Anyhow, unknown to me I did not know of this months challenge and only saw it tonight. As I have finished colouring and shading a line image of Daffodils today too it will fit the bill here. I also had made a plant stand image last year so put the two together. I find that playing with my PSP helps with concentration at the moment and I did feel lost without it. TFL.
- 41 replies
-
- 12
-
-