sharon thompson
-
Posts
58 -
Joined
-
Last visited
Content Type
Profiles
Gallery
Forums
Everything posted by sharon thompson
-
For Cassel re query about the dog in my layout. No, the dog is not mine. My mother lived with me for the last 20 years of her life and she was extremely afraid of dogs since she was badly mauled by one when she was young. After she died, I thought about getting a dog but arthritis was causing increasing mobility problems and I believe that if you cannot care for a dog properly, including walking it a couple of times a day, you should not own one. So, I am "grandma" to all my friends' and neighbors' dogs. I give great cuddles and have an inexhaustible supply of bacon flavored doggie snacks. Sharon
-
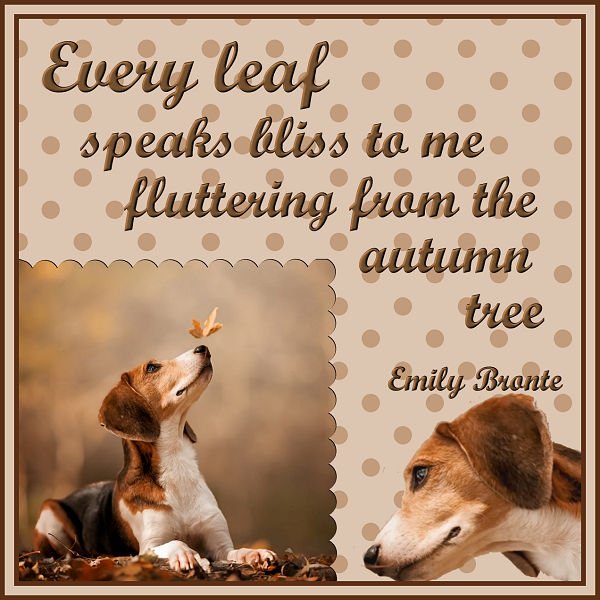
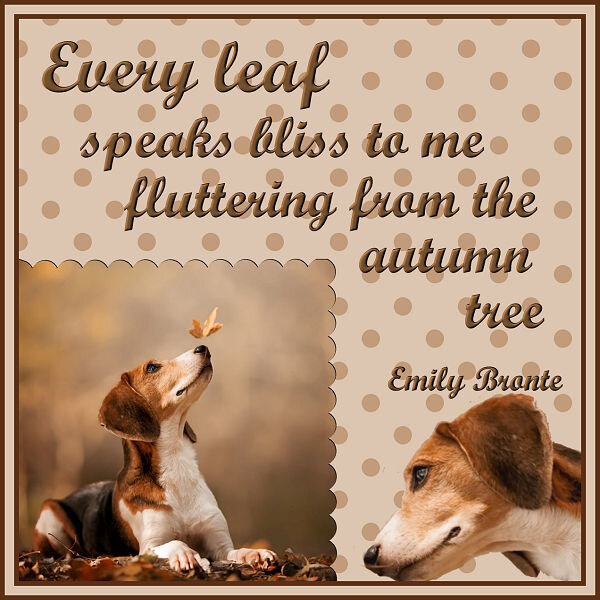
Great lesson. Easy to follow though choosing papers was tricky... the more scrap kits you have the harder it is to select down to something specific. I didn't use the dots as they were just too much because of the busy papers I was using. And I lifted the text bar above the photo circle as the bottom of the picture had a ribbed textured fabric in another colour palette so it had to go and hiding it behind the text bar seemed the easiest solution. Font is Cotton Candies and the papers are from kits by CathyK and LilyFee. Looking forward to another template tomorrow. Sharon

- 426 replies
-
- 21
-

-

-
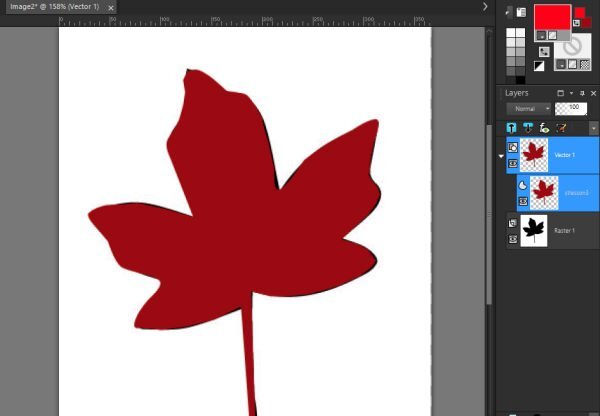
Need some help. I am at the stage where the bevel is added to the wire. It is a raster layer but, when I go to 3D effects, all I get in the drop down menu is buttonize, chisel, cutout, and a greyed out outer bevel with no inner bevel at all. I tried getting an inner bevel on a separate image containing just the raster letter and the same thing happens. Any ideas???
-
Yes!!!! Completed lesson 6 on time!!!!!! I think that I deserve rhubarb cobbler as a reward as soon as I shut down the computer. I went with the popcorn tube for a frame but it ended up with lots of small gaps despite tweaking the settings and mirroring and flipping the frame on top of each other (created shadows for some reason) so I just plugged the holes with a single click of the tube.
- 714 replies
-
- 17
-
-
-
Actually am caught up with lesson 5. Still complicated but getting easier with each lesson. Sharon
- 714 replies
-
- 17
-
-
-

-
Finally got caught up. This one was less painful that the others. Still have the tendency to delete nodes rather than merging them. Corners not perfect but getting there. Sharon
- 714 replies
-
- 17
-
-
-
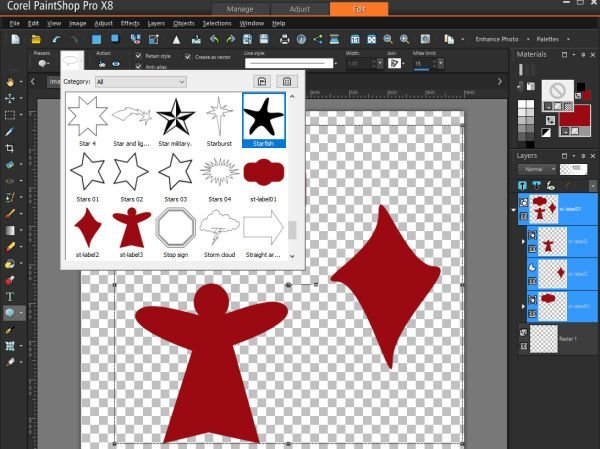
I'm back. Thanks to Carole sending me links to the lessons that were in my email that Bell was holding hostage due to technical issues with their system. I didn't get fancy, just tried to replicate the sample in the lesson. It looks like I am in good company with this group as most are finding the workshop tricky. I am beginning to appreciate all the work designers put into making shapes for sale. The price on those shape package that I was admiring seems very reasonable now. Anyway, here is my attempt. Sharon
- 714 replies
-
- 16
-
-
-
Lesson 2 assignment completed but not without issues as detailed to Carole already. BUT - I won't be able to do lesson 3 & maybe not 4 for a bit. my email locked me out saying that I was entering "invalid credentials". After a half hour waiting on the service line at Bell, I was told that they are flooded with similar calls from customers who can't access their email. Even their technical chat line is affected. Their only advice is to try again tomorrow several times as they have no time line on solving the problem as they don't know what is causing it yet. My cyberlife is becoming a black hole of technical errors. Time to bake brownies I think. I will resurface when my email is back & I can get the lessons. Sharon
- 714 replies
-
- 14
-
-

-

-
-
Grrrrrrr........... I am doing something wrong but not sure what. I keep getting that bounding box with all the original rectangular nodes no matter what I do. I can round the edges but when I try and add nodes to draw out the sides, the bounding box reappears. I am even getting ghost nodes and ghost bounding boxes in my workspace outside my image. I have backtracked on and deleted so many images that my frustration level is so high that even dark chocolate won't help. Going to bed. Will try again in the morning.
-
I am here. Loved that series of mask lessons (especially how to do plaid patterns) so I am looking forward to these ones. Time management is an issue because of arthritic hands but I am always up for something new. Middie
-
I leaned a lot (like how not to assume that you have finished watching all of the video when you are interrupted by a power outage). The pick tool is one that I never used before and it is fast becoming one of my favorites. The text on a path links from Cassel were especially appreciated but my head still aches over brush variances. I loved the chance to practice masks and get individual as well as group feedback. Plus I have a list of things to try that other students used in their assignments. It was a delightful way to spend time during a cold and wet and gloomy week. Many thanks to Cassel and all the participants.
-
I can't believe that I missed that in the tutorial along with how to make that plaid paper!!!!! I remember being interrupted by a power interruption and I guess I thought that i was finished it. Now I have to go back and rewatch them all and see what else I missed. My little grey cells aren't as alert as they once were.
-
Hi Connie. Thanks for sharing that. I have never tried something like that before but will definitely do so. I think that I am learning more from all the comments than I am from the actual lessons. Sharon
-
Today I learned how to move a mask and how to make polka dots. I also learned that text on top of polka dots is not necessarily a good thing. I played with both the size & blending of the dots as well as the type and size of text and ended up frustrated. I added a border to finish it off. I think that I will make a batch of polka dot washi tape instead and stick to textured or plaid paper in the future. The font is Script MT Bold.
- 389 replies
-
- 11
-
-
-
-
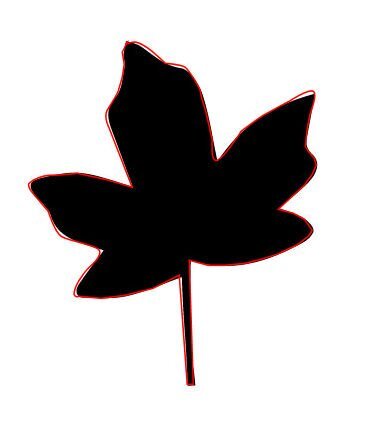
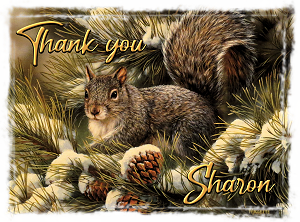
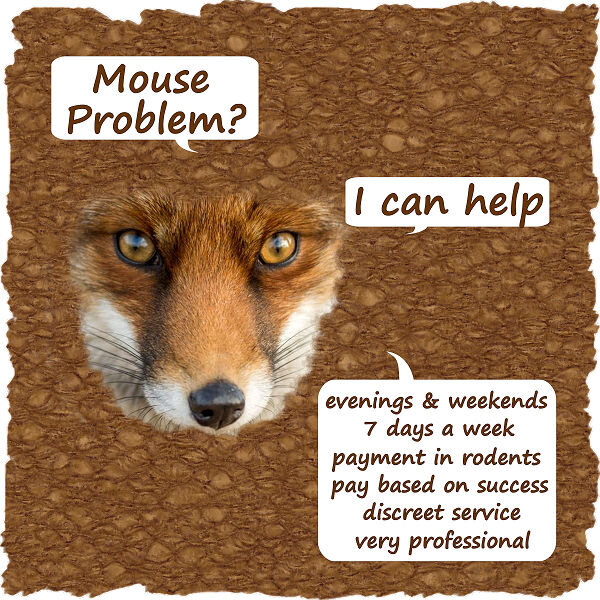
During the pandemic, small wildlife moved into our small town and took over the deserted yards and streets. Shortly thereafter, the smaller animals seemed to disappear as foxes and coyotes moved in. One brazen fox established a route along the front yards all along my street. They are beautiful creatures and so very good at mouse control. One liked to lie down behind the big maple tree in my front yard and wait for dinner to scamper by. He would appear at the same time each day. The upside is that I no longer have to set mousetraps in my garage & shed. I made the lino background with a small pattern and blurred & blended it. I focused tightly on a close up of the fox's face when using the watercolour brush for masking. The font is Segoe Print. I added a picture frame and then selected out the edge to give it a more rustic look.
- 389 replies
-
- 11
-
-
-
-
Hi Bonnie. For someone who doesn't like patterned backgrounds, that plaid is gorgeous. Sharon
-
Hi Julie. I also struggle with text on a path/curve. Even though I printed out the instructions for it several years ago, I still hate using it even though I love the effect. If only someone would develop a keyboard shortcut for it........ Sharon
-
Hi Susan. I love how you have the mask breaking into the inner frame. Neat idea.... have to save that for using myself. many thanks. Sharon
-
Hi Leslie. Many of the scrapbook designers give template freebies either occasionally or regularly, sometimes through their blogs or FB pages, and often through various blogtrains. I have three good and safe sites for you to browse in. If you want somewhere easy to start, try the blogtrain by ALFLT (a love for layout templates). It comes out every 2 months (Feb is the current one) with about 12 free templates though you do have to hop from one contributor's link to the next to get them all. Their templates are a bit more complicated and perhaps not the best to start with but you can build up quite a stash if you follow their blogtrain regularly. Here is the link ALFLT OFFICIAL BLOG/FB TRAIN FAN GROUP | Facebook The DCS forum also hosts free blogtrain template from their designers (the Escale Amoureuse kit that you downloaded in lesson 1 was from one of the designers there). They offer things other than just templates so the quickest way is to go to their main page and in the top right corner is a search area where you can enter "templates"). They do groups of 6-10 templates at a time. Their templates are a bit simpler with less layers and fussy bits than in some other places so are easier to use when you are learning something. Here is the link The DCS Forum Blog (le-blog-clean-et-simple.blogspot.com) Then there is the Digital Scrapbook forum which has a lot of free templates but if you register as a free user, you are limited to the types & numbers of things that you can download free. it is worth a look at Browse Graphics | DigitalScrapbook.com Digital Scrapbooking but be careful to use your daily download limits for the psd rather than the jpg of any item as I made that mistake myself a number of times.
-

-
I now have a profound respect for people who make those ornate masks as it certainly isn't easy. I couldn't quite get what I was going for in this lesson but attempt 5 was better than its predecessors. The bottom text is not fully centered as I prefer to offset text a bit if I am using elements in only one corner. I probably should have stayed with a watercolor brush for the dog and just kept the snowflake brushes for the corner as the dog was on a dark background. Anyway, I compensated a bit by adding a white drop shadow to the masked image. The paper is from Rawpixel, and the font is Cotton Candies. The "Magical Snowflakes" brush set is by Papercaptain on Deviant Art and is still available for a free download of anyone wants them.
- 389 replies
-
- 11
-
-
-
Hi Ann. I also have trouble with brush variants which is why I try to avoid them whenever I can. As for that font, it is from Creative Fabrica so you probably got it sometime as one of their daily freebies. I gave myself a premium subscription to that site for my last birthday when they had a subscription sale. Sharon
-
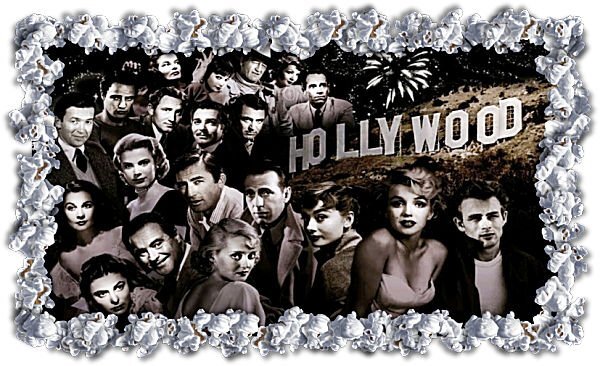
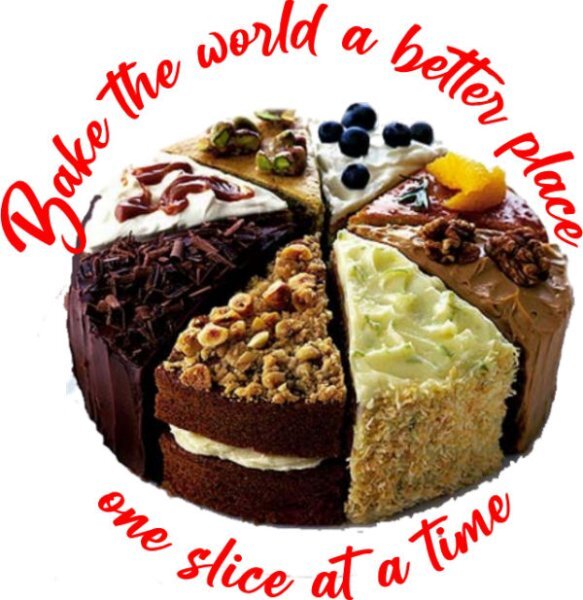
I had something else in mind for today but I got a call from a friend about a birthday cake design that I had promised for her son who just finished devouring Lord of the Rings in print and is starting on the movie versions. Apparently her sister-in-law can print images onto edible rice paper that can be placed on top of a cake. I had forgotten about it and his birthday is next week. So, I co-opted today's mask lesson for that purpose. It just goes to show that masks can have quite a life outside of scrapbooking. Anyway, I snagged some images from Deviant Art, raided my paper stash, and examined all my watercolor brushes. It took a dozen attempts, numerous brushes, overlays, textures, and a great many back steps to produce an image suitable for a cake. My brush variance menu looked much different than in the lesson but it didn't seem to matter. I am glad that the lesson video showed how to correct errors with the brush placement as I had quite a few. Because I was working in a circular area. I used grid lines to frame the area that the masked image should be in. I toyed with the idea of using a variety of characters but, since Gandalf is his favorite one, I managed to deal with all that head and facial hair better than I expected. Then I had to make several versions of the finished image in various vibrancies so she could match the icing for the cake sides to one of them. Maybe next time I will do a matching panorama image for around the sides of a cake as well. Sharon
- 389 replies
-
- 11
-
-
-
.jpg.3007603d8eae23c96396e8e6587299b9.jpg)