Randy
-
Posts
173 -
Joined
-
Last visited
-
Days Won
2
Content Type
Profiles
Gallery
Forums
Everything posted by Randy
-
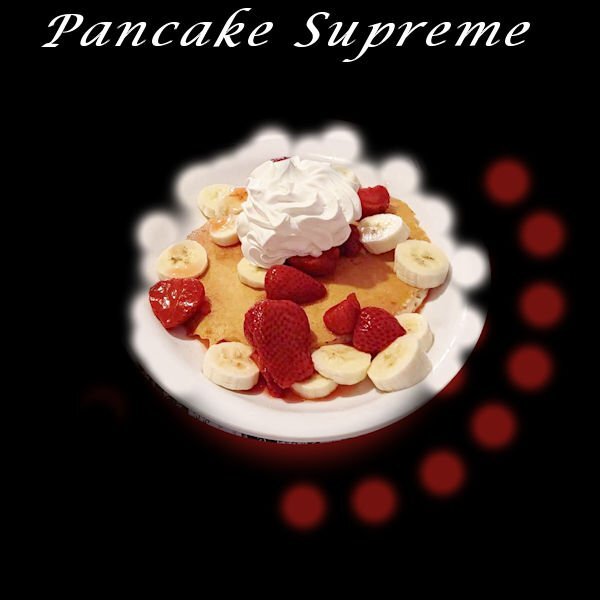
DAY 5 One of my granddaughters really likes this treat. So I took a picture of it. I wasn't sure exactly how to put this together so did some dots on the image and decided to add a coloured background and punched holes in for it. Then added the black background behind it.

- 359 replies
-
- 12
-

-

-
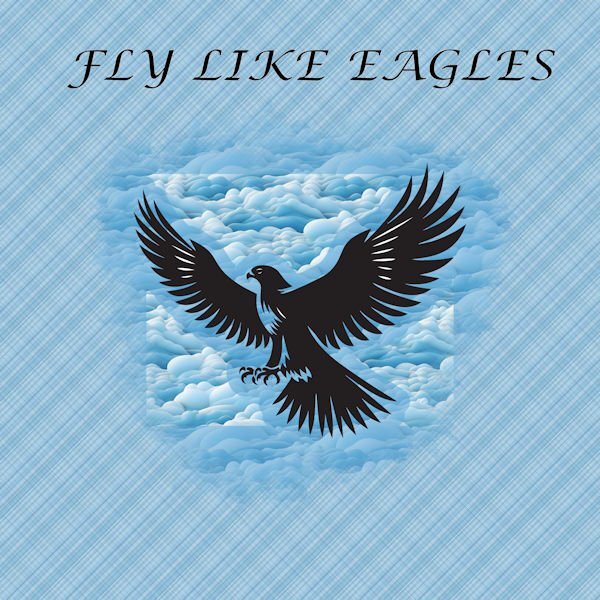
Day 4 Eagle and clouds from Creative Fabrica Font is Lucida Calligraphy
- 359 replies
-
- 11
-
-
-
Thank you. I have jotted down the steps for the masking stuff and I find it so helpful to use as a guide as I move ahead. And of course, sometimes, I extend beyond the mask as I did for the bird picture so that I did not crop off the tail. Always nice to learn and use what you learn. Thank you for all of your good things you share with us.
-
Day 3 - variation I decided to try to make a copy of the image and use that, as smaller, for the background. I could have taken more time to clean around it, but I like the effect.
-
Day 2 I really like what the background has done. It looks really nice. Thank you, Carole, for the turorial.. The Dog images are from Creative Fabrica.
- 359 replies
-
- 11
-
-
-
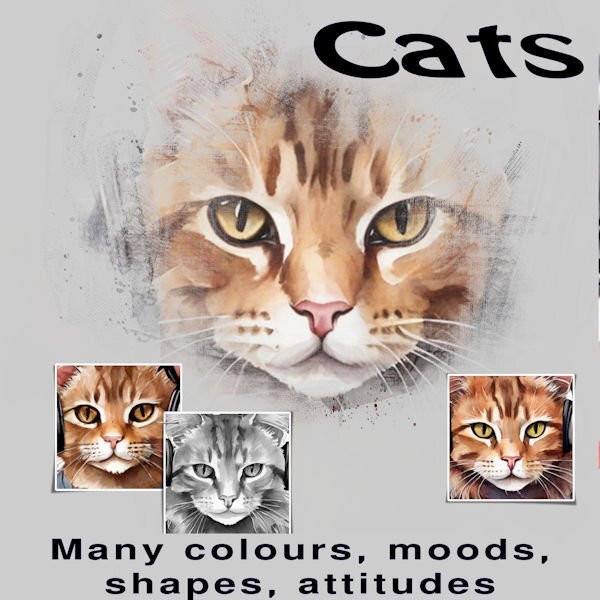
Day 1 - Yes, I am just getting started. The pictures are from Creative Fabrica. I saved the full size image also as pspimage as I should be able to change the pictures and add things as I want. For the short term, there is a family member who loves cats and I am thinking of changing the cat pictures to actual pictures. Thank you to all who are sharing their creations.
- 359 replies
-
- 12
-
-
-
I am late. But still looking forward to this refresher on masks as I really don't remember a lot from last time. I have been enjoying PaintShop Pro Scripting and because of time spent there, I had forgotten to sign up for this course (until today). I have been finding Scripting very enjoyable though a bit hard a times (like if you use a variable and spell it slightly different in one place (such as using an upper case in one place and lower case in another - Okay that was me recently 🙂 ).. It is nice to know that Carole is available to work alongside us and provide assitance when we need it.
-
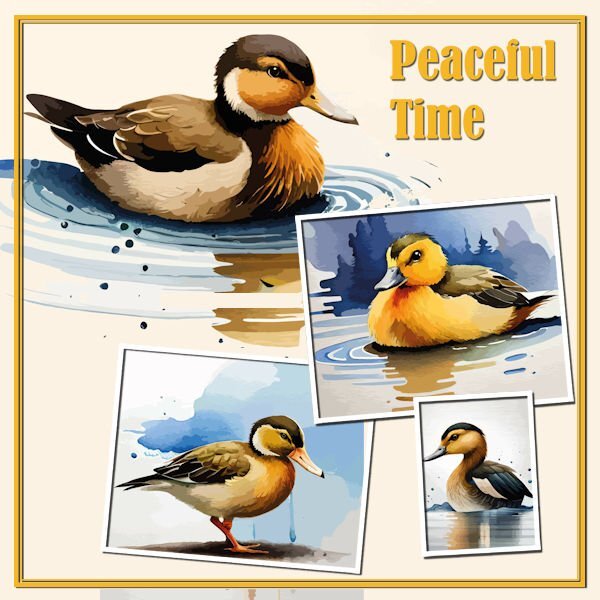
Day 4 I got the photos from Creative Fabrica
- 426 replies
-
- 15
-
-
-
Template 3 Font Candara – which is free at https://www.dafontfree.io/candara-font/ Dog images were free this week at Creative Fabrica Valentines Day Dog Sitting in Tea Cup Graphic by PrintExpert · Creative Fabrica https://www.creativefabrica.com/product/valentines-day-dog-sitting-in-tea-cup-9/ I played around a lot with colors with different things including accidentally creating a new layer with colour and used blend mode. >>> Carole, regarding the spacing between lines of text, the Leading was not zero so I changed it to zero. But the font I was using was also adding space above and below the text. So I chose a new text and this helped a lot too.
- 426 replies
-
- 16
-
-
-
Carole, Day 2 - response to your note about 'T" at the bottom. I see the "T" I had a problem with spacing and obviously did not notice this "T". Whatever I did, when I enter a line of text and go to the next line, there is a huge gap between lines. So each line was actually a separate "new" text. I know I have run into this before, but I don't remember how to fix it.
-
I did most things according to directions. The flowers were taken from Creative Fabrica
- 426 replies
-
- 19
-
-
-
Thanks everyone for sharing your beautiful creations! Very inspiring!
-
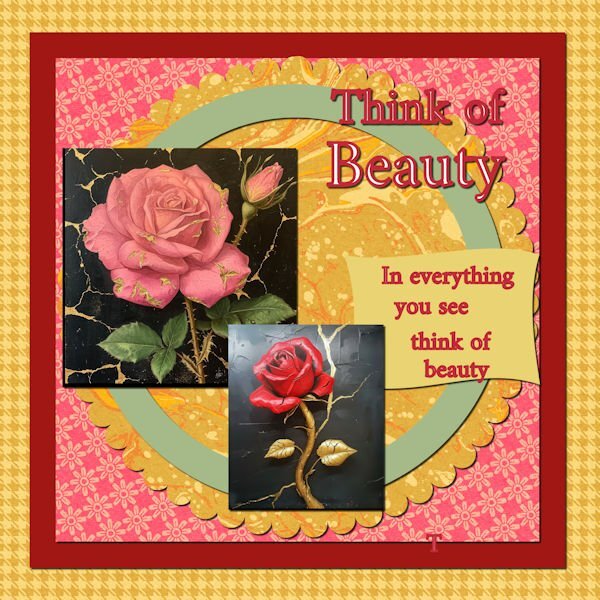
Notes on Template 1 exercise I recently showed my wife the flower (actually, it was on my desktop after downloading, and she noticed it) and she liked it, so with Valentine's Day on the horizon, I decided to try to incorporate it into the workshop. 1. Radagund font available at https://www.dafont.com/radagund.font 2. Flower was from Creative Fabrica. 3. I wanted a red background for the flower so just did the selection and filled with red, then used the flower on top of that. As I sized the image down, I ended up with parts of the flowers extending beyond the circle and liked that so left it that way. 4. I wanted the hearts on the paper on the left to be red so I used the color changer tool. 5. I also wanted the lines in the layer over the top of the background layer to be red so I used the color changer tool to do that also. 6. Since the red circle and the flower were both separate layers, I added a drop shadow for each.
- 426 replies
-
- 16
-
-
-
I am looking forward to this workshop. There is always something to learn or re-learn and I look forward to what folks are going to share as well. I have seen some pretty nice things in other workshops that I have been involved in. Thank you, Carole, for making this available.
-
@Cassel I have realized with the text instead of icons on the Layers Palette that I will just work with what I have. It is fine for now as I can always go to Layers in the toolbar at the top and get the options at bottom. Mostly what I use is "New Layer" anyway.
-
@Ann Seeber Thank you for the information and link about borders.
-
@Cassel Regarding your reply about being to "Snap" objects together, my most recent version of Paintshop is 2022 Ultimate.
-
-
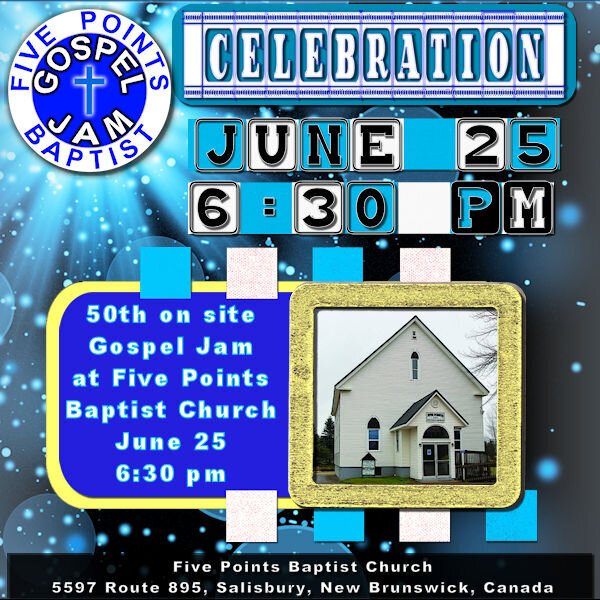
Project 5 <<< Thank you Carole >>> I knew that I needed to put something together for this upcoming event in June but I have difficulty making decisions on so many things. Well, with the push from Carole, I went in different directions than I would have. I did (and redid and redid) and have something completely different from what I would have done. AND I LIKE IT! Thank you for this bootcamp and for other things I have been involved in with your teaching. <<< ADDING SHADOWS TO EVERYTHING? >>> I was a bit skeptical with this one about adding shadows but after doing it, I was really pleased with the effect. I am hoping that it will still look good when placed on the facebook site. <<< CONTINUING USE OF BLOCKS >>> I was trying to determine how best to highlight the date and time. I decided to use the colour blocks beside each other rather than spaced out as in video. But I liked the spaced out ones too. So I have both. When I put the text with the font chosen over the blocks, it was a close enough fit after some moving with the Pick tool. I made a mistake for text "PM". I reversed the black and white but actually like the way that turned out. So I kept it. <<< BACKGROUND PAPER >>> I did not even know that I needed this but when I got it, I knew it was just right. It, to me, conveyed the idea of celebration. When I purchased it earlier this week (May 2023), it was free. I do not know how long that will be the case. Bokeh Paper - Creative Fabrica - https://www.creativefabrica.com/product/bokeh-sparkle-light-effects-118/ - I stretched the image to get the starburst where I wanted it and to have the full page covered <<< BLANK LAYER - BUTTONIZE >>> I used the 3D Effects Buttonize to get the colours on the right and left of the background height - 20 Width - 909 Opacity - 100 Edge - Transparent Color - #2e99ee - I stretched this to get the effect that I wanted just the right amount on right and left sides, rather than trying to adjust values within the Buttonize to see if that would give me it. <<< THE BUTTON >>> I used the button that I place on announcements for the event and thought, especially after adding the sunburst, that it fit just right. <<< SUBSTITUTE FOR SOME PAPERS >>> I could not get papers that I liked for some backgrounds of picture so just selected areas and flood filled them <<< CELEBRATION TITLE FONT >>> Film Letters - Creative Fabrica https://www.creativefabrica.com/product/film-letters/ - I could not get what I wanted for the TITLE using the method in the video so I just used the font with a background added <<< DATE and TIME FONT >>> Baby Blocks - Creative Fabrica https://www.creativefabrica.com/product/baby-blocks/ NOTE - I could not get the colon to work correctly so left a blank, then used Arial Black Font to create the colon and moved it into place. <<< ALL OTHER TEXT FONT >>> Font - Arial Black <<< PICTURE FRAME >>> The frame is from one of the kits mentioned with Project 5 <<< FRAME GOLD EFFECT >>> To get the gold effect on the frame, I used a script that I created related to a tutorial in Beginners Workshop that I was enrolled in but the site is no longer active. https://bw-forums.com which points to bw-forums.net which no longer is Beginners Workshop and has caused problem for anyone trying to access it. I was disappointed to see it go as I was only part way through the training. <<< PICTURE >>> This was taken from the Church's Facebook Page https://www.facebook.com/Bill.Parks62 <<< SHADOW ON PICTURE >>> Because I placed the picture completely behind the frame, when I added shadows, there is no visible shadow for the picture. <<< NOTE TO SELF (or anyone else) ABOUT SELECTIONS >>> A number of times, I found that I seemed to be stuck. Upon further investigation, I found that I had some selected place and had forgotten to deselect. So, whenever I get stuck now, I deselect and then I can proceed. Yes, even when I don't think I have anything selected. It would be easier if I could remember to deselect, once I am done with the selected area, but at least I am not "stuck" if I just remember to deselect when things stop working. <<< Problem encountered >>> I have "Guides" and "Snap to Guides" selected and have placed guides in my work, but it does not seem to work for me, it does not "snap". I have to be exact in placement. I am, no doubt, doing something wrong but I am not sure what. <<< CAN I DO THIS? SNAP ONE OBJECT TO GOT DIRECTLY BESIDE ANOTHER? >>> When I placed the blocks beside each other, I did my best to have them fit side by side but I know it was not perfect. I think of the video software that I use often, Corel Pinnacle Studio Ultimate, in that if I have two video clips and there is a space between them, I can "close the gap" in the software and it moves it directly beside the other clip. I would like to be able to do that with PaintShop Pro with two items placed directly beside each other.
-
-
@Cassel I tried what you suggested for View/Customize to get the icons for New Layer \ New Adjustment Layer, etc I could not determine where I was supposed to right click so 1) I clicked on the Toolbars tab at top of Customize window 2) I selected "Layers Palette Toolbar" 3) I clicked on the Reset button at the right The text disappeared and the box is smaller so that I have more at the bottom. but the box is now blank(no text and no icon). If I hover over, I can see the help text which identifies what should be there. NOTE: the icons show for New Layer Group Delete Layer General Preferences >> I did the same thing for Layers Palette Option Toolbar now all text is gone from there and I can tell what each box is by hovering over and seeing help text. I highlighted places that I would like to see icons (where text was previously). >>> EDIT <<< After I made the changes, I took Paintshop down and brought it back up again. The text is back in the area that I highlighted.
-

-