Jen Brown
-
Posts
48 -
Joined
-
Last visited
-
Days Won
1
Content Type
Profiles
Gallery
Forums
Everything posted by Jen Brown
-
Jeni, ITH is a term that is used by machine embroiderers. It is the shortened version of "In The Hoop" meaning that the item is completely made on the machine in the embroidery hoop and usually doesn't need to have any additional sewing on the sewing machine. Thanks, Jen.
-
Day 7 - Creating a template for a double page. I have changed the title text on this last submission for the Workshop. I regret having chosen Forte as the font for my title font. Thank goodness for digital, I can go back and change the font to my new font without any problem.

- 438 replies
-
- 13
-

-

-
Day 6 - Page 6.
- 438 replies
-
- 14
-
-
-
@Cassel A coaster is the term the embroidery fraternity uses for round or square coasters. Coasters become mugrugs when they take on a more rectangular shape. The size I like is the 5" x 7" ones. In effect though mugrugs are coasters too.
-
Day 5 - Page 5 - I like making Mugrugs entirely on my embroidery machine which is a 12 Needle Voyager Happy Machine. I usually include a note with my mugrugs when I give them to family and friends letting them know what they are used for. Many South Africans have never heard of them so I tell them that they must stand their drink on the mugrug as it will absorb any moisture and prevent damage to the surface, and also they can put a snack next to their drink on the mugrug.
- 438 replies
-
- 12
-
-
-
Day 4 - Page 3 and Page 4.
- 438 replies
-
- 12
-
-
-

-
Day 3 - Page 2. I also made the Town Square Quilt pattern as a double bed size quilt.
- 438 replies
-
- 15
-
-
-
The pattern square isn't appliqued. It's such an easy pattern to follow and make. Here is how each of the blocks is made:
- 438 replies
-
- 11
-
-
-
Day 2 of Magazine Workshop. I decided that I would use Affinity Photo to create the pages of the magazine.
- 438 replies
-
- 14
-
-
-
Theme for my magazine will be to show items that I machine embroidered or sewed in 2023. Here is Day 1 - Magazine Cover
- 438 replies
-
- 15
-
-
-
Many thanks for providing us with the opportunity to learn to use Affinity Photo. Whilst I'm sad that Paintshop Pro will no longer be updated I'm am looking forward to learning to use a new program.
-
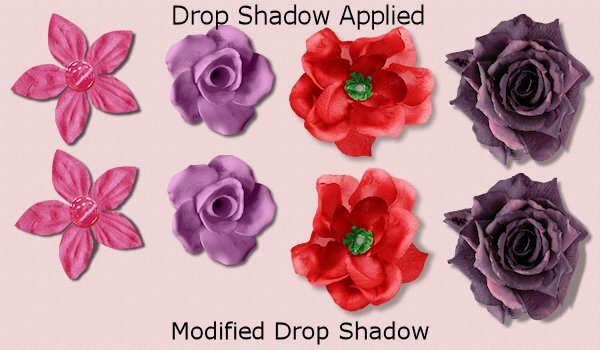
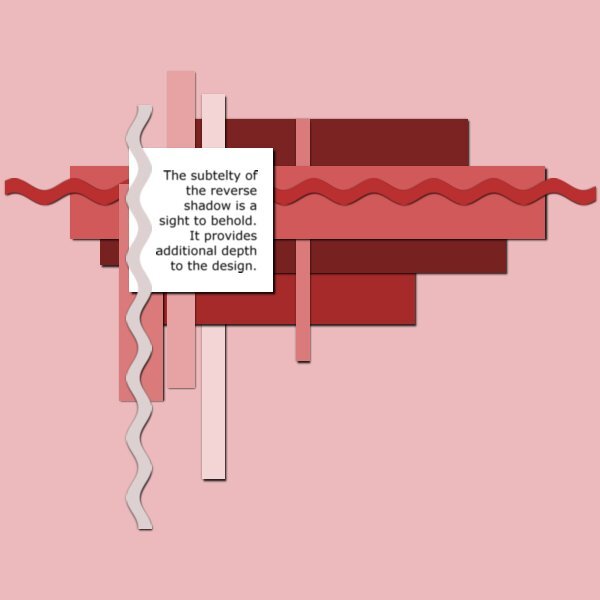
Shadow Workshop - Lesson 4
-
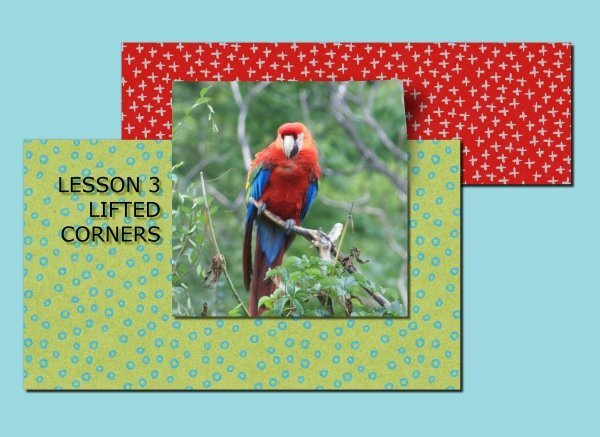
Shadow Workshop Lesson 3 I need more practice on how to do lifted corners from the artistic point of view. The method of doing the lift is straight forward and easy to follow, it need practice to make the lifted corner look more realistic. It was a fun lesson to do.
- 262 replies
-
- 11
-
-
-
Shadow Workshop Lesson 2
-
Shadow Workshop Lesson 1
- 262 replies
-
- 10
-
-
-
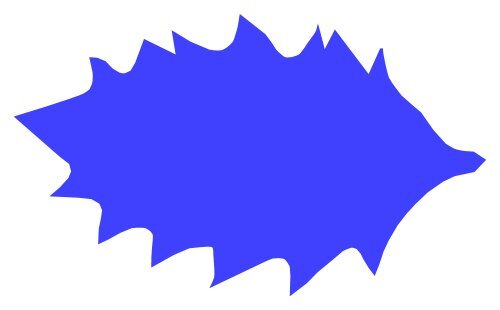
Lesson 3 - Leaf Thank you for explaining so clearly how to copy a shape. I will be using this feature a lot.
-
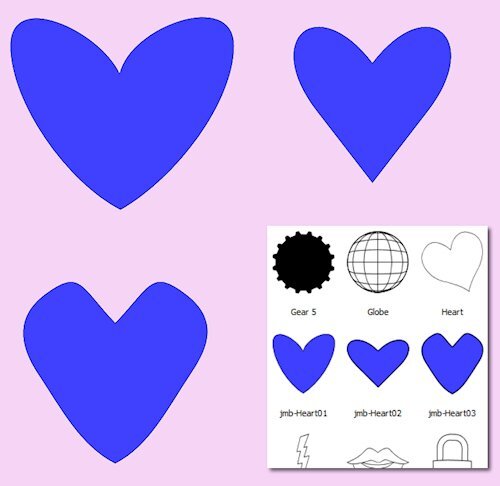
Thanks for Lesson 2 ... the hearts were fun to design. I like how wonky the last heart is.
- 400 replies
-
- 10
-
-
-
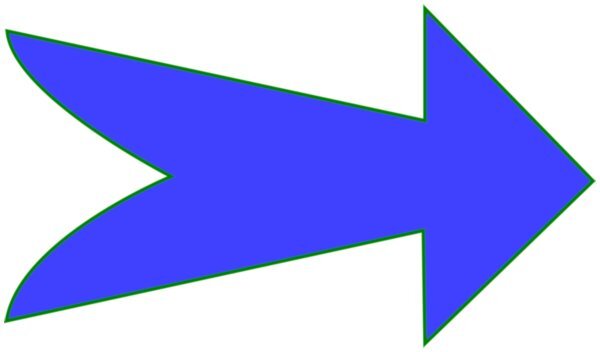
Here is Lesson 1 Heart and Arrow.
- 400 replies
-
- 14
-
-
-
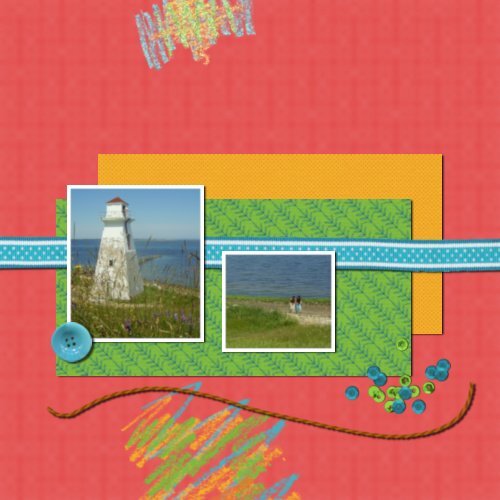
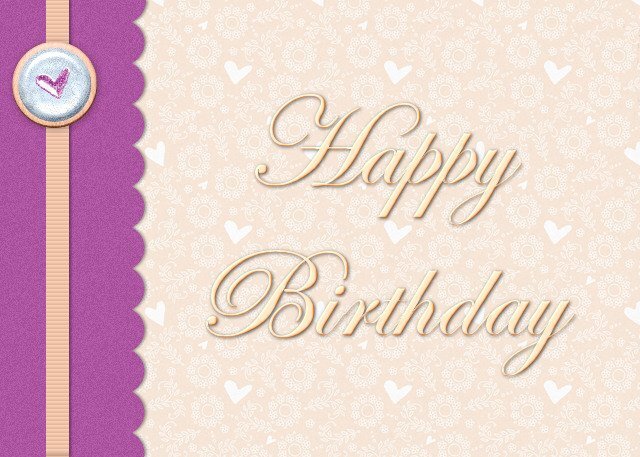
Lesson 1 Background Paper and brad came from The Curio Panty: Time to Unwind kit. The font was Edwardian Script Font.
- 356 replies
-
- 19
-
-
-
Thanks Carole for offering this workshop. I'm looking forward to it.
-
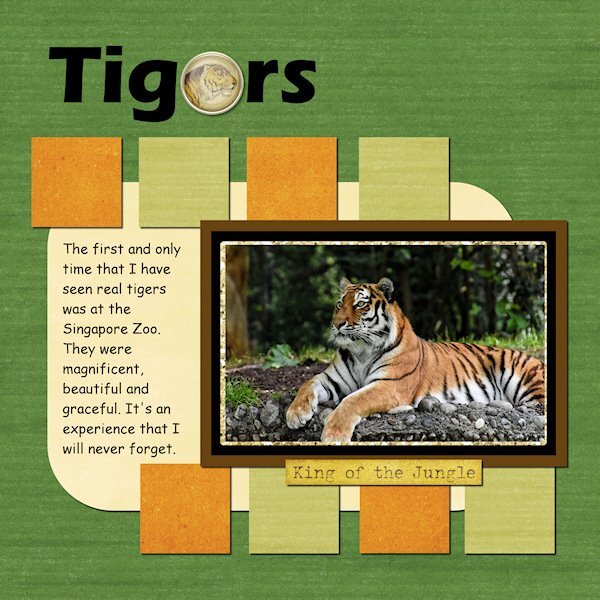
Scrap Bootcamp Day 11 - Project #5 I know that "Tigers" looks like "Tigors" 😄 but I wanted to put something in the title to remind me later that I can use elements to substitute for letters. @Cassel Many thanks for the Scrapbook Bootcamp, I have thoroughly enjoyed it.
- 221 replies
-
- 10
-
-
-
Scrap Bootcamp Day 9 - Project #4
- 221 replies
-
- 13
-
-
-
Scrap Bootcamp Day 7 - Project #3 I loved using the guides to line up the photos.
- 221 replies
-
- 12
-
-
-
@Ann Seeber Thanks for the information.
-
Scrap Bootcamp Day 5 - Project #2 @Cassel If there was an email for Day 4, I never received it.
- 221 replies
-
- 12
-
-